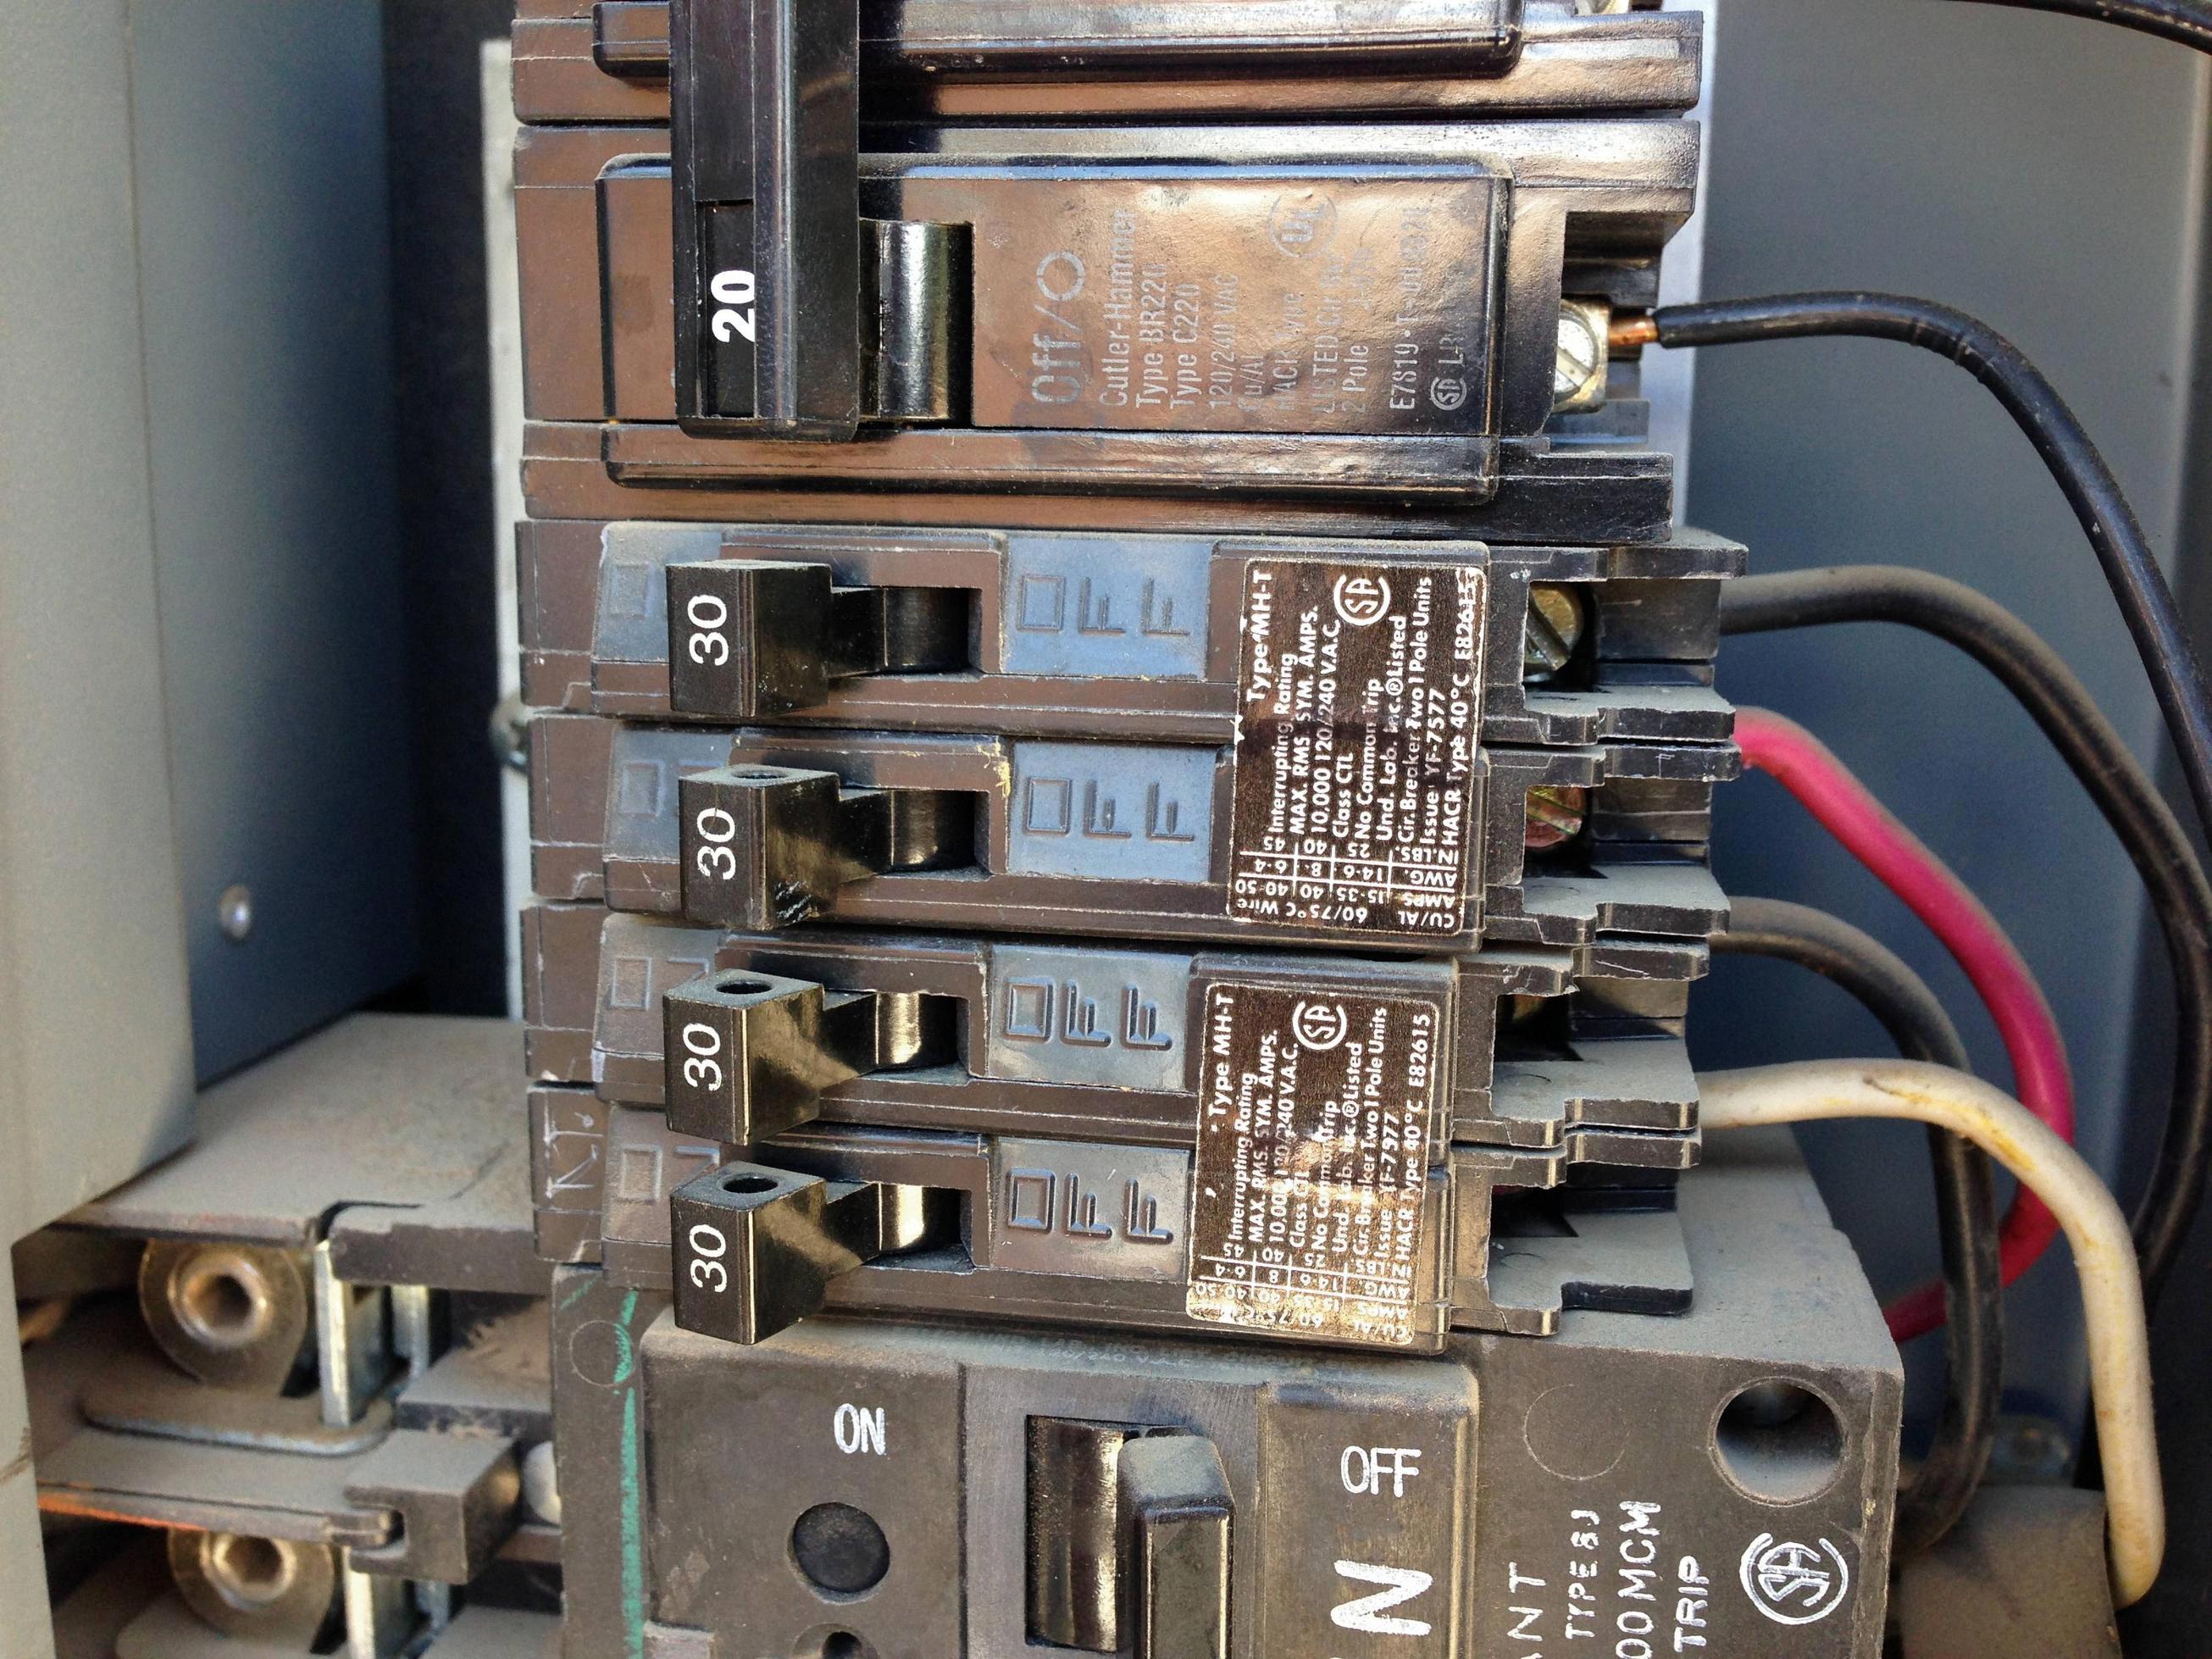
When it comes to wiring a 240-volt breaker, there are a few things that you need to keep in mind to make sure that the job is done properly and safely. A 240-volt circuit is used for appliances that require more power than a standard 120-volt circuit can provide. These include things like electric dryers, electric ovens, and air conditioners.
Before you start wiring your 240-volt breaker, there are a few things that you need to do. First, you need to turn off the power to the circuit that you will be working on. You can do this by opening the door to the electrical service panel and flipping the switch that controls the circuit you will be working on.
Next, you will need to remove the panel knockouts. These are small metal pieces that cover the holes in the panel where you will be inserting the circuit wires. Once you have removed the knockouts, you can rotate the dead front cover so that you can work from the backside.
Now it’s time to secure and strip the circuit wires. You will have two hot wires (usually black or red) and an equipment ground (usually green or bare). Make sure that the wires are properly secured and that the insulation is stripped off of the ends.
Next, you will need to connect the hot wires to the breaker. A double pole breaker is typically used for a 240-volt circuit, and it consists of two hot wires. Make sure that the breaker is properly installed and that it fits securely into the panel.
Once the breaker is installed, you should check to make sure that it fits properly and that there are no loose connections. You can test the circuit by turning the power back on and checking that the appliance that you are wiring is working properly.
Wiring a 240-volt breaker is not a difficult task, but it does require some knowledge and attention to detail. By following these steps, you can ensure that your circuit is wired properly and safely. Remember to always turn off the power before working on any electrical circuit, and to double-check your work before turning the power back on.
Wiring a 240V Breaker
Wiring a 240V breaker involves several steps that need to be followed carefully to ensure safety and optimal functionality. Here are the steps to wire a 240V breaker:
1. Turn off the power: Before starting any electrical work, make sure to turn off the power to the circuit you will be working on at the main electrical service panel.
2. Open the door to the electrical service panel: Locate the main electrical service panel in your home or building and open the door to access the circuit breakers.
3. Remove Panel Knockouts: Remove the appropriate knockouts on the panel to install the breaker. Make sure to use a knockout punch for a clean cut.
4. Secure and Strip the Circuit Wires: Secure the circuit wires to the breaker with a cable clamp and strip the ends of the wires to expose about 1/2 inch of bare copper.
5. Connect the Hot Wires: Connect the two hot wires to the breaker by inserting them into the terminals and tightening the screws.
6. Install the Breaker: Carefully insert the breaker into the panel and snap it into place by pushing on the front.
7. Check for a Proper Fit: Ensure that the breaker fits securely and snugly into the panel and that there is no movement or looseness.
8. Connect the Wires: Connect the circuit wires to the circuit breaker by tightening the screws on the terminals.
9. Complete the Installation: Once the wiring is complete, replace the panel cover and turn the power back on to the circuit.
It is important to follow these steps carefully and precisely to ensure a safe and proper installation of a 240V breaker. If you are not confident in your abilities, it is recommended to seek the assistance of a qualified electrician.

Number of Wires Needed for 240 Volts
A 240-volt circuit requires two hot wires and an equipment ground wire. The hot wires are responsible for carrying the electrical current, while the ground wire provides a safe path for any unintentional current to dissipate. This configuration ensures that the circuit remains safe and prevents electrical shocks or fire hazards. It is important to note that a 240-volt circuit does not require a neutral wire, which is typically included in a 120/240-volt circuit.
Do 240V Circuits Require Double Pole Breakers?
A 240-volt circuit typically requires a double pole breaker. This is because a 240-volt circuit requires two hot wires, each carrying 120 volts of electricity, for a total of 240 volts. A double pole breaker is designed to provide the necessary two hot wires for this type of circuit. A single pole breaker, on the other hand, only has one hot wire and is typically used for 120-volt circuits. It is important to use the correct type of breaker for the circuit to ensure proper electrical safety and function.
Number of Wires Needed for 240V Single Phase
To achieve 240V single phase, you will need two hot wires, typically colored black or red, and one neutral wire, which is usually white. When measuring the voltage between the two hot wires, it will measure 240 volts, and when measuring from either hot wire to the neutral wire, it will measure 120 volts. In summary, a total of 3 wires are required for a 240V single-phase electrical system – 2 hot wires and 1 neutral wire.
Conclusion
Wiring a 240-volt breaker may seem like a daunting task, but it is actually quite straightforward when following the proper steps. It is important to turn off the power and remove panel knockouts before securing and stripping the circuit wires. When connecting the hot wires, it is crucial to install the appropriate breaker for the circuit type and check for a proper fit. Completing the installation includes connecting the wires and ensuring all connections are secure. It is important to note that a 240-volt circuit has two hot wires and an equipment ground, while a 120/240-volt circuit has two hots, a ground, and a neutral wire. By understanding the differences between single and double pole breakers, as well as the voltage measurements, individuals can safely and effectively wire their 240-volt breakers.


