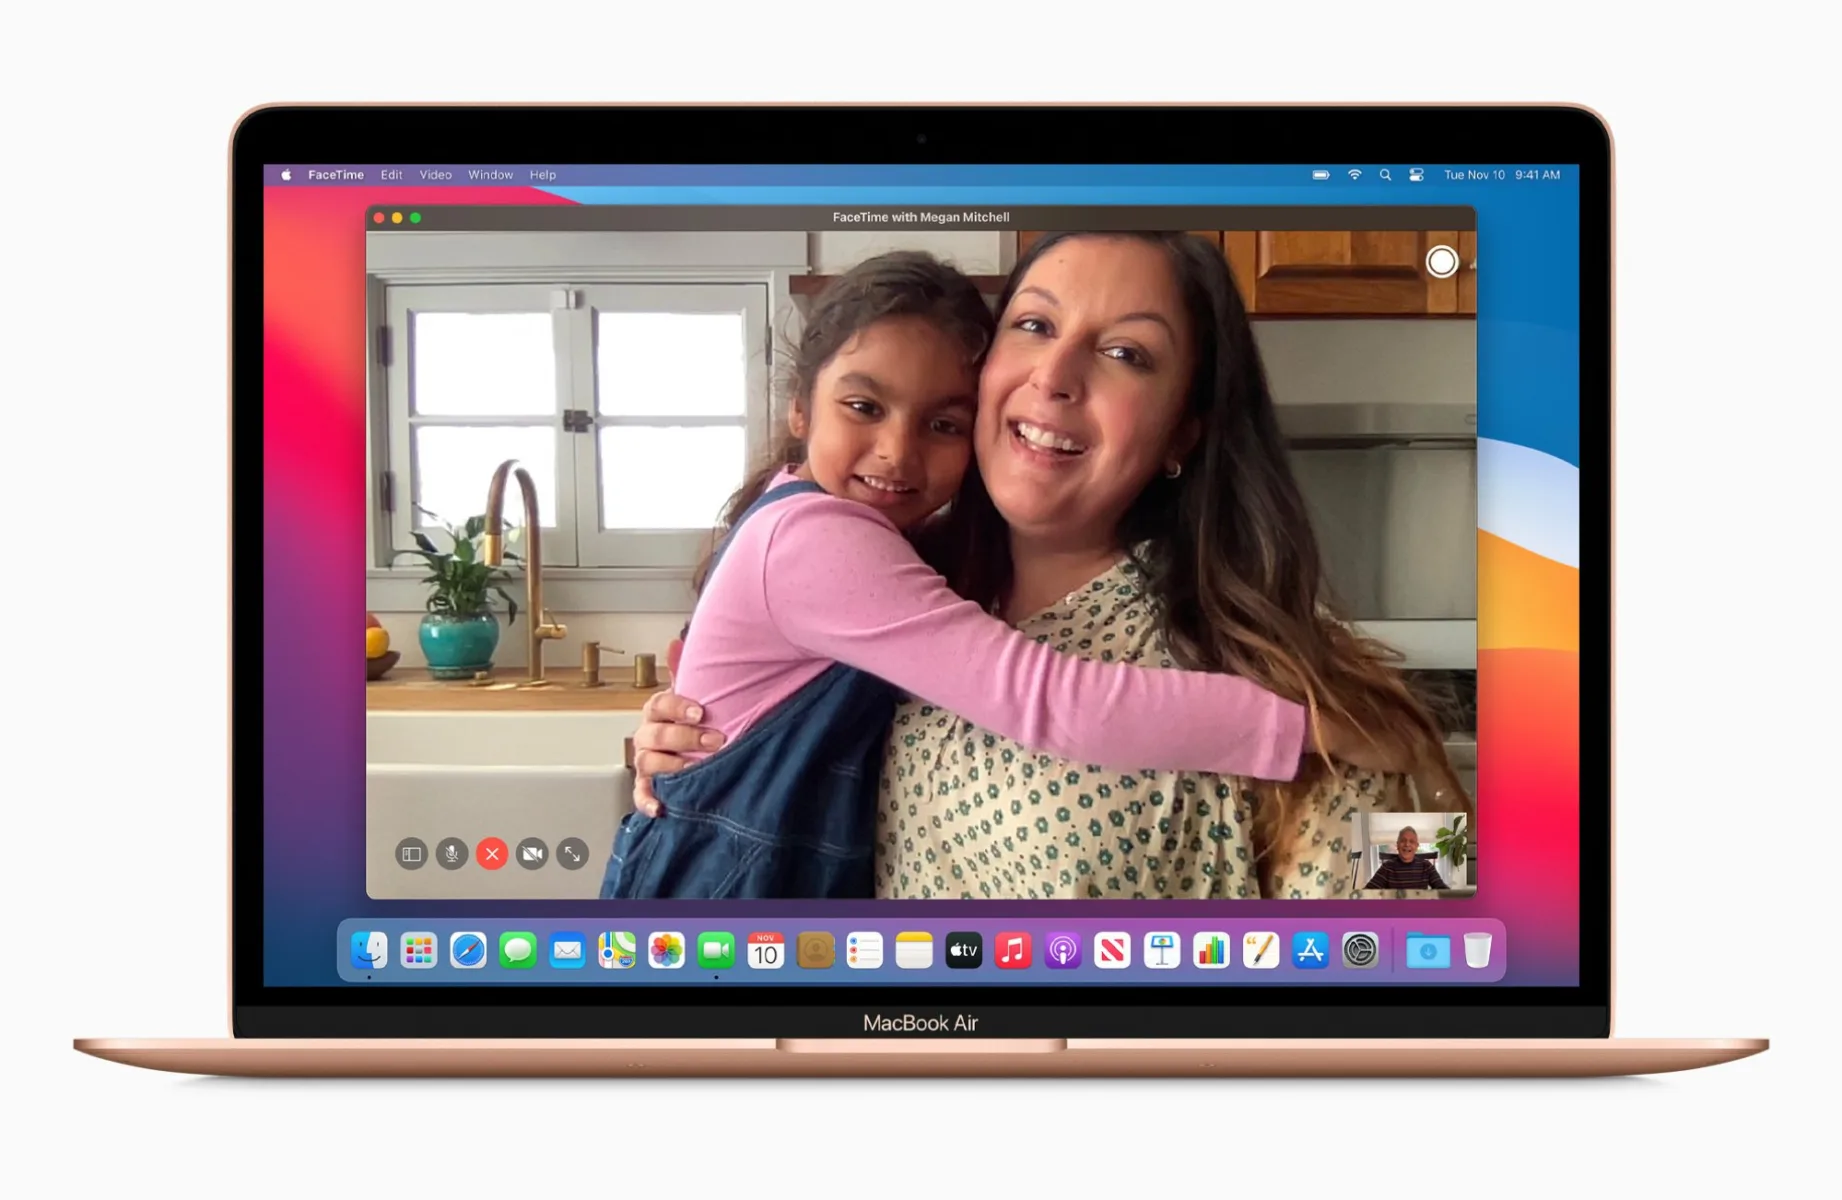
The camera on your MacBook is a valuable tool for video calls, online meetings, and capturing memories. However, you may encounter an issue where the camera appears grainy or noisy, which can be quite frustrating. In this article, we will explore the reasons behind this problem and provide some solutions to improve the camera quality on your MacBook.
Firstly, it is essential to ensure that the camera lens is clean and free from any dirt or smudges. Wipe the camera lens gently with a soft cloth to remove any debris that may be affecting the image quality. Sometimes, a simple cleaning can make a significant difference in the camera’s performance.
If you have a case on your MacBook, especially if it is covering the camera area, it’s recommended to remove it and test the camera again. Occasionally, the case might interfere with the camera’s functionality, resulting in grainy images. Removing the case can help determine if it is the cause of the problem.
To troubleshoot further, try using the camera in multiple applications. Apart from the default FaceTime app, you can test it in other applications like iMovie or Photo Booth. If the camera appears grainy in all applications, it indicates a broader issue rather than a specific app problem.
In low-light or dim environments, the camera may automatically adjust the ISO (sensitivity to light) settings to capture a brighter image. However, this can lead to grainy or noisy footage. To address this, you can manually adjust the camera settings. Open the Zoom application and navigate to Settings (Command + ,). Switch to the Video tab and select your camera from the dropdown menu. Check the HD option to ensure high-definition video quality. Additionally, you can check the “Touch up my appearance” option and use the slider to enhance your appearance. Moreover, enabling the “Adjust for low light” option, either in Auto or Manual mode, can help improve the camera’s performance in challenging lighting conditions. Adjust the slider accordingly to achieve the desired outcome.
It’s important to note that the default resolution for most modern MacBooks, including the M1 MacBook Air and the 13-inch MacBook Pro, is 720p. While this resolution is sufficient for most scenarios, it may not provide the best image quality. If you find the 720p resolution to be inadequate, you may consider using external webcams capable of higher resolutions, such as 1080p or even 4K, for a sharper and more detailed image.
If you are experiencing grainy or noisy camera footage on your MacBook, there are several steps you can take to address the issue. Clean the camera lens, remove any cases that might interfere with the camera’s functionality, and test the camera in different applications. Manually adjusting camera settings in third-party apps, such as Zoom, can also help enhance the image quality. If needed, consider using an external webcam with a higher resolution for a more professional and clearer video experience.

How Do You Fix the Camera Quality On Your MacBook?
To enhance the camera quality on your MacBook, you can make use of third-party apps to adjust the camera settings. One such app is Zoom, which allows you to modify the camera settings easily. Here’s how you can do it:
1. Open the Zoom app on your MacBook.
2. Go to the “Settings” menu by clicking on the “Zoom” tab in the top-left corner of your screen and selecting “Settings” from the drop-down menu.
3. Alternatively, you can use the shortcut Command + (comma) to directly access the Zoom settings.
4. In the settings window, switch to the “Video” tab located on the left side.
5. From the dropdown menu under the “Camera” section, select the camera you want to adjust the settings for. If you have an external camera connected, make sure to choose the appropriate one.
6. To enhance the camera quality, check the “HD” option if it’s available. This will ensure that the video captured by your camera is in high definition.
7. If you want to improve your appearance on video calls, you can check the “Touch up my appearance” option. This will enable a feature that smooths out your skin and reduces imperfections. Adjust the slider according to your preference.
8. Additionally, you can enhance the camera quality in low-light conditions by checking the “Adjust for low light” option. You can choose between the “Auto” and “Manual” options. Adjust the slider accordingly to get the desired brightness level.
9. Once you have made the necessary adjustments, close the settings window.
By following these steps, you can optimize the camera quality on your MacBook using third-party apps like Zoom. Remember to explore other apps as well, as different apps may offer different camera settings and features to further enhance your video quality.
Why is the Camera Quality On the MacBook Air So Bad?
The camera quality on the MacBook Air is often criticized for being subpar. There are several factors that contribute to this issue:
1. Low resolution: The camera on the MacBook Air captures footage at a resolution of 720p. While this was considered decent a few years ago, it falls short in comparison to the higher-resolution cameras found on other devices. The 720p resolution results in less detail and clarity in the captured images and videos.
2. Sensor size: The camera sensor on the MacBook Air is relatively small, which affects its ability to capture enough light and detail. Larger sensor sizes are generally preferred as they allow for better low-light performance and overall image quality.
3. Lens quality: The quality of the lens used in the MacBook Air’s camera also plays a role in its image quality. Cheaper or simpler lenses may produce images that lack sharpness or suffer from distortion or aberrations.
4. Lack of advanced features: The camera on the MacBook Air lacks many of the advanced features found on dedicated cameras or higher-end smartphones. These features, such as optical image stabilization, manual controls, or advanced autofocus systems, can greatly enhance the overall image quality.
5. Prioritization of thinness and design: The MacBook Air is known for its slim and lightweight design, and this often means sacrificing certain hardware components for the sake of aesthetics and portability. The camera may have been given lower priority in terms of quality to maintain the sleek form factor of the laptop.
It’s important to note that while the camera quality on the MacBook Air may not be the best, it is primarily designed for video conferencing and basic photography needs. If higher-quality imaging is a priority, it is recommended to consider external webcams or dedicated cameras for better results.
Why is Your Camera on MacBook so Fuzzy?
There can be several reasons why the camera on your MacBook may appear fuzzy. Here are some possible causes:
1. Dirty lens: A dirty camera lens can result in blurry or fuzzy images. Try wiping the camera lens gently with a soft cloth to remove any smudges or dirt that may be obstructing the lens.
2. Case interference: If you have a case on your MacBook Pro or MacBook Air, it’s possible that the case is obstructing the camera or causing interference. Removing the case and testing the camera again can help determine if this is the cause of the fuzziness.
3. Software issues: Sometimes, software conflicts or glitches can affect the camera performance. Testing the camera in multiple applications, such as FaceTime, iMovie, or Photo Booth, can help identify if the issue is software-related. If the camera appears fuzzy in all apps, it may indicate a software issue.
4. Hardware problems: In some cases, hardware problems can affect the camera quality. This could be due to a faulty camera module or a loose connection. If you suspect a hardware issue, it’s best to contact Apple Support or visit an authorized service center for further assistance.
5. Lighting conditions: Poor lighting conditions can also impact the camera’s image quality. Make sure you are in a well-lit environment when using the camera and avoid situations with extreme lighting contrasts.
6. Outdated software: Keeping your MacBook’s operating system and camera drivers up to date is important for optimal performance. Check for any available software updates and install them to ensure you have the latest camera-related improvements.
If the issue persists after trying these troubleshooting steps, it may be necessary to seek professional help or contact Apple Support for further assistance.
Conclusion
The camera on a MacBook, particularly those with a 720p resolution, may not provide the best quality footage. However, there are several steps you can take to improve the camera settings and enhance the overall video experience. By adjusting the camera settings through third-party apps such as Zoom, you can select the camera, enable HD, and use features like “Touch up my appearance” and “Adjust for low light” to optimize the video output.
Additionally, it is essential to ensure that the camera lens is clean and free from any smudges or dirt that may affect the image quality. Removing any protective cases from the MacBook can also help eliminate any potential interference with the camera.
If you encounter grainy or noisy captures, it is advisable to check the ISO settings, especially in low-light environments. Adjusting the ISO or increasing the flash power can significantly improve the clarity of the footage.
Lastly, it is recommended to test the camera in various applications such as FaceTime, iMovie, or Photo Booth to determine if the issue persists across different platforms. This troubleshooting step can help identify whether the problem lies with the camera itself or a specific application.
While the 720p resolution of the MacBook camera may not be ideal for professional-grade footage, following these tips and utilizing third-party apps can help maximize the camera’s capabilities and deliver a better video experience.


