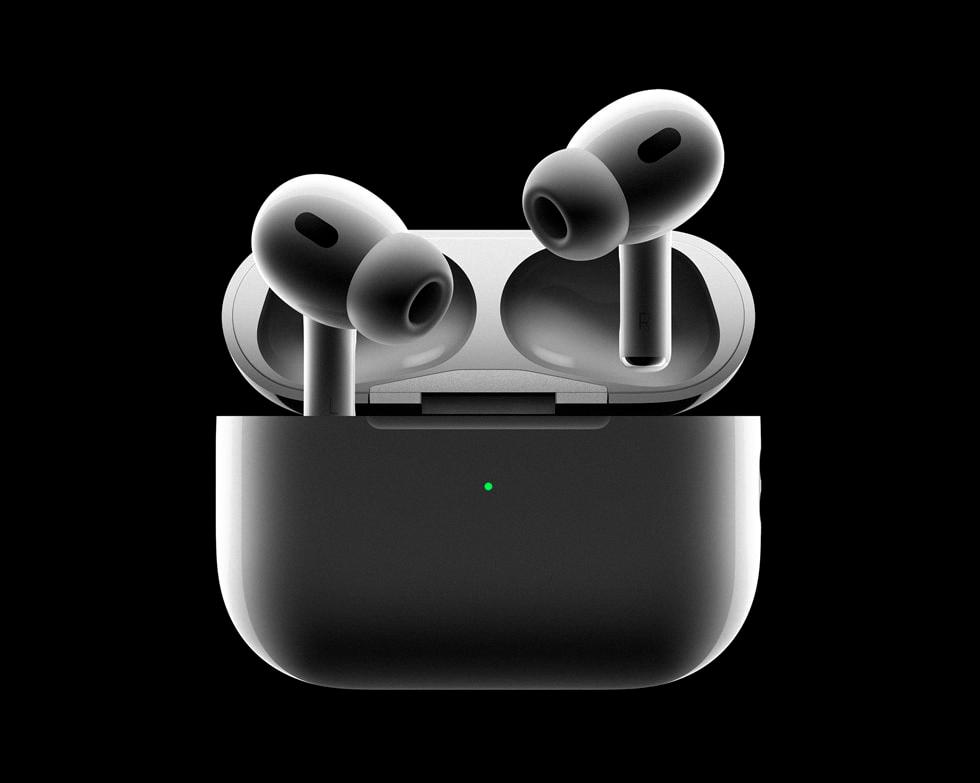
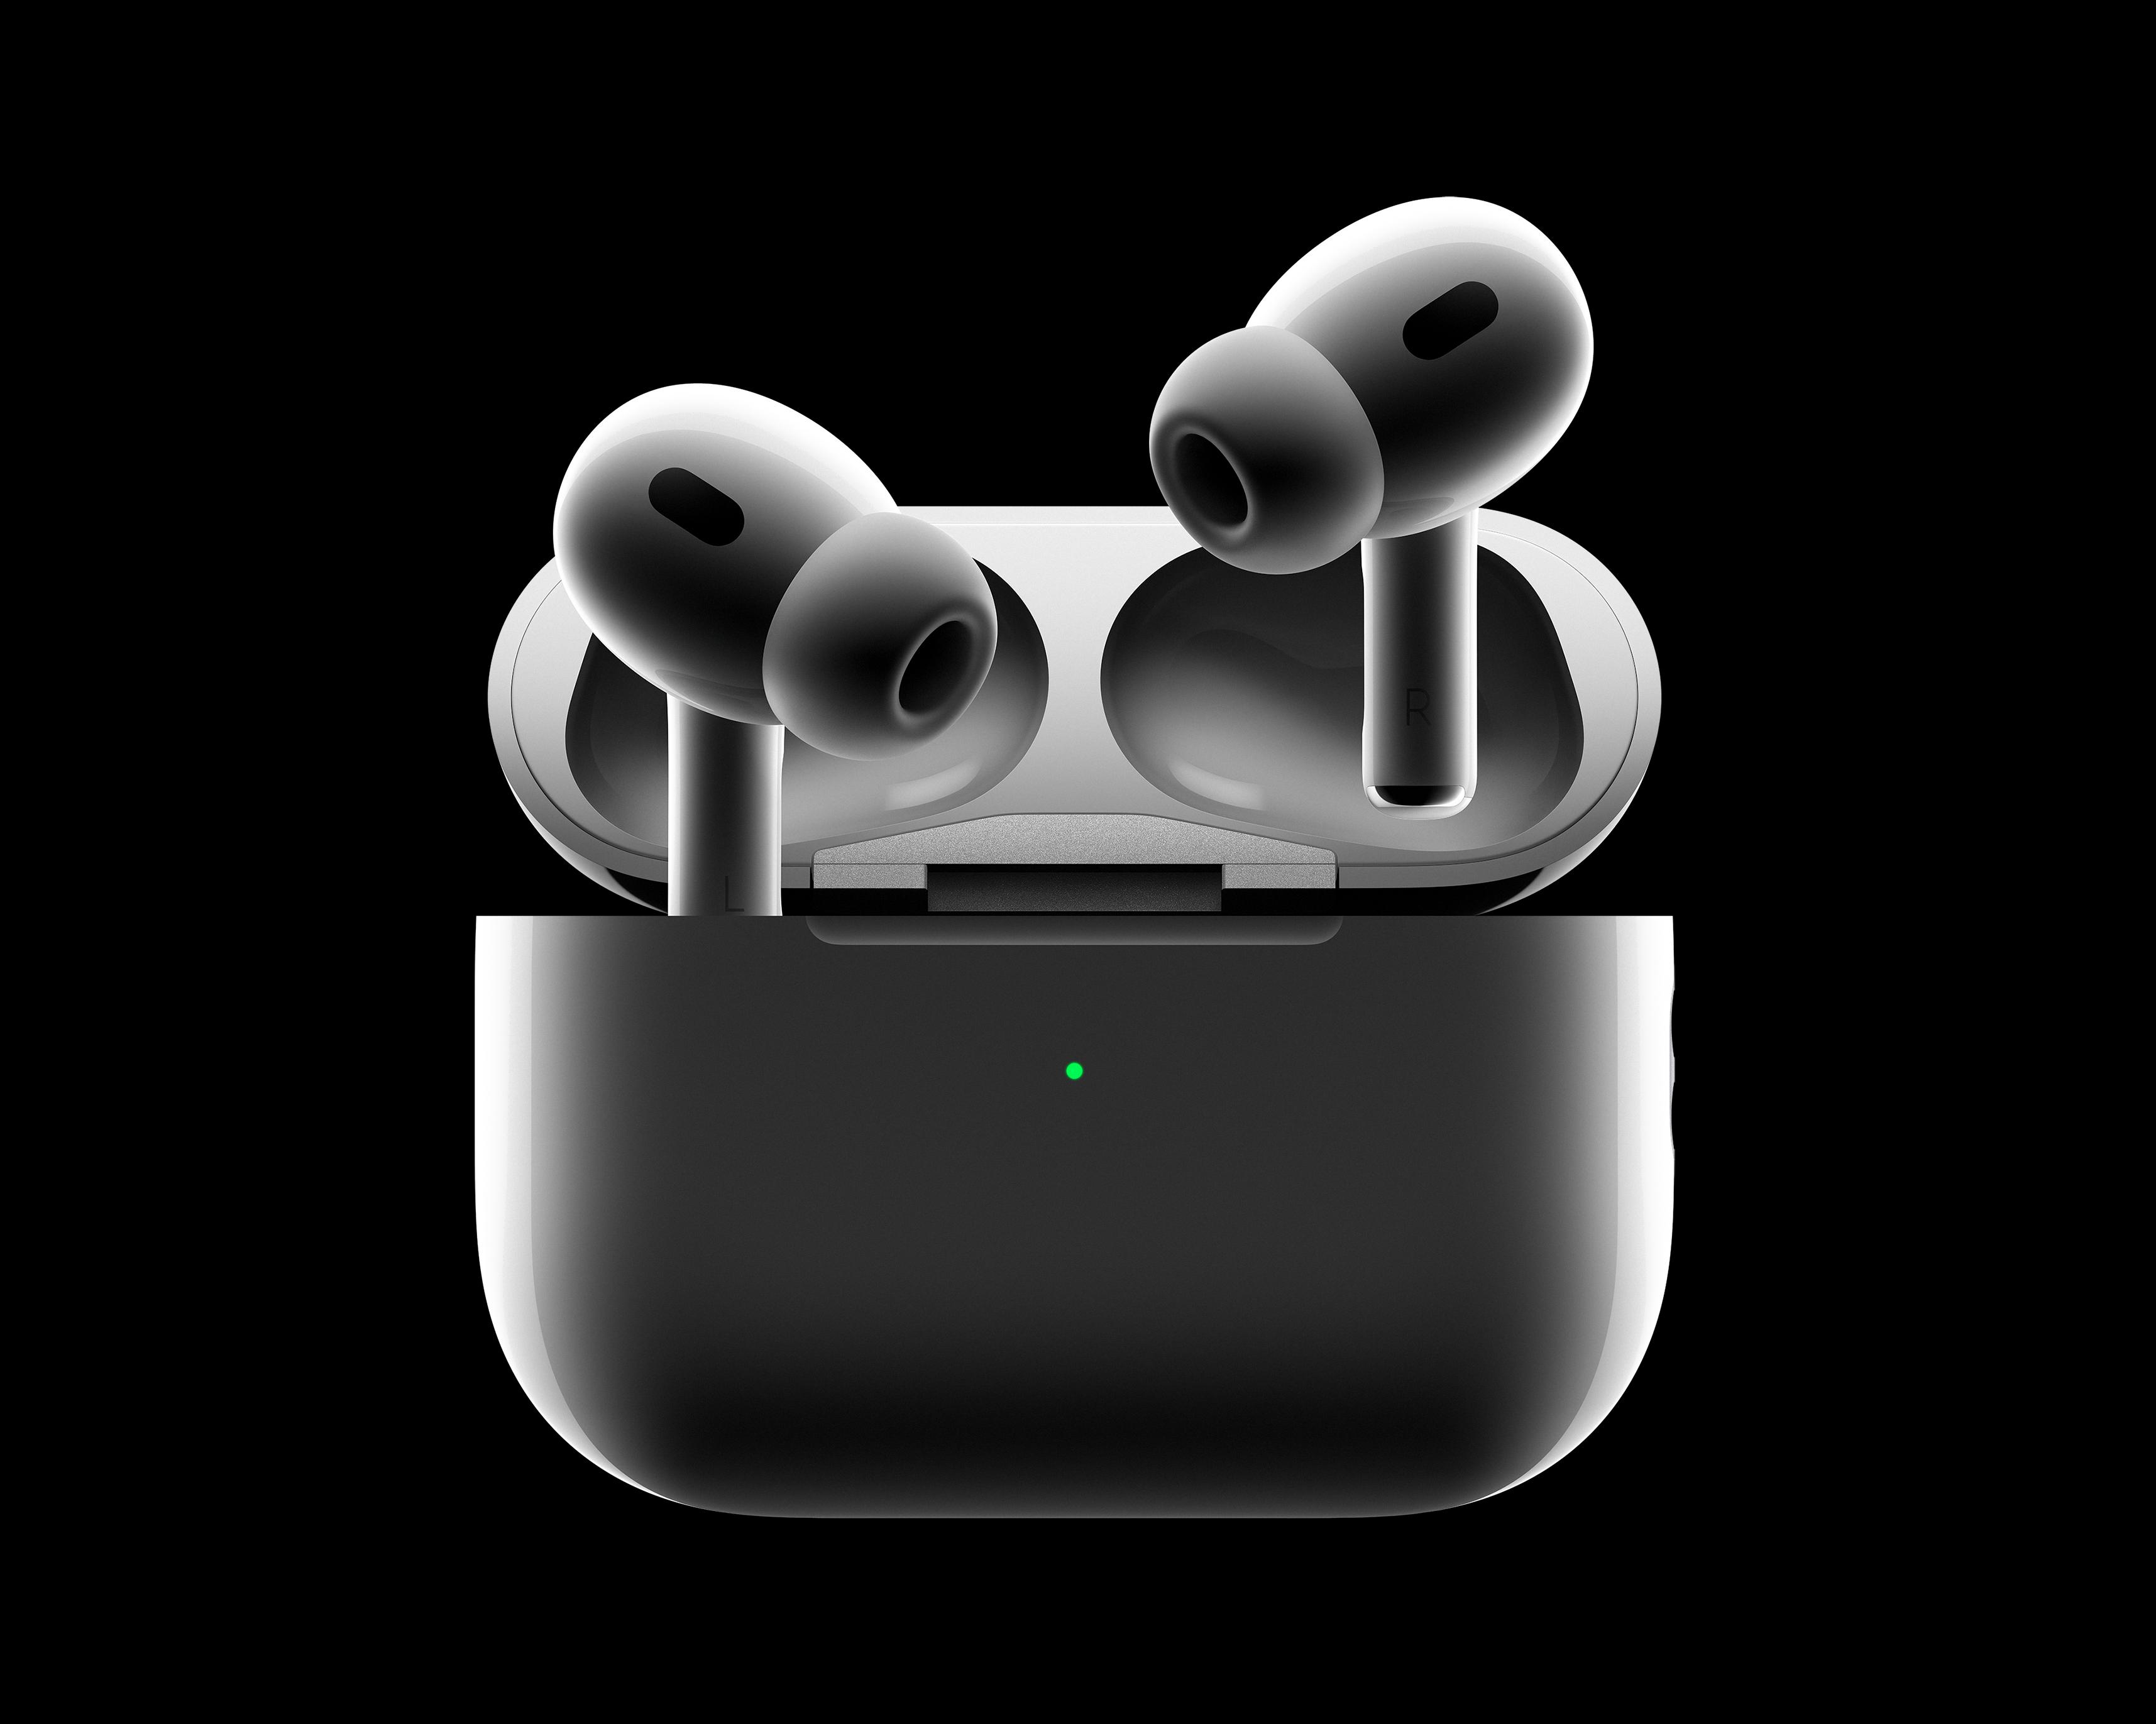
AirPods Pro are one of the most popular wireless earbuds on the market. They offer excellent sound quality, noise cancellation, and a comfortable fit. However, like all technology products, AirPods Pro require updates from time to time to ensure that they continue to function properly and provide the best possible experience for users.
Fortunately, updating your AirPods Pro is a straightforward process. Apple delivers firmware updates automatically, so you don’t need to manually check for updates or download anything. However, it’s always a good idea to make sure that your AirPods Pro are up to date, especially if you’re experiencing any issues with them.
To check if your AirPods Pro are up to date, you’ll need to make sure that you have the latest version of iOS or iPadOS installed on your iPhone or iPad. Once you’ve confirmed that, go to Settings > Bluetooth > AirPods. Here, you’ll see the firmware version that your AirPods Pro are currently running. If there’s a newer version available, your AirPods Pro will automatically download and install it.
It’s worth noting that Apple doesn’t provide detailed information about what’s included in firmware updates for AirPods Pro. However, it’s safe to assume that these updates include bug fixes, performance improvements, and new features. If you’re experiencing any issues with your AirPods Pro, updating them to the latest firmware version may help to resolve the problem.
If you want to force an update for your AirPods Pro, you can do so by placing them in their charging case, connecting the case to a power source, and placing it near your iPhone or iPad. This could trigger an automatic update, although it’s worth noting that this process can take some time to complete.
Updating your AirPods Pro is a simple process that can help to ensure that they continue to function properly and provide the best possible experience for users. While Apple doesn’t provide detailed information about firmware updates, it’s always a good idea to keep your AirPods Pro up to date to avoid any potential issues.
Updating AirPods Pro
To update your AirPods Pro, you need to ensure that both the AirPods and the device they are paired with are connected to the internet. Once this is done, follow the steps below:
1. Place the AirPods Pro in their charging case and make sure they are charged.
2. Connect the device they are paired with to the internet.
3. Ensure that the device is running on the latest version of iOS or iPadOS. If not, update the device to the latest version.
4. Bring the device near the AirPods Pro charging case and open the lid.
5. Hold the button on the back of the charging case until the LED light on the front of the case starts flashing white.
6. Wait for the update to complete. This may take a few minutes.
7. Check the firmware version of your AirPods Pro by going to Settings > General > About > AirPods on your device.
It is important to note that AirPods Pro firmware updates are delivered automatically and can’t be downloaded manually. Your AirPods Pro will update automatically when they are connected to the internet and paired with a device running on the latest version of iOS or iPadOS.

Latest Firmware for AirPods Pro
The latest firmware for the AirPods Pro is 5A377. This firmware update is available for new AirPods Pro owners, and it replaces the previous 5A374 firmware version that the AirPods Pro shipped with. Unfortunately, Apple has not provided any information regarding the specific improvements or bug fixes included in this refreshed firmware update. As is typical with firmware updates, it is expected that the new firmware version will bring enhancements to the overall usability and functionality of the AirPods Pro.
Forcing an AirPods Update
To force an update on your AirPods, you can follow these steps:
1. Place your AirPods in the charging case and make sure it is connected to a power source.
2. Keep your iPhone nearby and ensure that it is connected to the internet.
3. Open the lid of the charging case with your AirPods inside and hold the button on the back until the LED light on the front of the case starts flashing white.
4. Once the LED light starts flashing, close the lid of the case and wait for a few minutes. Your AirPods should now start updating automatically.
It is important to note that AirPods updates happen automatically, and users do not typically control them. However, if you are facing any issues with your AirPods, forcing an update can help resolve the problem.
Conclusion
Firmware updates for AirPods Pro are delivered automatically, so there is no need for users to manually update their earbuds. However, if you want to check if your AirPods Pro has the latest firmware, you can go to Settings > Bluetooth > AirPods on your iOS or iPad device. The latest firmware version for new AirPods Pro owners is 5A377, which is an improvement from the initial 5A374 firmware. Apple has not provided any information on what the new firmware update brings in terms of improvements or bug fixes. If you want to force an update, simply place your AirPods in the charging case, connect it to a power source, and place it next to your iPhone for an auto-update. AirPods Pro firmware updates happen automatically, and users do not typically control them.


