Uninstalling McAfee on Windows 10 can be a daunting task for some users, but it is important to remove it properly to avoid any potential conflicts with other security software. In this article, we will guide you through the process of uninstalling McAfee on Windows 10.
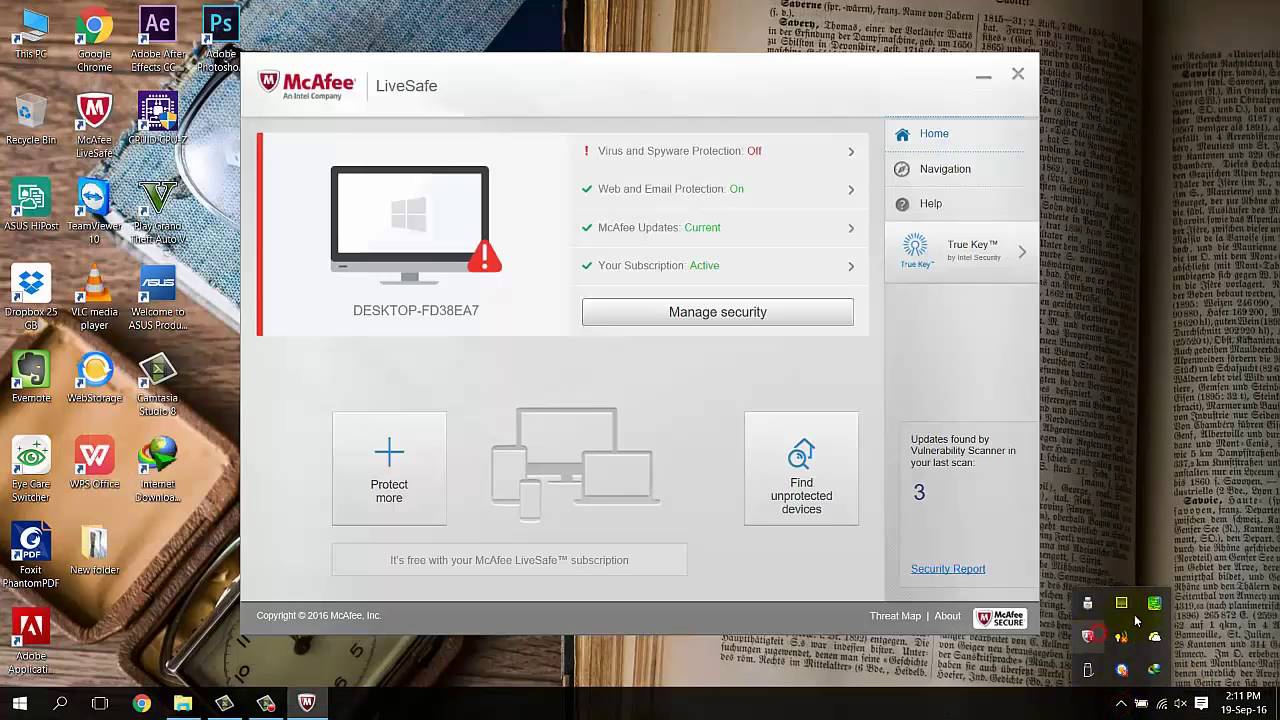
The first step is to try to uninstall McAfee from within its program group. To do this, open the Start Menu and navigate to the All Programs section. Look for the McAfee program group and select the Uninstall shortcut. Follow the prompts to uninstall the software.
If this method does not work, you can try using the Apps & Features option in Windows 10. To do this, go to the Start Menu and type “McAfee” in the search bar. You should see three programs listed. Begin by uninstalling McAfee Endpoint Security Firewall. Click the Uninstall button for the application, and then click Uninstall on the confirmation dialog.
If you are still unable to uninstall McAfee through the Windows settings, then you can try using McAfee’s official removal tool known as McAfee Consumer Product Removal or MCPR tool. This tool is available for download on the official McAfee website.
To use the MCPR tool, first, download the latest version from the official site of McAfee. Once downloaded, double-click the file to run the tool. Follow the prompts to complete the removal process.
After uninstalling McAfee, it is important to reboot your computer to ensure that all remnants of the software are removed. Additionally, you may want to run a registry cleaner to remove any leftover entries in the Windows Registry.
Uninstalling McAfee on Windows 10 can be accomplished through the Windows settings or using McAfee’s official removal tool. It is important to remove McAfee properly to avoid any conflicts with other security software. Remember to reboot your computer and run a registry cleaner after uninstalling McAfee to ensure that all remnants of the software are removed.

Unable to Uninstall McAfee on Windows 10
Uninstalling McAfee from Windows 10 might not work as expected due to various reasons. Here are some possible reasons why you are facing this issue:
1. Incomplete installation: If the McAfee software installation was incomplete or interrupted, it might prevent you from uninstalling it using the standard method.
2. Corrupted files: If some files related to McAfee are corrupted, it might cause problems in the uninstallation process.
3. Conflicting software: If there is any other security software installed on your computer, it might conflict with McAfee and prevent its uninstallation.
4. Outdated software: If the McAfee software version is outdated, it might cause compatibility issues with Windows 10, resulting in uninstallation problems.
To overcome these issues, you can try the following solutions:
1. Use the McAfee Removal Tool: McAfee provides a tool called the McAfee Consumer Product Removal (MCPR) tool, which can help you remove the software completely from your computer. You can download and run this tool to uninstall McAfee.
2. Disable McAfee before uninstalling: Before uninstalling McAfee, try disabling it from the system tray. This might help you to remove the software without any issues.
3. Use Safe Mode: If the above solutions do not work, you can try uninstalling McAfee in Safe Mode. To do this, restart your computer and press the F8 key repeatedly until the Advanced Boot Options menu appears. Select Safe Mode and try uninstalling McAfee from there.
There might be various reasons why you can’t uninstall McAfee from Windows 10. However, by following the above solutions, you can overcome these issues and remove the software successfully.
Removing McAfee From a Computer: Challenges and Solutions
There are several reasons why you may be unable to remove McAfee from your computer. One of the most common reasons is that the program may be still running in the background, preventing you from uninstalling it. Another reason could be that the McAfee files are corrupted or damaged, preventing proper removal. Additionally, some third-party software or malware may interfere with the uninstallation process, making it difficult or impossible to remove McAfee. In such cases, using a dedicated removal tool like the MCPR tool provided by McAfee can help you remove the program completely.

Forcing McAfee to Uninstall
To force McAfee to uninstall, you need to follow these steps:
1. Type “McAfee” in the search bar of the Apps & Features section of your system.
2. You will see three McAfee programs listed. Begin by uninstalling the McAfee Endpoint Security Firewall.
3. Click the “Uninstall” button for the application.
4. A confirmation dialog box will appear. Click “Uninstall” again to confirm.
5. Wait for the uninstallation process to complete. It may take a few minutes.
6. Once the McAfee Endpoint Security Firewall is uninstalled, repeat the same process for the other two McAfee programs listed.
7. After all three programs are uninstalled, restart your computer to complete the process.
It’s important to note that forcing the uninstallation of McAfee can sometimes be tricky, and you may encounter errors or issues during the process. If you experience any difficulties, you can contact McAfee support for assistance.
Should I Uninstall McAfee From Windows 10?
It is safe to remove McAfee from Windows 10. While McAfee is marketed as a comprehensive security solution, it is often seen as bloatware that slows down your computer and interferes with other software. Moreover, Windows 10 comes with built-in security features, including Windows Defender, which provides real-time protection against viruses, malware, and other threats.
If you do decide to remove McAfee, you should make sure that you have a good antivirus program installed and that your firewall is enabled to ensure that your computer stays protected. It is also recommended that you use a reputable antivirus program that receives regular updates to stay on top of the latest threats. it is important to note that if you have a paid subscription to McAfee, you should cancel the subscription before uninstalling the software to avoid being charged for a service you are no longer using.
Conclusion
Uninstalling McAfee from Windows 10 can be a little tricky, but it is not impossible. The best way to achieve this is by using the built-in Windows settings or the official McAfee Consumer Product Removal tool (MCPR). It is important to note that removing McAfee from your computer is entirely up to your personal preference. However, if you do decide to remove it, it is highly recommended that you have a good antivirus running and your firewall enabled to keep your computer safe and secure. By following the right steps, you can easily remove McAfee from your Windows 10 computer and enjoy a cleaner and more efficient system.


