GarageBand is a powerful music production app for iOS that allows users to create professional-level music on their mobile devices. One of the great features of GarageBand is its ability to automatically normalize audio levels. This means that if you record multiple tracks and they may sound too quiet or loud in comparison to one another, GarageBand will adjust them so that they all sound relative even.
However, there may be times when you don’t want GarageBand’s auto-normalization feature enabled. Fortunately, it’s easy to disable auto-normalization in GarageBand iOS. Here’s how:
First, open the project you want to work on in the GarageBand app on your iOS device. Once your project is open, tap the Mixer icon at the top of the screen (it looks like a set of sliders). This will open up the Mixer window where you can adjust different parameters such as volume, panning, and effects for each track.
When you scroll down to the bottom of this window, you’ll see an option titled “Auto Normalize.” By default, this setting should be enabled (it will appear green). To turn off auto-normalize in GarageBand iOS, simply tap on this option and it should turn gray and be disabled.
That’s all there is to it! After disabling auto-normalize in GarageBand iOS, any audio tracks that you record or import into your project won’t be automatically adjusted by this feature anymore. Instead, you can manually adjust each track’s volume level using the Volume slider in the Mixer window or by using automation curves in Tracks view.
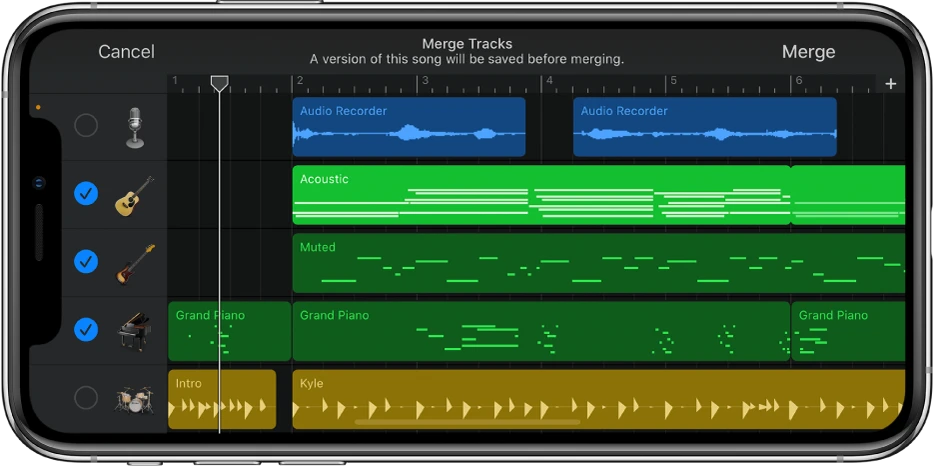
Normalizing Audio in GarageBand
Normalizing in GarageBand is a process that adjusts the overall volume level of an audio file to its maximum potential. It does this by scanning the file for the loudest point and then increasing the level of all other parts of the track or file to match that maximum level. This helps ensure that your audio will reach its full potential when you export it or share it with others. Normalizing can also help reduce any distortion caused by overloading, which can occur when trying to boost a track’s volume beyond its original limits.
Adjusting Audio Volume in GarageBand
In GarageBand on Mac, you can make all audio tracks the same volume by adjusting the track volume levels. To do this, select each track in the Track Header and drag the Volume slider left or right to lower or raise the volume level. You may need to resize the track header to view the Volume slider. Option-click the slider to return it to a neutral level (0 dB gain). Additionally, you can use the Master Volume slider in the Control Bar at the top of GarageBand to adjust all tracks at once.
Turning Off Snap to Grid in GarageBand iOS
In GarageBand iOS, you can turn off “Snap to Grid” by pinching-zooming to the maximum level in Tracks view or when editing notes in regions. After doing so, you will see the option to turn “Snap to Grid” off appear at the top of the Tracks area. To turn it back on, just pinch-zoom out again.
Changing Automation Volume in GarageBand
In GarageBand, you can change the automation volume of a track by showing the track automation and selecting the Volume parameter. This will display an automation curve that shows the volume level over time. You can then create volume changes by adding automation points and dragging them to different values. You can also automate fade-ins and fade-outs by changing the curve shape, or create dynamic volume changes by dragging multiple points up or down on the curve. To make precise adjustments, you can use the Automation Value box in the Inspector window to enter specific values for each point.
Conclusion
In conclusion, GarageBand for iOS is an incredibly powerful and versatile music production tool. It has a wide range of features that make it suitable for both professional and amateur musicians, such as a wide range of instruments, real-time effects, support for multi-track recording, and normalization. With its easy-to-use interface and intuitive design, it’s easy to create professional-sounding music with GarageBand on your iOS device. Whether you’re an experienced producer or just starting out in the music world, GarageBand is an excellent choice.

