Are you looking for a way to easily transfer Live Photos from your iPhone or iPad to your Mac? You’re in luck – it’s super simple with the Photos app!
Live Photos are a great way to capture special moments and memories. They are also a lot of fun to share with family and friends. But if you want to store them on your Mac, you need to know how to transfer them properly.
Here’s how you can transfer Live Photos from your iPhone or iPad to your Mac:
1. Connect your iPhone or iPad to your Mac using a USB cable.
2. Open the Photos app on your computer. The Import screen should appear automatically, but if it doesn’t just click the device’s name in the sidebar.
3. Hold down the Option (Alt) key on your keyboard while dragging and dropping the image you want to export onto the Finder or Desktop of your Mac. This will export it in its original format and uncompressed.
4. If you have CopyTrans Photo installed, transferring Live Photos is even easier! Just drag them from left to right and they will be transferred right away – no need for cables!
5. If you want to make changes such as applying filters, cropping, and straightening or making adjustments, double-click on the Live Photo in the Photos app on your Mac then click Edit in the toolbar. Use the editing tools available and make any changes you wish – they will apply across all parts of the video file!
So there you have it – transferring Live Photos is quick and easy when you know how! With these simple steps, you can save all those special moments for posterity and show them off whenever you, please!
Transferring Live Photos from iPhone to Mac
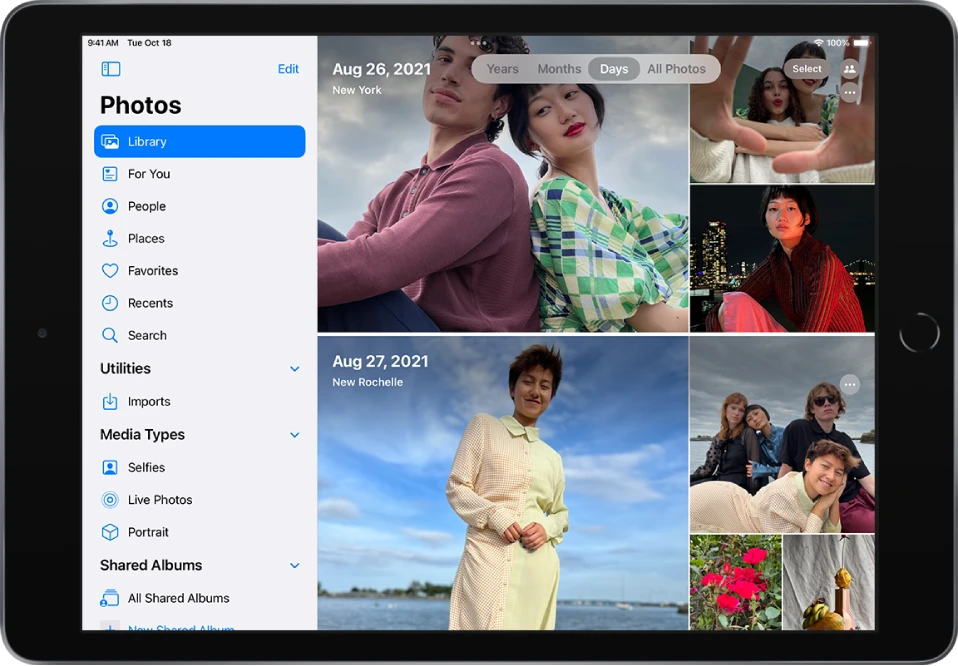
To transfer Live Photos from your iPhone to your Mac, you’ll need to connect your iPhone or iPad to your Mac with a USB cable. Open the Photos app on your computer and the Import screen will appear with all the photos and videos that are on your device. Select the live Photos you want to transfer and click “Import Selected”. You can also choose to import all of them by clicking “Import All New Items”. The Live Photos will then be imported onto your Mac, where they can be edited, shared, or printed as regular photos.
Transferring Live Photos to a Computer
Yes, you can transfer Live Photos from your iPhone to your computer with CopyTrans Photo. To do so, simply drag each Live Photo marked with a small yellow symbol from the left side of the application window to the right side. After the transfer is complete, you will have two files for each Live Photo – a photo file and a video file – that can be viewed on your computer.
Does Mac Support Live Photos?
Yes, Mac does support Live Photos. With the Photos app on your Mac, you can open and view Live Photos and take advantage of their interactive features, such as the ability to move back and forth between the photo and video portions of the image. You can also edit Live Photos, and apply filters, crops, straightening, and adjustments to the entire video. Double-click a Live Photo to open it in the Photos app on your Mac, then click Edit in the toolbar to use the editing tools.
Where Do Live Photos Get Saved on Mac?
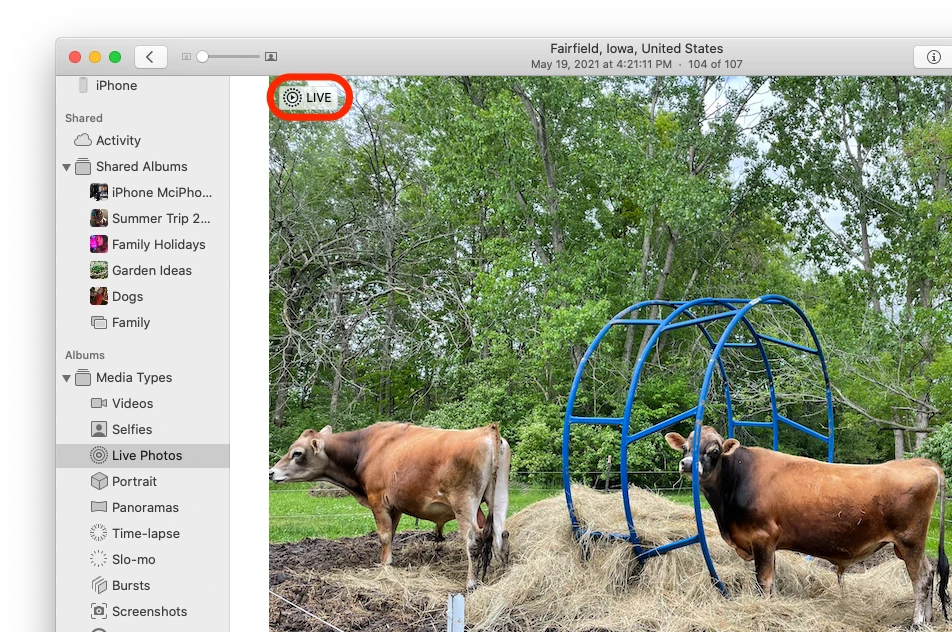
Live Photos taken on Mac are automatically saved to your Photos library. To access them, open the Photos app from your Dock or Finder and go to the Albums tab. You’ll find them in the Live Photos album. The Live Photo will include a short video clip and a still image that you can view, share, and edit.
Can Live Photos Be Airdropped?
Yes, you can AirDrop a Live Photo. To do so, open the Photos app on your iPhone or iPad and select the Live Photo you want to share. Then tap the Share icon in the bottom left corner and select AirDrop from the list of options. You will then be able to select who you would like to share the photo with. The person receiving it will be able to see both the still image and the video portion of the Live Photo.
Transferring Photos From Live Photos
Transferring photos from Live Photos is a relatively easy process. First, open the Photos app on your iPhone, iPad, or iPod touch. Then select the Albums tab from the bottom and scroll down to tap Live Photos under Media Types. Select the Live Photo you’d like to transfer and then tap the Share button. Next, choose to Save to Files and select where you want to save it. You can also use AirDrop or iCloud Drive if you want to transfer it wirelessly. Finally, select the image format that you prefer; JPEG or PNG are both commonly used. Your photo should now be successfully transferred!
Exporting Live Photos
Yes, you can export Live Photos from your iPhone to your computer. To do so, open the Photos app on your iPhone and select the Live Photo you want to export. You will then see two files for the Live Photo – a JPG and a MOV file – which are both necessary for the full Live Photo experience. You can download these two files to your computer, either directly or via iCloud Photos. Once they have been downloaded, you have successfully exported your Live Photo!
Transferring Live Photos from iPhone to Computer
To open live Photos from your iPhone to your computer, you will need to first log in to your iCloud account at icloud.com. Once logged in, click the ‘Photos’ option which will take you to a page containing all of the photos stored in your iCloud account. Select the live photo that you wish to open and it will play as it does on your iPhone. If you wish to save the photo onto your computer, right-click on it and select ‘Save Image As…’. You can then choose where you would like to save the photo on your computer and it will be ready for viewing whenever you need it.
Conclusion
In conclusion, Mac is a great computer for people who need powerful and reliable computing. It has a user-friendly interface and comes with many useful built-in apps to make your work life easier. With the Photos app, you can easily import, export, and edit photos, including Live Photos. You can also transfer photos from your iPhone or iPad to your Mac with CopyTrans Photo. Overall, Mac is an ideal choice for anyone looking for a reliable and powerful computer.

