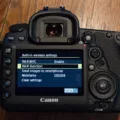
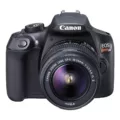
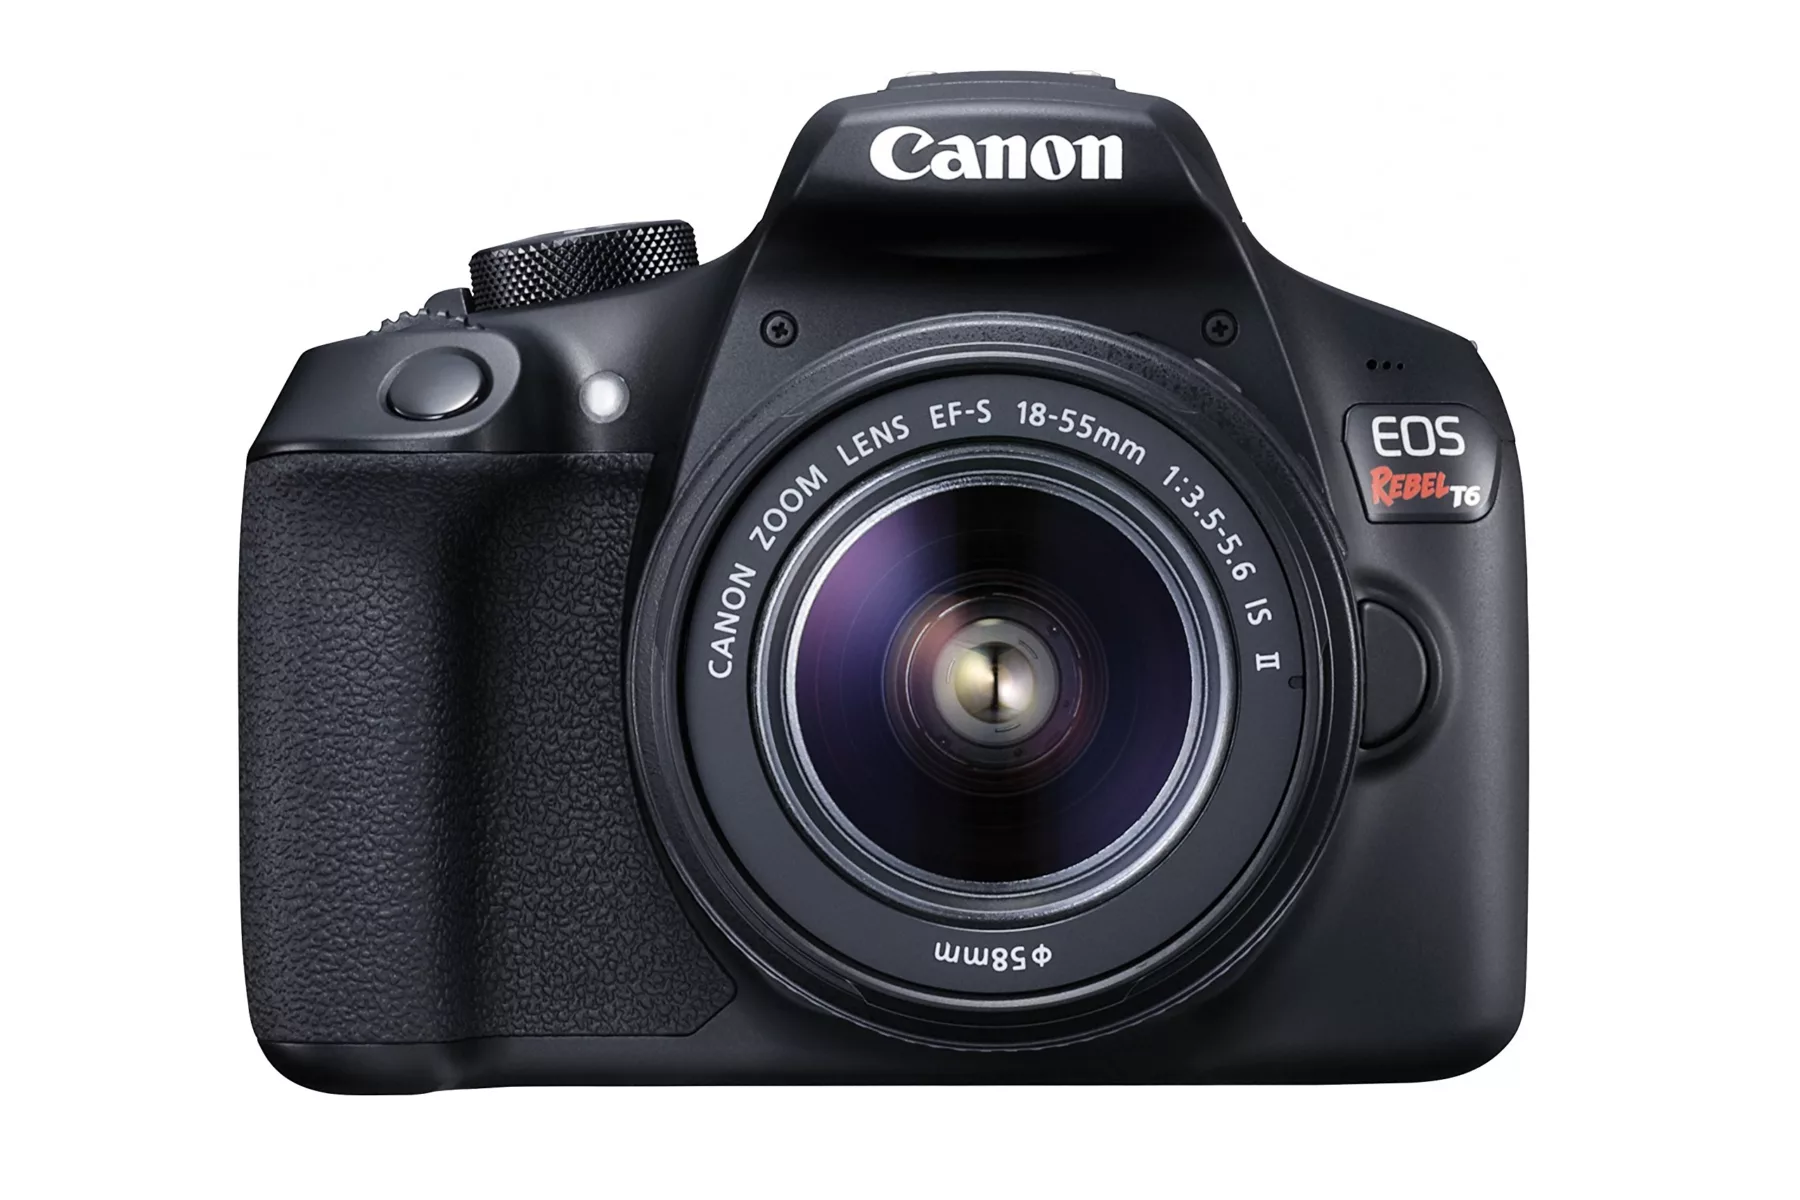
Are you a proud owner of the Canon Rebel T6 Digital SLR Camera? If so, you’re in luck because transferring photos from your camera to your Mac computer is a breeze! With the Canon Rebel T6, you can capture stunning photos and videos that will bring your creative visions to life.
The first step is to make sure that your camera is charged up and ready to go. Once you’ve done this, connect your camera to your Mac computer with a USB cable. You can easily find these at any electronics store or online. Once connected, open up the Photos app on your Mac computer and select “File > Import” from the menu bar.
From here, select the photos or folder that you want to import and then click “Review for Import”. If you selected multiple photos or videos, select which items you want to import by clicking “Import [number] Selected” or “Import All”. After this, click “Done” in order to save the imported items into the Photos Library on your computer.
With the Canon Rebel T6, it’s easy to capture amazing images and videos that will bring your creative vision to life! Now that we’ve gone over how to transfer photos from your Canon Rebel T6 Digital SLR Camera to your Mac Computer, it’s time for you to get out there and start creating!
Downloading Pictures From a Canon Rebel to a Mac
To download pictures from your Canon Rebel to your Mac, first, make sure that the camera is connected to your Mac via a USB cable. Once that is done, open the Photos app on your Mac. In Photos, choose File > Import. Select the photos or folder that you want to import, then click Review for Import. If you selected multiple photos or videos, select the photos or video that you want to import, then click Import [number] Selected or Import All. Once your pictures are imported into Photos, they will be saved on your Mac and can be edited and shared as desired.
Transferring Photos from Canon Rebel T6 to Computer
To transfer photos from your Canon Rebel t6 to your computer, you will need to connect the DIGITAL terminal on the camera and the USB terminal on your computer with a USB cable. Once you have connected the two terminals, switch your camera to Playback Mode. Then, open the File Transfer or Image Capture application on your computer. The application will detect your camera and display all of the images that are stored on it. Select the images that you would like to transfer and click “Download” or “Transfer.” Your photos should then be transferred onto your computer’s hard drive or media storage device.
Troubleshooting Issues with Importing Photos to Mac
There could be several reasons why your photos are not importing to your Mac. It could be due to a software conflict, insufficient storage, outdated software or hardware, corrupted files, etc. To narrow down the cause and find a solution, try restarting both your iPhone and Mac and then attempt to import the photos again. If the issue persists, try using a different USB cable or rebooting your iPhone in recovery mode. If those don’t work, you may need to reinstall the Photos app on your Mac and/or update both your Mac and iPhone to the latest version of their operating systems.
Importing Photos From Camera to Mac Without Iphoto
To import photos from your camera to your Mac without using iPhoto, you can use the Preview app that comes with macOS. To do this, open the Preview app and then choose File > Import from [camera name]. If more than one camera is connected to your Mac, choose File > Import from Camera > [camera or device name]. A window will appear with thumbnails of all the photos on your camera. Select the photos you want to import and then click the Import button. The selected photos will be imported into the Preview app. You can then save them to a folder on your Mac or export them as JPEGs.


