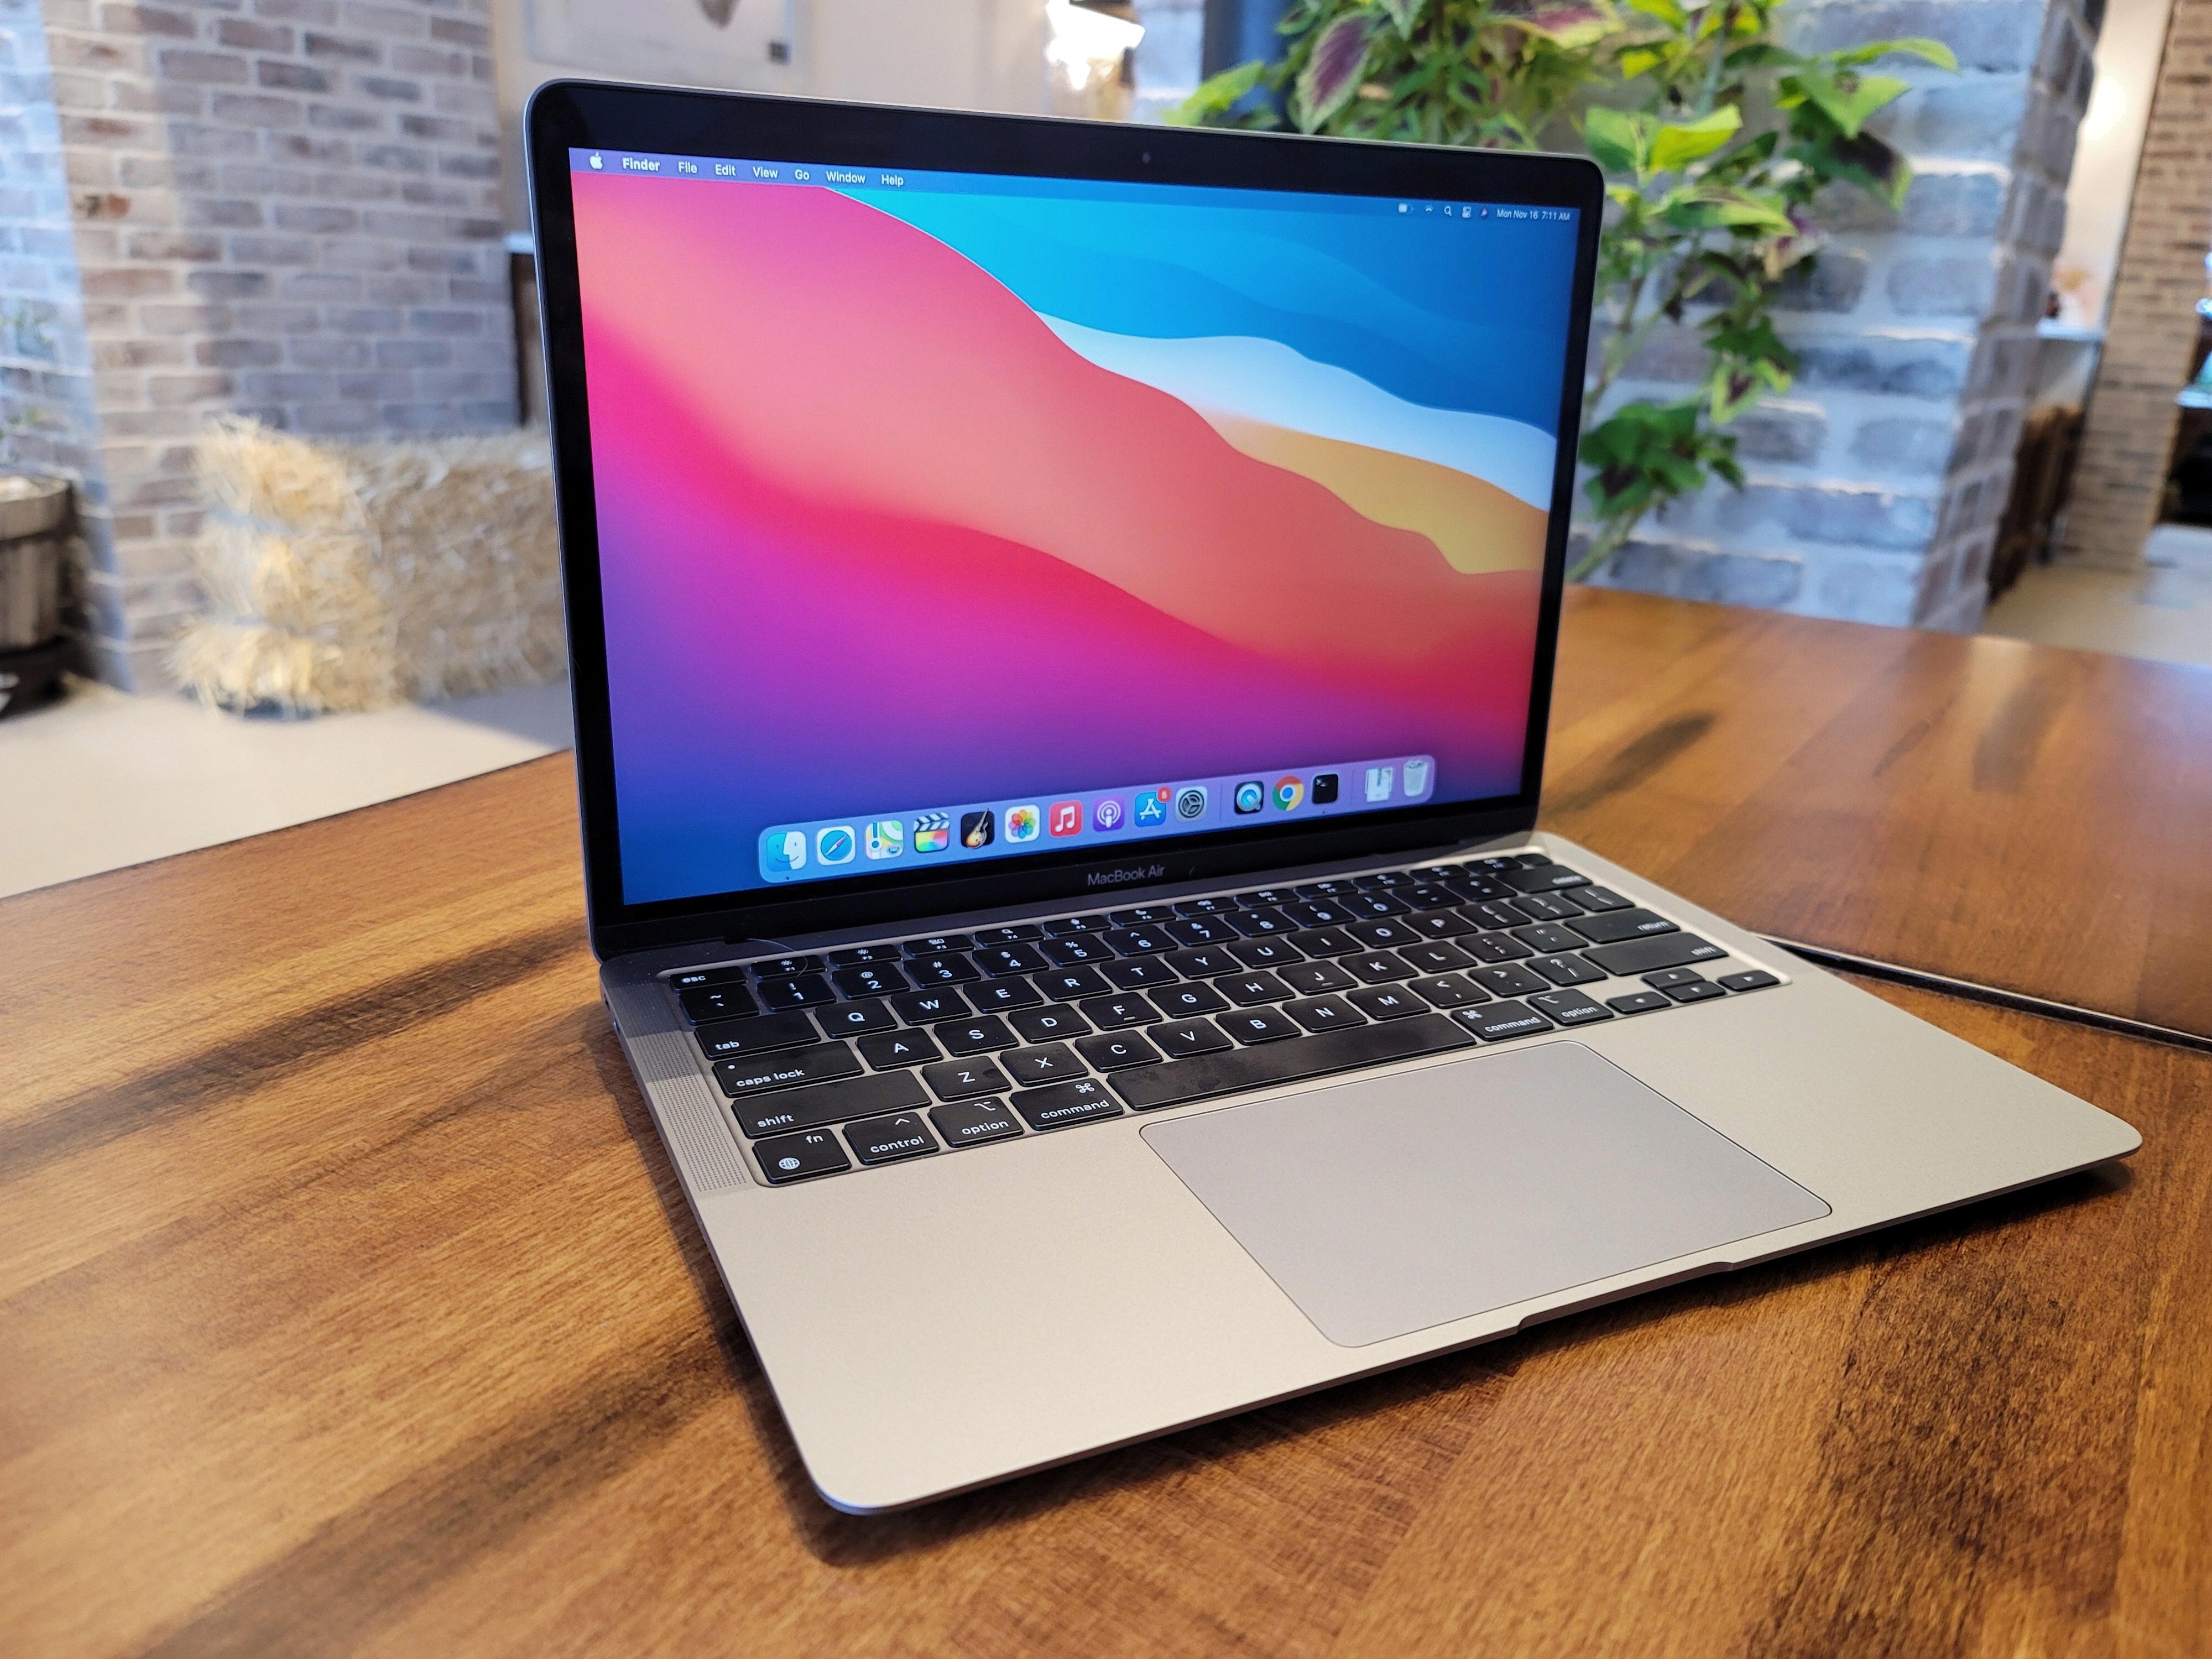
Taking a picture on your Macbook is a great way to capture special memories and moments! Whether you’re taking a selfie with friends or capturing a sunset, it can be done right from your Macbook.
The easiest way to take pictures on your Macbook is with the Photo Booth app that comes pre-installed on most versions of macOS. To get started, simply open the app and click “Take Photo” or “Record Video” from the main menu. This will launch the camera so you can start taking pictures.
If you don’t see the “Take Photo” or “Record Video” buttons, you may need to check your system settings first. To do this, go to the Apple menu and select System Settings. Then click Privacy & Security in the sidebar and make sure Camera access is enabled for Photo Booth.
Once you have everything set up, you can start taking pictures! You can use all of Photo Booth’s features like special effects and frames to add some fun flair to your photos. When you’re finished, just click “View Photos” or “View Videos” and they will be saved in your Photos library for later viewing.
Taking pictures on your Macbook doesn’t have to be difficult or complicated – just follow these simple steps and you’ll be snapping photos in no time!
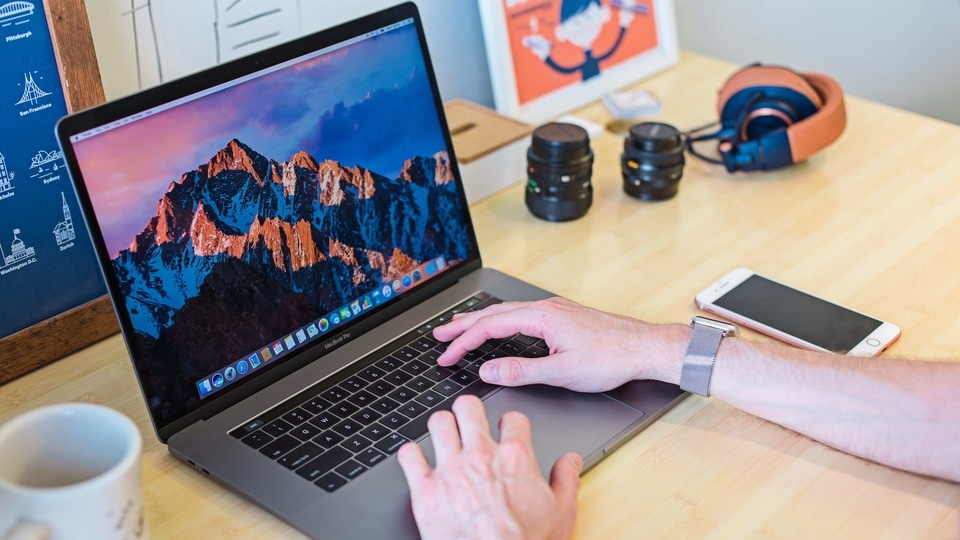
Taking a Photo on a Macbook
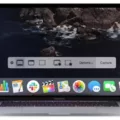
Taking a photo on a Macbook is easy and can be done using the Photo Booth app. To get started, open your Finder window and type “Photo Booth” in the search bar. Once you have opened the app, you will see a preview window with several options at the top of the screen. Click on the “Take Photo” button to begin taking photos. You can also choose to take pictures in either full-screen or split-screen mode by clicking on the corresponding button. After selecting your mode, click on the large shutter button to capture an image. The photo will then appear in the lower-left corner of your preview window. To save or share your photo, click on the “Share” icon at the bottom of your preview window and choose from one of several available options.
Accessing the Camera on a Macbook
To access your camera on your Macbook, follow these steps:
1. Open the Apple menu and select System Preferences.
2. Click Privacy & Security in the sidebar. (You may need to scroll down.)
3. Click Camera. (Note: If you don’t see the Camera, you will need to upgrade to macOS Mojave or later.)
4. Select the checkbox next to “Enable Camera” and click OK to confirm your selection.
5. You will now be able to access your camera on your Macbook!
Taking a Picture with a Laptop
To take a picture with your laptop, open the Camera app by selecting Start > Camera. Once the app is open, you will be able to see an image preview of what your camera is seeing. Select the camera icon at the bottom of this window to take a picture. After you press the camera button, your photo will be automatically saved to your computer’s Pictures folder.
Using Free Camera on a Mac
Using a Free Camera on your Mac is relatively straightforward and easy to do. First, you’ll need to download and install the OBS Studio software, which is a free, open-source program for capturing video from your Mac. Once the software has been installed, you’ll then need to connect any cameras that you want to use for recording. To do this, simply plug in a USB camera or use an external camera connected via HDMI or FireWire.
Once the camera is connected, launch the OBS Studio software and select the ‘Scene’ tab at the top of the window. Here you can add various sources such as video from your webcam, audio sources such as a microphone, and different images like logos or text. To add a webcam source click on the ‘+’ icon and select the ‘Video Capture Device’ option from the list that appears. You can then choose which webcam to use and give it a name before clicking OK.
To start recording with your free camera on your Mac simply click on the ‘Start Recording’ button at the bottom of the window. This will begin recording immediately and will create an output file in either MP4 or FLV format depending on what options you have selected in the settings menu. Once finished, simply click on the stop recording button at the bottom of the window and save your recorded video file wherever convenient for future use.
Conclusion
In conclusion, the Photo Booth app on your Mac provides users with the ability to take pictures and record videos. To access this feature, simply click on the View Photo or View Video button to reveal the Take Photo or Record Video button. If the Record Video button is not showing, click on the “Record a Movie Clip” button at the bottom left. In order to use this feature, you must have macOS Mojave or a later version installed on your Mac. With these simple steps, you can easily take pictures and record videos on your Macbook.

