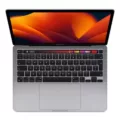
If you’re a streamer looking to take your broadcast to the next level, then you’ve likely considered investing in a Macbook Pro. After all, Apple’s laptops are known for their quality and performance, so why not use one for streaming? Well, the good news is that it’s totally possible to stream with a Macbook Pro. In fact, there are several different streaming apps available specifically designed for macOS.
For starters, let’s talk about OBS Studio – arguably the most popular streaming software on the market. OBS Studio is an open-source and free program that’s compatible with both Windows and macOS systems. It gives you access to a variety of features such as multiple audio sources, chroma key options, customizable transitions, and more. On top of that, it also supports live streaming platforms like Twitch and YouTube Gaming with ease.
In addition to OBS Studio, there’s also Twitch Studio – which is currently in beta testing specifically for Mac users. This app was designed from the ground up by Twitch itself and offers an intuitive experience tailored for novice streamers who want to get going quickly without worrying about complicated setups or technicalities. Twitch Studio also comes with built-in support for broadcasting on Twitch as well as video editing tools that make creating high-quality content fast and easy.
When it comes to setting up your Macbook Pro for streaming, there are a few things you need to consider first. For starters, make sure your laptop has enough processing power (typically an Intel Core i5 or better) and RAM (8GB or more). You’ll also need to have a good internet connection since most streams need at least 5 Mbps of download speed in order to work properly.
Finally, don’t forget about the audio! Investing in a good microphone can be incredibly helpful when it comes to creating clear sound quality on your broadcasts – something all streamers should strive for if they want viewers to stick around and watch their streams longer.
Overall, streaming with a Macbook Pro doesn’t differ much from doing it on Windows systems – although there may be some slight differences depending on what programs you end up using. With the right setup though (and some practice), anyone can start to live streaming from their Mac laptop!
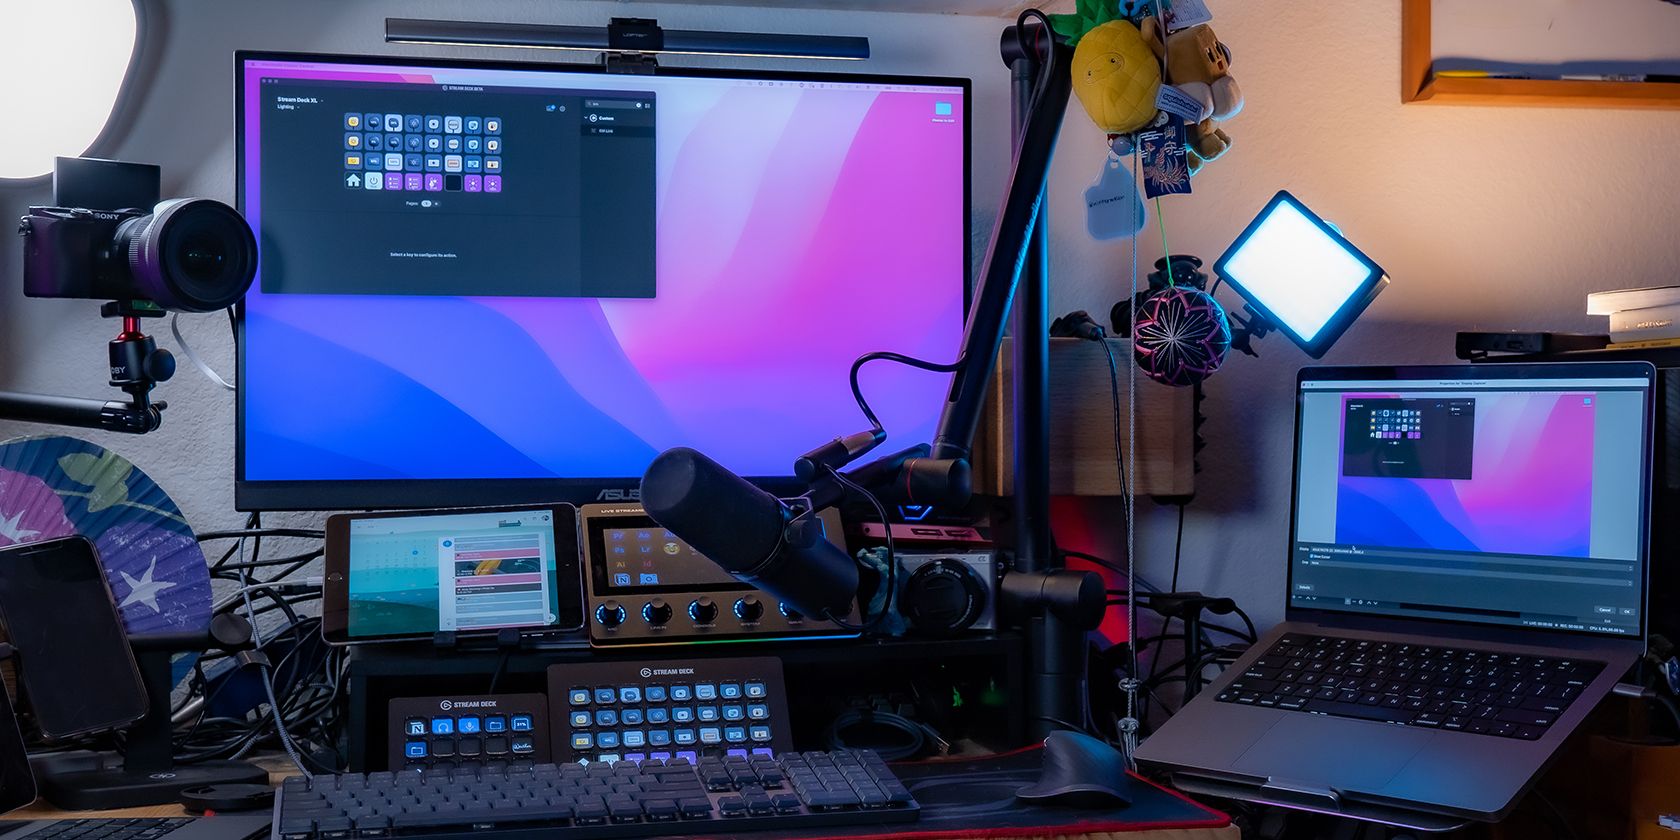
Using a MacBook Pro for Streaming
Yes, you can use a MacBook Pro for streaming. There are several streaming software options available for macOS, allowing you to broadcast your content to popular platforms such as Twitch, YouTube, and Facebook Live. When choosing streaming software for your Mac, consider what features are important to you, such as audio and video quality, whether or not it supports multiple accounts, and if there are any additional plugins or features that may be beneficial. Additionally, make sure that the software is compatible with your specific MacBook Pro model’s hardware. Once you’ve chosen your Mac streaming software and have verified its compatibility with your device’s hardware, you should be able to start streaming right away!
Can a MacBook Pro Stream on Twitch?
Yes, an Apple MacBook Pro can handle streaming on Twitch. You will need the right hardware and software to make it work. First, you’ll need a webcam or capture device to capture your video and audio, as well as a microphone if you plan to talk while streaming. Then, you’ll need encoding software such as OBS Studio or Streamlabs OBS (both of which are compatible with macOS) to compress and send your stream over the internet. Finally, you’ll need a good internet connection in order to stream without any buffering issues. Make sure that your upload speed is at least 3 Mbps in order for the stream to remain stable. With all of the necessary hardware and software set up correctly, you should be able to stream on Twitch from your MacBook Pro with no problems.
Streaming Issues on MacBook Pro
There are several possible reasons why you can’t stream on your MacBook Pro.
Firstly, it could be an issue with your internet connection. If your internet connection is weak or unstable, streaming videos can become difficult or even impossible. Make sure you have a strong and secure connection before attempting to stream.
Another common problem could be caused by the type of file you’re trying to stream. Some video formats may not be supported by your laptop or the streaming service, so make sure that the file type is compatible with both.
It’s also possible that there could be something wrong with the video itself, such as corrupt files or damaged headers. In this case, try downloading a different version of the video and see if that works any better.
Finally, there could be a problem with the application you’re using to stream the video. Make sure that you are using an up-to-date version of the app and check for any updates that might help resolve the issue.
If none of these solutions work, then it might be best to contact customer support directly in order to get more help troubleshooting the problem.
How Much RAM Is Needed for Streaming?
When streaming videos, the amount of RAM you need depends on your specific needs. For basic streaming, 8GB of RAM is adequate, but if you want to stream in higher quality or avoid lags and future upgrades, 16GB of RAM is recommended. For the best streaming experience, it’s always better to opt for 32GB of RAM. This will ensure smooth playback and allow for multitasking without compromising performance. Additionally, more RAM can help improve video loading times and reduce buffering issues.
Are Macs Suitable for Gaming and Streaming?
Macs are generally not designed to be gaming or streaming computers. They have great hardware and can run some games, but the experience is not quite up to the same level as a dedicated Windows gaming PC. Streamers may experience some lag in their streams due to the lack of dedicated hardware for live streaming. Additionally, Macs do not support certain popular streaming programs, such as OBS or XSplit.
For serious gamers or streamers, a dedicated Windows gaming PC is still the best option for an optimal gaming and streaming experience. However, if you’re simply looking for a casual gaming experience on a budget, then Macs can still be viable options depending on your needs and preferences.
Can OBS Run on a Macbook Pro?
Yes, OBS can run on a Macbook Pro. The open-source software is available for download from the official OBS website, and the macOS 10.13+ version is designed to work with all versions of Mac OS X. However, it should be noted that some users have reported issues with specific versions of macOS and OBS, so it’s important to make sure the software is compatible with your system before downloading. Additionally, many users recommend utilizing hardware acceleration to ensure the best performance.
Enabling Streaming on a Mac
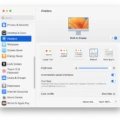
To enable streaming on your Mac, you first need to ensure that you have a reliable internet connection. Once you have established a strong connection, open the System Preferences window and select Sharing. You will see a list of services that can be enabled – make sure Screen Sharing is selected. If Remote Management is turned on, turn it off.
Next, click on Options and then check the box next to “Allow viewers to control screen with password”. This will enable streaming, as viewers will be able to log in remotely using their own password and access the shared screen. Finally, click OK and then Apply to save your changes. Now streaming should be enabled on your Mac!
Causes of Slow Streaming on Mac Computers
Streaming may be slow on your Mac for a few different reasons. Firstly, your internet connection may not be fast or reliable enough to support streaming. You can check the download speed of your internet connection with an online speed test to determine if this is the issue. Secondly, if your Mac is running an old version of macOS, it may not be able to process the data required for streaming efficiently. Updating your macOS may help improve performance. Finally, too many apps or browser tabs open can also slow down streaming on your Mac, as they take up system resources. Close any unnecessary applications and restart your Mac for a fresh start.
Streaming Issues on Mac Computers
There are several possible reasons why you may not be able to stream shows on your Mac. First, it’s important to make sure that you have an adequate internet connection speed, as streaming services require a lot of bandwidth. Second, check to make sure that JavaScript is enabled in your web browser, as this is often necessary for streaming services to work properly. Third, if you’ve been browsing the same websites for a while, your browser may have loaded up a lot of cached information that can interfere with streaming services. Finally, if none of these steps help, there may be an issue with the service itself – try restarting the app or website and see if that helps.
Conclusion
In conclusion, streaming on Mac is just as easy as streaming on Windows. With the right software and setup, you can easily stream to the same platforms you would with Windows. OBS Studio and Streamlabs OBS are both great options for Mac users looking to stream, while Twitch Studio is currently in beta and is another great option. If your videos aren’t playing on your Mac, there are a few common causes that could be to blame such as malware or virus issues, fire damage, network interruption while downloading the file, issues caused by wrong video processing or your player not supporting the file format. With the right streaming software and a bit of troubleshooting, you’ll be able to get your live streams up and running in no time!


