Are you having trouble finding the Screen Record button on your Android device? If so, you’re not alone. Many people have been asking the same question – “Where is the Screen Record button?”
The good news is that the Screen Record button can be found on most Android devices, but it isn’t always visible. In this blog post, we will explain how to find and access the Screen Record button on your phone or tablet.
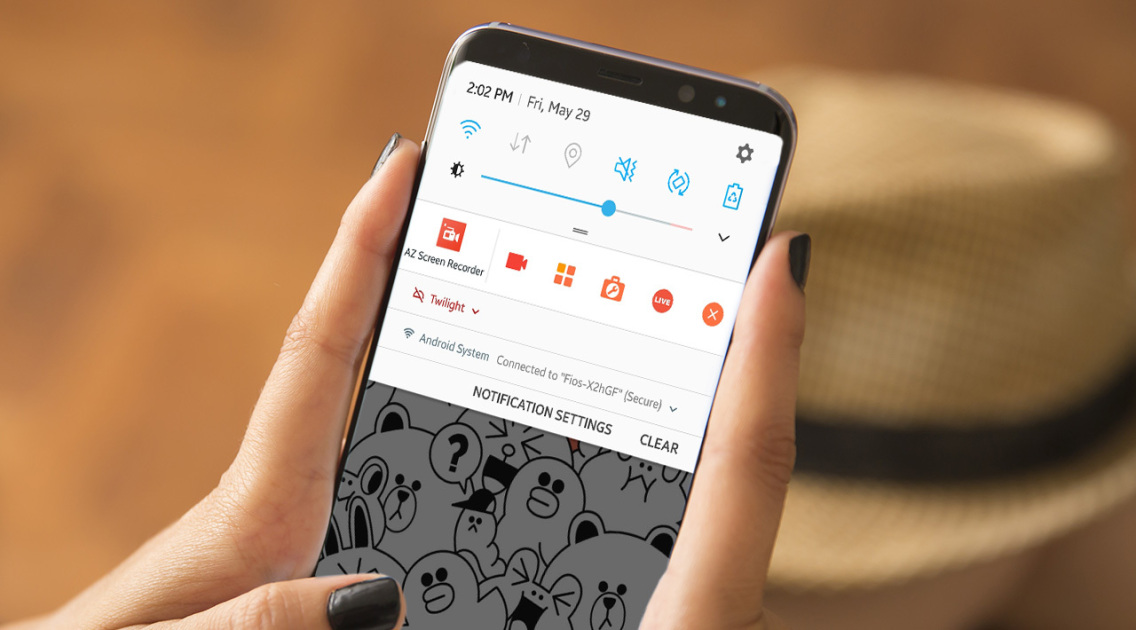
First, it’s important to understand where to look for the Screen Record button. On most Android devices, it can be found in the Quick Settings panel. To access this panel, simply swipe down twice from the top of your device’s display. Once you see the Quick Settings panel, tap on the Edit icon (looks like a pencil). The full list of settings available should appear; scroll down to find Screen Record at the bottom of this list.
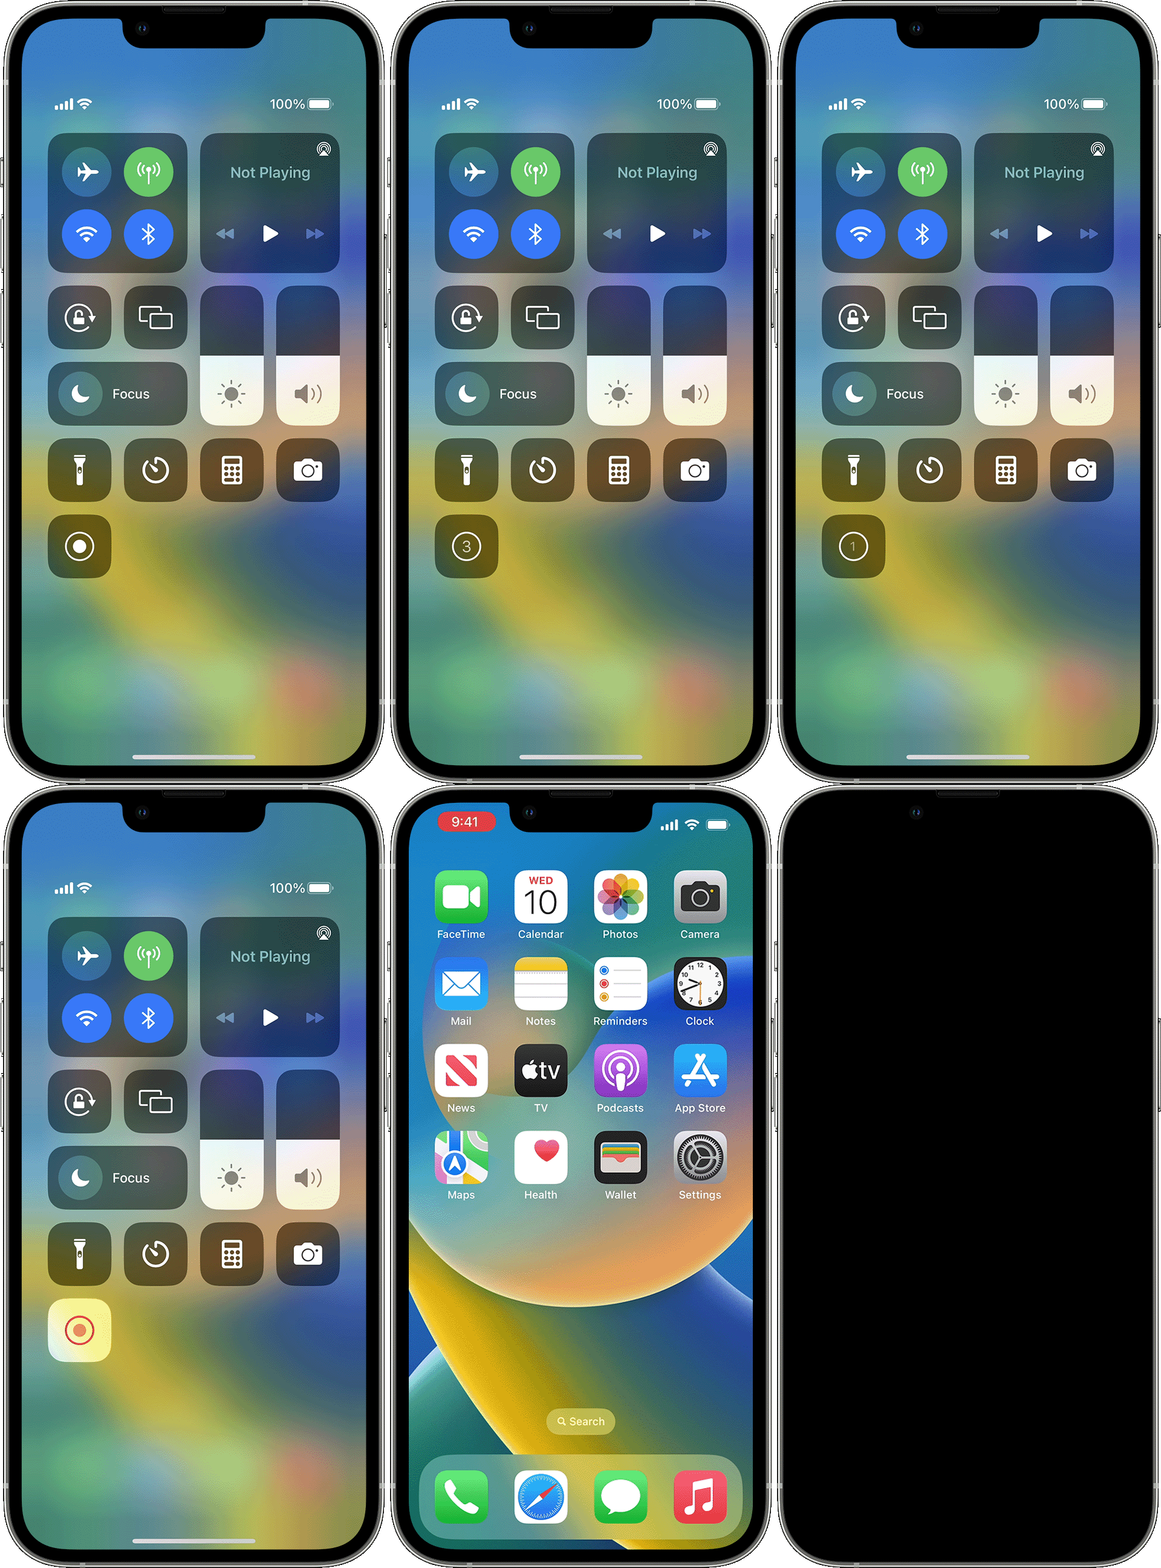
If you still don’t see it, go to Settings > Control Centre and tap on the Add button next to the Screen Recording option. This will add the Screen Record option to your Quick Settings panel which can then be used as usual.
Once you have located and added the Screen Record option in your Quick Settings panel, you are ready to start recording your screen activity. To begin recording, just open up your Quick Settings panel and select ‘Screen Record’. You will need to choose what content you want to record and then tap Start – after a three-second countdown, your recording will begin! To stop recording at any time during your session simply swipe down from the top of your device’s display and tap on the Screen recorder icon again – all recordings made with this method are saved in an easily accessible folder called ‘Screen Recording’ in My Files or Photos app.
We hope that this blog post has helped answer any questions you may have had about locating and using Android’s built-in screen recording feature!
Missing Screen Record Button
The Screen Record button may be missing from your Quick Settings panel if it hasn’t been added yet. To add it, open the Quick settings panel and tap on the Edit icon (looks like a pencil). Scroll down to view the complete list of settings available and you should see Screen Record at the bottom. Once you have added it, you will be able to access it from the Quick settings panel whenever you need to record your screen.
Adding a Screen Recording Button
Adding a Screen Recording button is easy. First, open the Settings app on your Android device and select the Accessibility option. Scroll down to find the Select to Speak option and turn it on. Once it is enabled, a Screen Recording button will appear in the bottom right of your screen. To begin recording, simply tap this button and you’ll be able to capture whatever is on your screen. When you’re finished, tap the same Screen Recording button again to end the recording.
Locating the Screen Record Option in Settings
The Screen Record option can usually be found in the Quick Settings menu. To access it, swipe down twice from the top of your screen to see all of your available Quick Settings. Look for an icon with a circle and a camera or an icon that says “Screen Record”. Tap on this icon and you will be able to begin recording your screen.
Conclusion
In conclusion, if the Screen Record option does not show up on your device, you can easily add it to the Quick settings panel. All you need to do is open the Quick settings panel and tap on the Edit icon. Scroll down to view a complete list of available settings, and you should find Screen Record at the bottom. Once it has been added to your device, you can screen record by swiping down twice from the top of your screen and tapping Screen record. After selecting what you want to record, tap Start and wait for a three-second countdown before exiting Control Center to begin recording.


