As technology progresses, new versions of operating systems are released, offering improved features, enhanced security, and better performance. However, some users may have a need to run older versions of macOS for various reasons, such as compatibility with certain software applications or personal preference. With Parallels Desktop, a virtualization software for Mac, it is possible to run older macOS versions seamlessly, even on newer Mac systems. In this article, we will guide you through the process of running older macOS versions using Parallels Desktop.
Step 1: Install Parallels Desktop
Before you can run older macOS versions, you need to have Parallels Desktop installed on your Mac. If you don’t have it already, you can download and install it from the official Parallels website. Make sure to choose the version that is compatible with your Mac’s operating system.
Step 2: Obtain the Older macOS DMG
To run an older macOS version on Parallels Desktop, you will need to obtain the disk image (DMG) file of the desired operating system. There are a few ways to get these DMG files. One option is to check if Apple still provides the older macOS versions for download from their website. If not, you can search for trusted third-party sources that offer DMG files for specific macOS versions. It is essential to only download DMG files from reputable sources to avoid any security risks.
Step 3: Create a New Virtual Machine
Once you have the DMG file of the older macOS version, you can proceed to create a new virtual machine in Parallels Desktop. Open Parallels Desktop and click on the “+” button to create a new virtual machine. In the installation options, choose “Install Windows or another OS from a DVD or image file” and click Continue.
Step 4: Select the DMG File
In the next step, Parallels Desktop will ask you to select the installation media. Click on the “Image File” option and browse for the DMG file of the older macOS version that you obtained earlier. Once selected, click Continue.
Step 5: Customize Virtual Machine Settings
In this step, you can customize various settings for your virtual machine, such as the amount of RAM, processor cores, and storage allocation. Adjust these settings according to your Mac’s capabilities and the requirements of the older macOS version you are installing. Click Continue when you are satisfied with the settings.
Step 6: Install the Older macOS Version
Now, Parallels Desktop will start the installation process of the older macOS version on the virtual machine. Follow the on-screen instructions to complete the installation. This may involve agreeing to the software license, selecting the installation destination, and entering necessary information like username and password.
Step 7: Launch the 32-bit Application
After the installation is complete, you can launch the virtual machine and start using the older macOS version. If your intention is to run a specific 32-bit application, you can now download and install it within the virtual machine. Ensure that the application you want to run is compatible with the older macOS version you have installed.
Step 8: Enjoy the Benefits
Congratulations! You have successfully set up and installed an older macOS version using Parallels Desktop. Now, you can enjoy the benefits of running older software or experience the nostalgia of using an older operating system while still having access to the latest features and security patches on your main Mac system.
It is important to note that running older macOS versions on Parallels Desktop is not a suitable solution for everyone. Some applications or functionalities may not work properly in a virtualized environment, and performance may vary compared to running the operating system natively. Additionally, it is crucial to keep your virtual machine and older macOS version updated with the latest security patches to mitigate any potential vulnerabilities.
Parallels Desktop offers a convenient way to run older macOS versions on your Mac, enabling you to use older software or explore the user experience of previous operating system iterations. By following the step-by-step guide provided in this article, you can easily set up a virtual machine and enjoy the benefits of running older macOS versions without compromising the performance or security of your main Mac system.
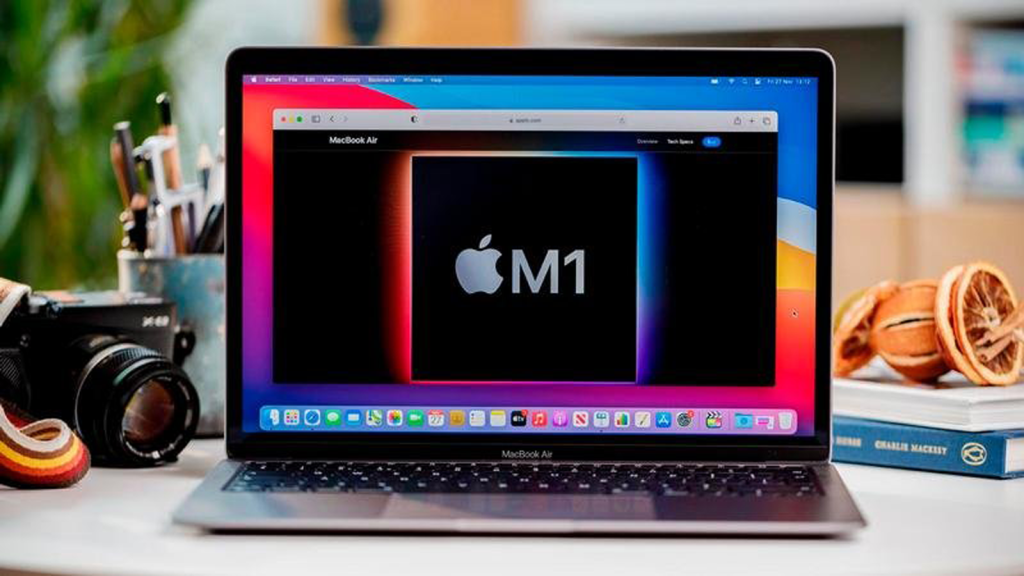
Can You Run Older Versions Of MacOS in Parallels?
It is possible to run older versions of macOS in Parallels Desktop. Parallels Desktop is a virtualization software that allows you to run multiple operating systems on your Mac simultaneously.
To run older versions of macOS in Parallels Desktop, you will need to have the installation disk image (DMG) of the desired operating system. Here is a step-by-step guide to help you set it up:
1. Open Parallels Desktop on your Mac.
2. Click on the “File” menu and select “New.”
3. In the “Install Windows or another OS from a DVD or image file” section, click on the “Continue” button.
4. Parallels will automatically detect the operating system installation files on your Mac. If it doesn’t, click on the “Choose Manually” button and locate the DMG file of the older macOS version.
5. Select the macOS version you want to install from the list and click on the “Continue” button.
6. Choose a name and location for your virtual machine and click on the “Create” button.
7. Parallels will start creating the virtual machine and installing the macOS in the background. This process may take a few minutes.
8. Once the virtual machine is created and the macOS is installed, you can customize the settings according to your preferences. For example, you can allocate more RAM or adjust the display resolution.
9. After setting up the virtual machine, you can run it by clicking on the “Play” button in Parallels Desktop.
Now that you have set up the older version of macOS in Parallels Desktop, you can download and install your desired 32-bit application within the virtual machine. Here’s how you can do it:
1. Launch the virtual machine by clicking on the “Play” button in Parallels Desktop.
2. Open a web browser within the virtual machine and go to the official website of the application you want to download.
3. Look for the download link for the 32-bit version of the application. Some websites may have separate download links for 32-bit and 64-bit versions.
4. Download the 32-bit version of the application and save it to a location within the virtual machine.
5. Once the download is complete, locate the downloaded file and double-click on it to start the installation process.
6. Follow the on-screen instructions to install the 32-bit application in the virtual machine.
7. Once the installation is complete, you can launch the 32-bit application and use it within the virtual machine.
By using Parallels Desktop, you can create a new virtual machine with the desired older version of macOS and run 32-bit applications within it. This allows you to enjoy your favorite applications even if they are not compatible with the latest macOS versions.
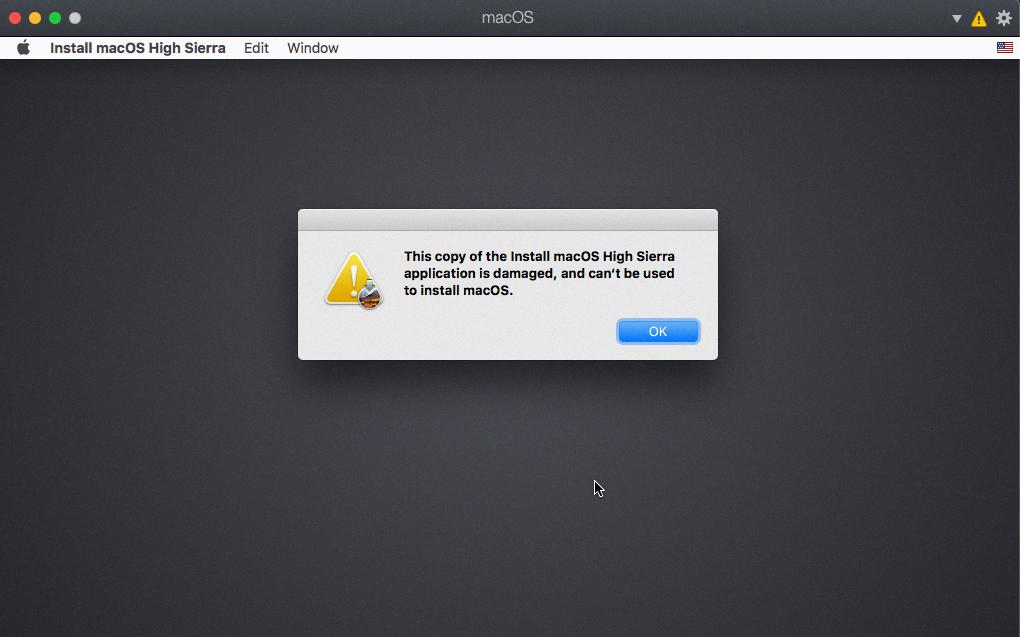
Can Parallels Run Older MacOS On M1?
Parallels cannot run older versions of macOS on M1 Macs. Parallels is a virtualization software that allows users to run different operating systems, such as Windows or older versions of macOS, on their Mac computers. However, the M1 Macs, which are powered by Apple Silicon, have a different architecture compared to Intel-powered Macs. This means that the software needs to be specifically optimized to run on the M1 chip. Currently, Parallels Desktop for Mac does not support running older versions of macOS on M1 Macs. So, if you were using an external drive to boot into an older version of macOS on an Intel Mac, you won’t be able to do the same on an M1 Mac using Parallels.
Can You Run An Older Version Of MacOS?
It is not possible to directly run an older version of macOS on a Mac that is already running a newer version. The macOS operating system does not support downgrading or installing older versions on top of newer ones.
If you want to install an older version of macOS or Mac OS X, you will need to completely wipe your Mac and perform a clean installation of the desired older version. This means that all your data and settings will be erased, so it is important to back up any important files before proceeding.
Here is a step-by-step guide on how to install an older version of macOS:
1. Backup your data: Before you begin, make sure to back up all your important files and data to an external storage device or cloud service.
2. Create a bootable installer: Download the desired older version of macOS from the Apple website or obtain it from a trusted source. Follow the instructions provided by Apple to create a bootable installer on a USB flash drive or external hard drive.
3. Restart your Mac: Restart your Mac and hold down the Option key while it is starting up. This will open the Startup Manager, which allows you to choose a startup disk.
4. Choose the bootable installer: From the Startup Manager, select the bootable installer disk that you created in step 2. It will be displayed as a drive with the macOS installer icon.
5. Erase your Mac’s hard drive: Once the bootable installer has loaded, open Disk Utility from the Utilities menu. Select your Mac’s hard drive and click on the Erase tab. Choose a format (usually Mac OS Extended) and give it a name. Click on Erase to erase the hard drive.
6. Install the older version of macOS: After erasing the hard drive, close Disk Utility and follow the on-screen instructions to install the older version of macOS. Choose the newly erased hard drive as the destination for the installation.
7. Restore your data: Once the installation is complete, you can restore your backed-up files and data using the Time Machine backup or other backup methods.
It is important to note that running an older version of macOS may have compatibility issues with newer software and hardware. Additionally, older versions of macOS may not receive security updates, so it is recommended to use the latest supported version whenever possible.
Running an older version of macOS on a Mac that is already running a newer version is not possible. To install an older version, you will need to wipe your Mac and perform a clean installation of the desired older macOS version.
What Versions Of MacOS Can Parallels Run?
Parallels Desktop is a virtualization software that allows users to run multiple operating systems on their Mac computers. When it comes to macOS compatibility, Parallels Desktop supports several versions.
Here are the versions of macOS that Parallels Desktop can run:
1. macOS Ventura (when released): Parallels Desktop is expected to support the upcoming macOS Ventura, ensuring that users can seamlessly run this new version on their Macs.
2. macOS Monterey: Parallels Desktop is fully compatible with macOS Monterey, the latest release of macOS. Users can enjoy all the benefits and features of Monterey while running it alongside other operating systems.
3. macOS Big Sur 11: Parallels Desktop is compatible with macOS Big Sur 11, allowing users to create virtual machines and run them on their Macs without any issues.
4. macOS Catalina 10.15: Parallels Desktop supports macOS Catalina 10.15, which was a significant macOS update with various improvements and new features. Users can effortlessly run Catalina on their Macs using Parallels Desktop.
5. macOS Mojave 10.14: Parallels Desktop also supports macOS Mojave 10.14, a previous version of macOS that introduced the Dark Mode feature. Users can run Mojave alongside other operating systems using Parallels Desktop.
Parallels Desktop supports a wide range of macOS versions, including the upcoming macOS Ventura, as well as macOS Monterey, Big Sur, Catalina, and Mojave. This compatibility ensures that users can seamlessly run multiple operating systems on their Mac computers using Parallels Desktop.
Conclusion
Running older versions of macOS through Parallels Desktop provides a viable solution for users who still rely on 32-bit applications or need to access older operating systems for compatibility reasons. By creating a new virtual machine in Parallels Desktop and installing the desired macOS version, users can seamlessly run their 32-bit applications without the limitations imposed by newer macOS versions.
Parallels Desktop not only allows users to enjoy the benefits of their current macOS but also provides the flexibility to switch to an older macOS environment whenever needed. This is particularly helpful for individuals who rely on specific software or workflows that are only compatible with older operating systems.
Additionally, Parallels Desktop supports a range of macOS versions, including the latest releases such as macOS Ventura (when released), macOS Monterey, macOS Big Sur 11, macOS Catalina 10.15, and macOS Mojave 10.14. This ensures that users can choose the most suitable macOS version for their specific needs.
Furthermore, while external drives were previously used to run older macOS versions, this option is no longer available for M1 Macs. Therefore, Parallels Desktop offers a convenient and efficient alternative for M1 Mac users who require access to older macOS versions.
Parallels Desktop provides a user-friendly and effective solution for running older macOS versions, allowing users to continue using their preferred 32-bit applications and maintaining compatibility with legacy software. By enabling the creation of virtual machines, Parallels Desktop ensures a seamless experience, making it an invaluable tool for individuals who rely on older macOS versions for their workflows and software requirements.


