Sonos System is a smart speaker system that allows you to play music wirelessly from anywhere in your home. It is a very popular system that provides a high-quality audio experience. However, sometimes it may be necessary to reset the system to connect it to a new Wi-Fi network. In this article, we will guide you through the process of resetting your Sonos System to a new Wi-Fi network.
The first step is to open the Sonos S1 app for either iOS or Android. The app will search for your Sonos system automatically. If you see the message “Unable to connect to Sonos,” tap on “Learn More.” Here, you will find instructions to connect Sonos to your new Wi-Fi network.
If you want to reset all your Sonos products except Move, Roam, and Roam SL, unplug the power cord and press and hold the Join button while reconnecting the power cord. Keep holding the button until the light flashes orange and white. The light will flash green when the process is complete, and the product is ready to be set up.
If you are experiencing common issues, such as a lack of power, check the power cord connection and make sure it is securely plugged into both the Sonos product and the power outlet. If your router is not connected, unplug it and plug it back in. Give the router a minute or two to start up again. Ensure that you are connected to the correct Wi-Fi network.
If you want to set up a new Sonos System with Sonos Roam SL, you need to open the Sonos app for either iOS or Android. Tap on “Set up a new system,” then create or sign in to your Sonos account. Tap on “Add” on the popup showing your Sonos Roam SL. Follow the steps in the app to set up Sonos Roam SL and add your music services.
Resetting your Sonos System to a new Wi-Fi network is a straightforward process. By following the steps above, you can easily connect your Sonos System to your new Wi-Fi network and enjoy high-quality audio. Remember to check for common issues and ensure that you are connected to the correct Wi-Fi network.

Changing Sonos to a New WiFi
To change your Sonos to a new WiFi network, follow these steps:
1. Open the Sonos S1 app on your iOS or Android device and wait while it searches for your Sonos system.
2. If your Sonos system is not found, tap the “Add Product” button and follow the instructions to set up your Sonos system.
3. Once your Sonos system is found, tap the “Settings” tab in the bottom right corner of the screen.
4. Tap “System” and then “Network.”
5. Tap “Change WiFi Network” and select your new WiFi network from the list of available networks.
6. Enter the password for your new WiFi network and tap “Connect.”
7. Your Sonos system will now be connected to your new WiFi network.
If you are having trouble connecting your Sonos system to your new WiFi network, you may need to reset your Sonos system and set it up again from scratch. To do this, follow these steps:
1. Unplug all Sonos products from power.
2. From your router, turn off your WiFi network or unplug the router from power.
3. Wait 10 seconds, and then turn on or plug in your router.
4. Wait for your router to boot up completely.
5. Plug in your Sonos products one by one, waiting for each to connect to the new WiFi network before plugging in the next.
6. Open the Sonos app and follow the prompts to set up your Sonos system again.

Resetting a Sonos System
To reset your Sonos System, you need to follow the below steps:
1. Unplug the power cord of all Sonos products except Move, Roam, and Roam SL.
2. Press and hold the Join button ( or ) on your Sonos product while reconnecting the power cord.
3. Keep holding the button until the light flashes orange and white.
4. The light will flash green when the process is complete, and the product is ready to be set up.
5. Now, you can proceed with setting up your Sonos System and connecting it to your Wi-Fi network.
It’s worth noting that resetting your Sonos System will erase all existing settings and data on the device, so make sure to back up any important information before proceeding. Also, if you’re experiencing any issues with your Sonos System, resetting it may help resolve the problem.
Troubleshooting Sonos Connection to New WiFi
If you are having trouble connecting your Sonos device to your new WiFi, there are a few things you can try to fix the issue:
1. Check the power source: Ensure that your Sonos device is properly plugged in and receiving power. Make sure that the power cord is securely plugged into both the Sonos device and the power outlet.
2. Restart your router: Unplug your router and wait for a few seconds before plugging it back in. Allow your router to start up again and try connecting your Sonos device to your new WiFi.
3. Ensure you’re connected to the right network: Make sure that you are connected to the correct WiFi network. Check the name and password of your network to ensure that they are correct.
4. Use the Sonos app: Use the official Sonos app to connect your device to your new WiFi network. Open the app and select “Settings” > “System” > “Network” > “WiFi Set Up”. Follow the on-screen instructions to connect your Sonos device to your new WiFi network.
5. Reset your Sonos device: If all else fails, try resetting your Sonos device to its factory settings. To do this, press and hold the “Play/Pause” button and the “Volume Up” button at the same time for five seconds. This will erase all settings on your device, including your WiFi network. You can then set up your Sonos device again from scratch and connect it to your new WiFi network.
By following these steps, you should be able to connect your Sonos device to your new WiFi network successfully.
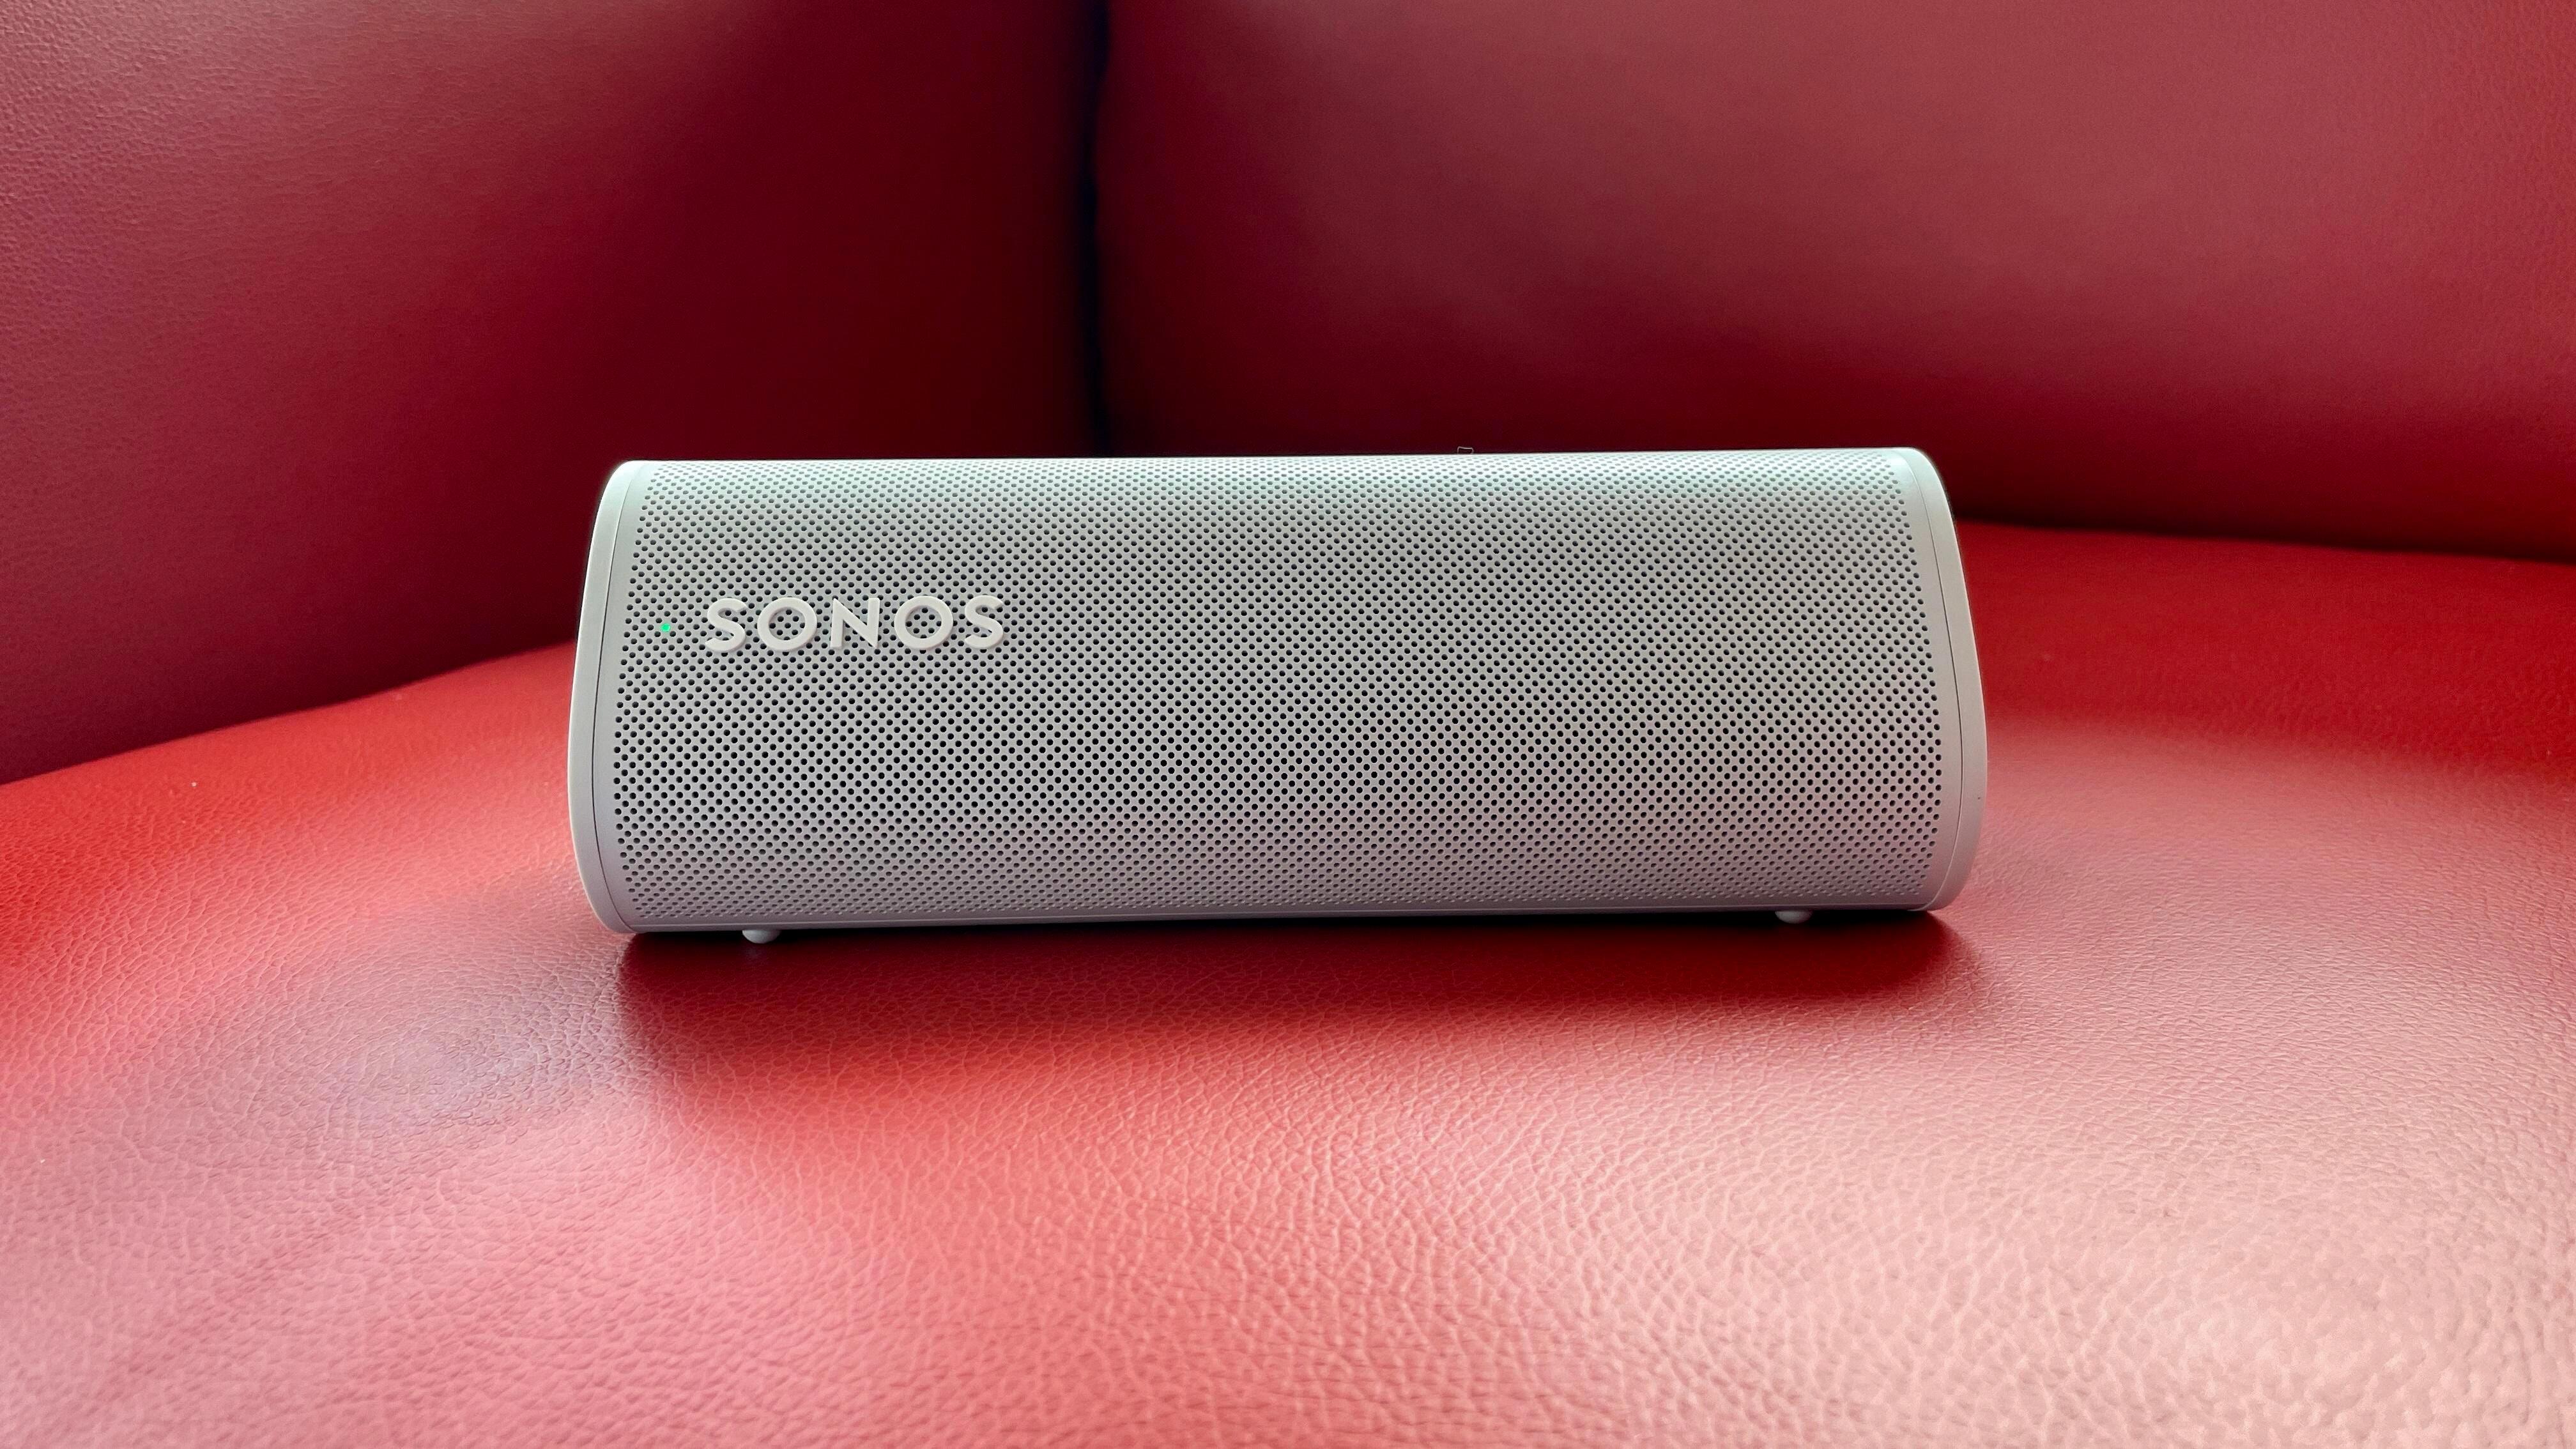
Connecting Sonos Roam to a New Network
To connect your Sonos Roam to a new network, you need to follow these steps:
1. Turn on your Sonos Roam and make sure it is in range of the new network.
2. Open the Sonos app on your smartphone or tablet.
3. Tap on the Settings tab in the bottom right corner of the screen.
4. Scroll down and select System.
5. Select the Sonos Roam from the list of devices.
6. Tap on Network.
7. Select Set Up New Network.
8. Follow the prompts in the app to connect your Sonos Roam to the new network.
If you have any issues connecting your Sonos Roam to a new network, you can try resetting your device and starting the process over again. Additionally, you can consult the Sonos support website for further assistance.
Conclusion
The Sonos System is a versatile and reliable audio system that offers a seamless listening experience. With its user-friendly app, you can easily connect multiple speakers and control them from one device, allowing you to enjoy your favorite music in any room of your home. The setup process is simple and straightforward, and there are various troubleshooting options available for any issues that may arise. Whether you’re a casual listener or an audiophile, the Sonos System is a great investment that will enhance your listening experience for years to come.


