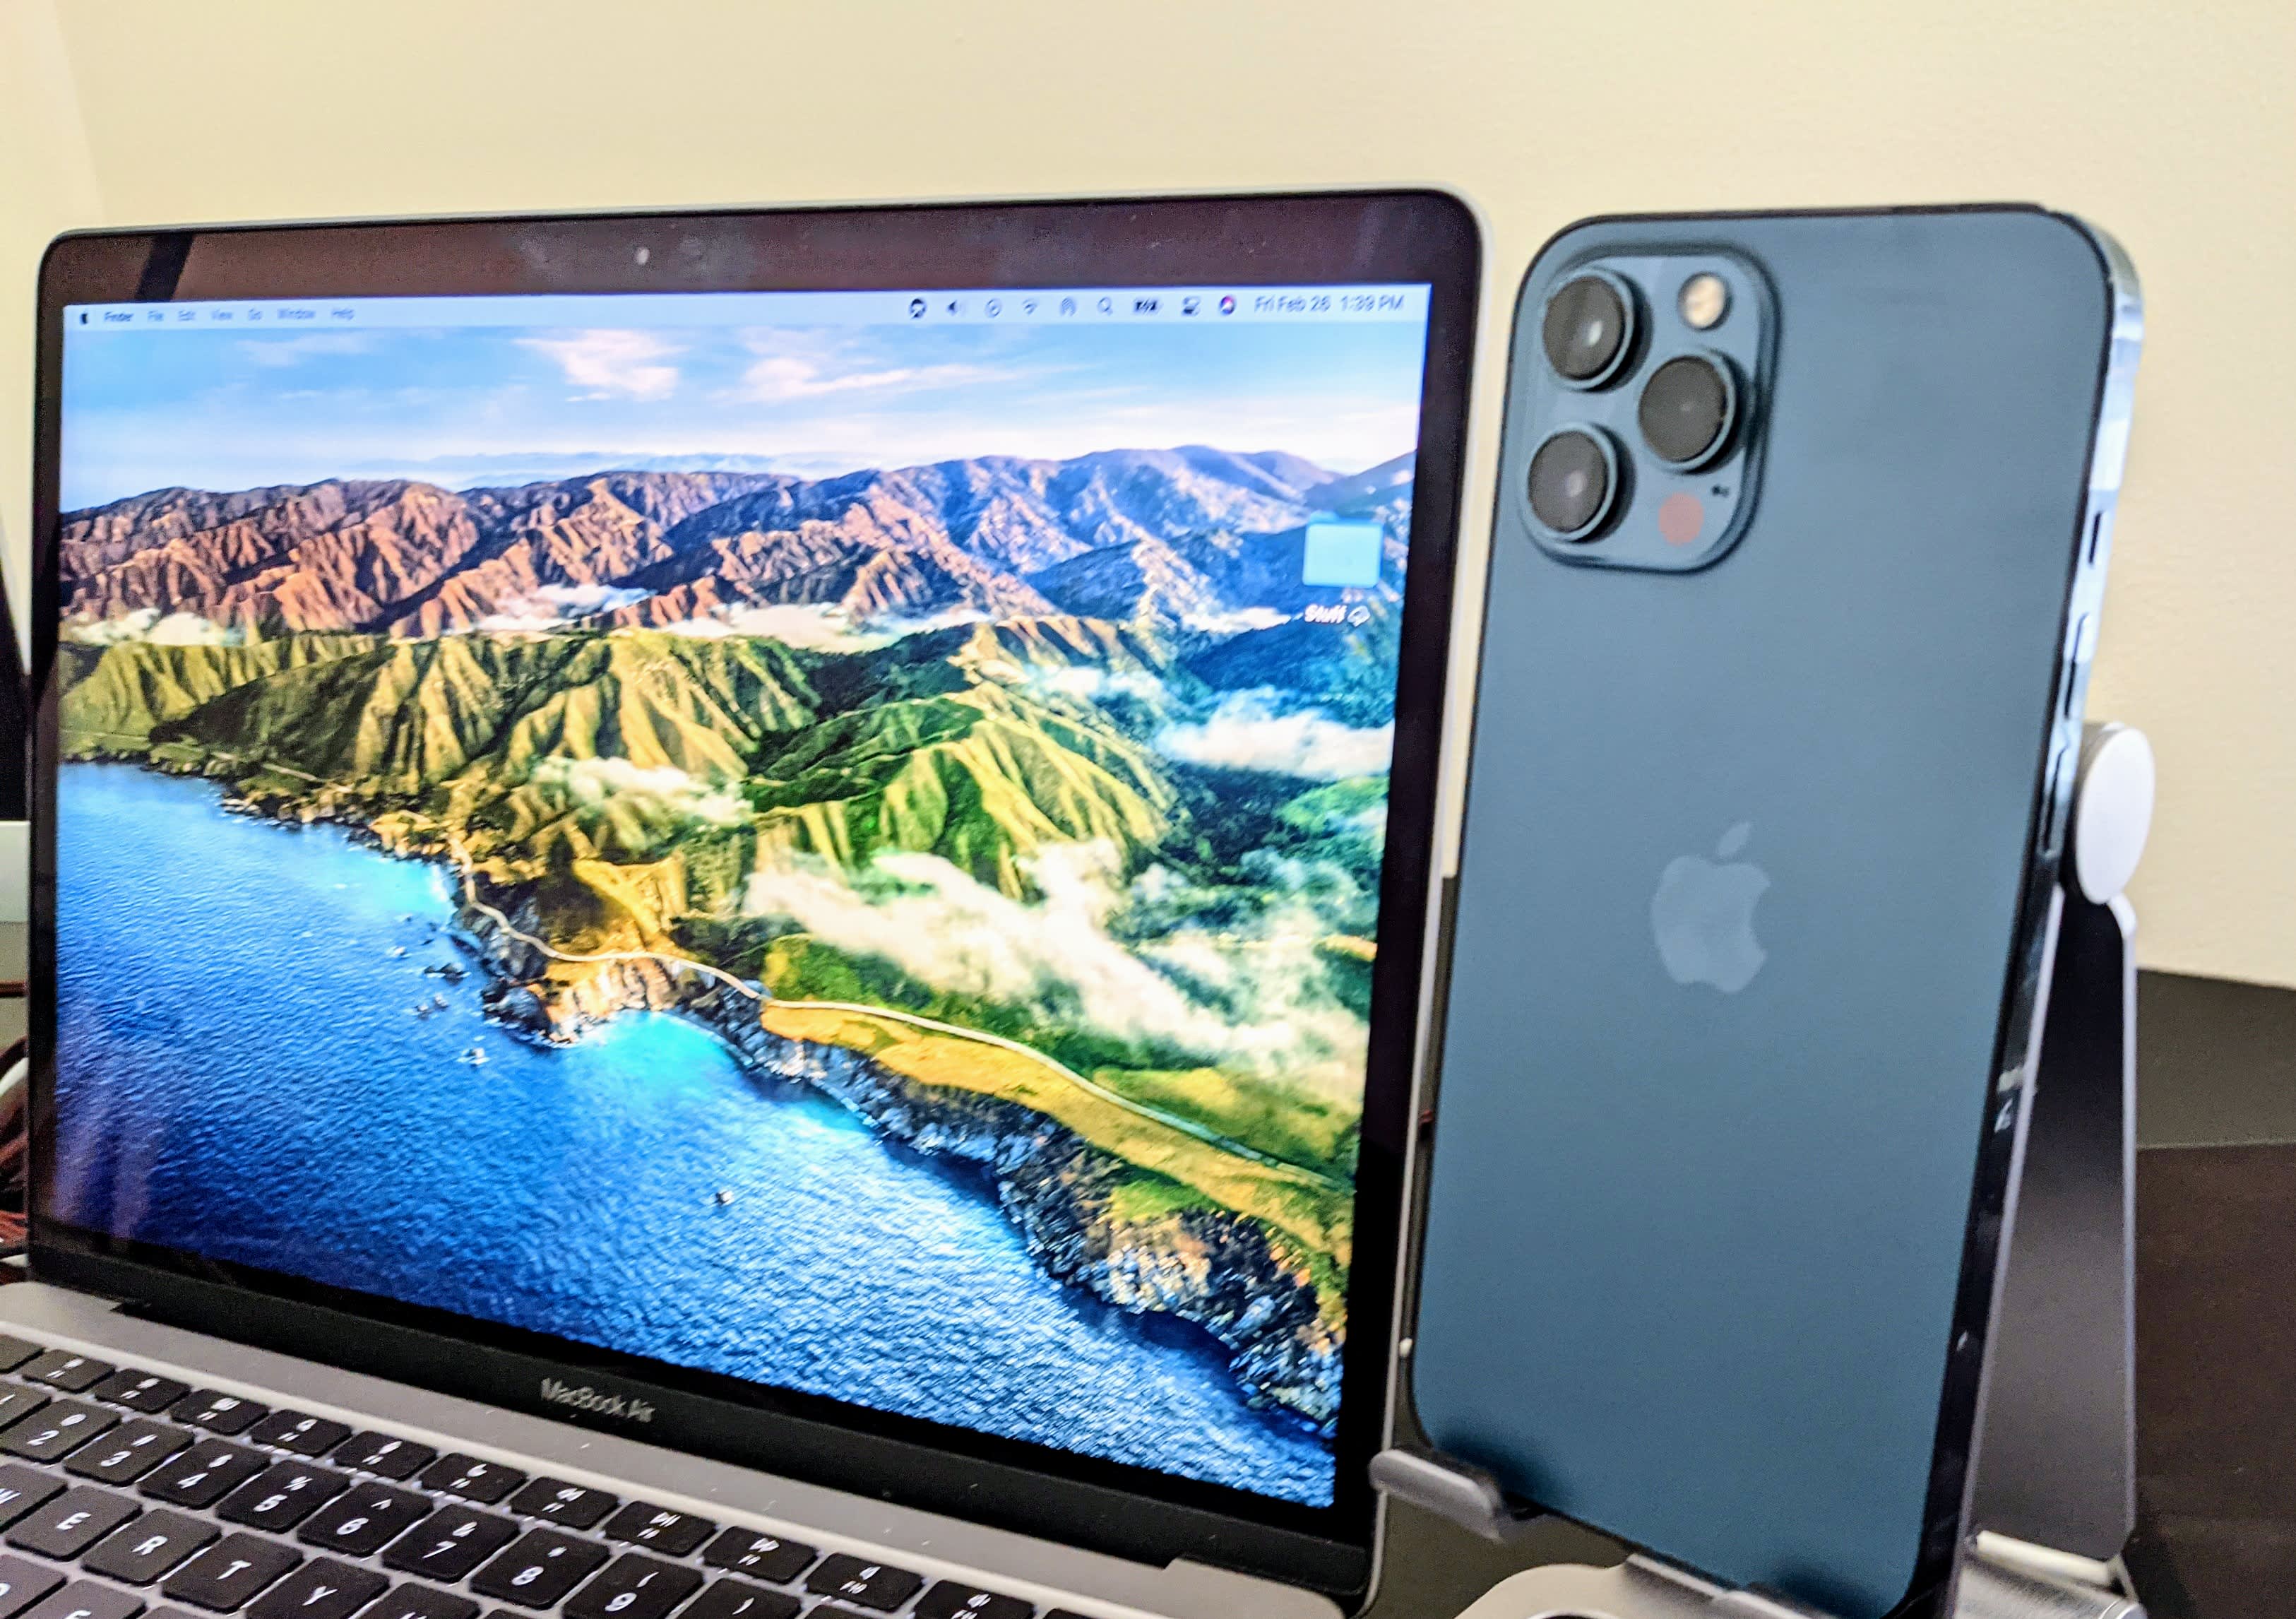
In today’s fast-paced world, technology has made it possible for us to control our devices remotely, offering convenience and efficiency like never before. One such example is the ability to put a Mac to sleep from an iPhone. In this article, we will explore how to accomplish this task and make the most out of your Apple devices.
To begin, you will need to ensure that both your Mac and iPhone are connected to the same network. This can be done by connecting them to your home Wi-Fi or any other shared network. Once you have established a connection, you can proceed with the following steps.
Firstly, on your iPhone, open the Remote Desktop app. If you do not have this app installed, you can download it from the App Store. Once launched, you will see a sidebar with a list of available computers. Select the Mac that you want to put to sleep.
Next, choose the “Manage” option from the top menu and then select “Sleep.” You can choose to put multiple computers to sleep at once by selecting them from the sidebar.
After selecting the sleep option, simply click on the “Sleep” button. This will send a command to your Mac, instructing it to enter sleep mode. It’s important to note that this feature requires the Mac to have Remote Desktop enabled in the system preferences.
Now, let’s shift our focus to controlling a Mac using an iPhone. The process is relatively straightforward, but it does require a few additional steps.
Begin by ensuring that your Mac is set up for remote control. On your Mac, click on the Apple menu and select “System Preferences.” From there, choose “Accessibility” and navigate to the “Switch Control” option in the sidebar. Make sure to select the checkbox next to “Allow platform switching to control your computer.”
Once you have completed the above steps, you can proceed to your iPhone. Open the Remote Desktop app and enter the remote Mac address in the format “vnc://123.456.7.89.” This will establish a connection between your iPhone and the remote Mac.
In the remote window, you will now have control over the Mac. To put it to sleep, simply select “Apple” from the top menu, then choose either “Shut Down” or “Restart.” This will initiate the respective action on the remote Mac.
With the ability to put your Mac to sleep and control it remotely using your iPhone, you can enjoy increased flexibility and convenience in managing your devices. Whether you want to conserve energy or perform necessary maintenance, these features provide you with the tools to do so efficiently.
The ability to put a Mac to sleep from an iPhone and control it remotely offers a new level of convenience and efficiency. By following the steps outlined in this article, you can easily put your Mac to sleep and control it from the palm of your hand. Embrace the power of technology and make the most out of your Apple devices.
How Do You Put Your Mac to Sleep Remotely?
To put your Mac to sleep remotely, you can follow these steps:
1. Open the Remote Desktop app on your computer.
2. In the sidebar of the main window, you will see a list of computers. Select the computer you want to put to sleep remotely.
3. If you want to put multiple computers to sleep, you can select them by holding down the Command key and clicking on each computer.
4. Once you have selected the desired computer(s), go to the top menu and click on “Manage.”
5. In the dropdown menu, select “Sleep.”
6. A confirmation window will appear asking if you want to put the selected computer(s) to sleep. Click on “Sleep” to proceed.
By following these steps, you can successfully put your Mac to sleep remotely using the Remote Desktop app.

Can You Shut Down Your Mac From Your iPhone?
You can shut down your Mac from your iPhone by using the built-in remote control feature called “Remote Desktop” or by using a third-party app like “TeamViewer” or “Screens.” Here’s how you can do it:
1. Using Remote Desktop:
– Ensure both your Mac and iPhone are connected to the same Wi-Fi network.
– On your Mac, open System Preferences by clicking on the Apple menu () in the top-left corner of the screen and selecting “System Preferences.”
– In the System Preferences window, click on “Sharing.”
– Enable “Remote Management” by checking the box next to it.
– Note down the IP address displayed on the screen.
– On your iPhone, download and install the “Apple Remote Desktop” app from the App Store.
– Open the app and tap on the “+” button to add a new device.
– Enter the IP address of your Mac and tap “Save.”
– Once added, select your Mac from the list of devices.
– Tap on the “Power” button and choose “Shut Down” to turn off your Mac remotely.
2. Using third-party apps:
– Download and install a remote control app like “TeamViewer” or “Screens” on your iPhone from the App Store.
– On your Mac, install the corresponding software provided by the app.
– Open the app on your iPhone and sign in using your account credentials.
– Add your Mac to the list of devices using the provided instructions.
– Once added, select your Mac from the list of devices.
– Look for the power options within the app and choose “Shut Down” to turn off your Mac remotely.
Please note that for both methods, your Mac needs to be powered on and connected to the internet for remote control to work. Additionally, make sure you have the necessary permissions and access rights to control your Mac remotely.
Can You Remotely Turn Off Your Mac?
It is possible to remotely turn off or restart a Mac using a feature called Screen Sharing. Screen Sharing allows you to access and control another Mac computer remotely.
To remotely turn off or restart your Mac, you will need to know the remote Mac’s IP address. The IP address is a unique identifier for each computer on a network. Once you have the IP address, you can use it to connect to the remote Mac using Screen Sharing.
Here are the steps to remotely turn off or restart a Mac using Screen Sharing:
1. Obtain the remote Mac’s IP address. This can be done by checking the network settings on the remote Mac or by asking the owner of the remote Mac for the IP address.
2. Open Finder on your Mac and click on “Go” in the menu bar.
3. Select “Connect to Server” from the drop-down menu.
4. In the “Server Address” field, enter the remote Mac’s IP address in the format vnc://123.456.7.89 (replace 123.456.7.89 with the actual IP address).
5. Click on the “Connect” button.
6. If prompted, enter the username and password for the remote Mac.
7. Once connected, you will see the desktop of the remote Mac on your screen.
8. In the remote window, click on the “Apple” menu in the top-left corner.
9. From the drop-down menu, select “Shut Down” or “Restart” depending on your preference.
10. Confirm the action when prompted.
The remote Mac will now shut down or restart, depending on your selection. Please note that you need to have the necessary permissions and access to the remote Mac in order to use Screen Sharing and perform these actions.
Conclusion
The iPhone is a powerful and versatile device that offers a wide range of features and functionalities. It seamlessly integrates with other Apple devices and allows for easy control and management through various methods, such as Remote Desktop and Screen Sharing.
With the ability to remotely control and manage other devices, such as Mac computers, the iPhone provides convenience and flexibility to users. Whether it’s putting a computer to sleep or restarting/shutting down a Mac, the iPhone offers a seamless and efficient solution.
Furthermore, the iPhone’s accessibility options, such as Switch Control, make it even more user-friendly for individuals with disabilities. This feature allows for easy navigation and control of a remote Mac, enhancing inclusivity and accessibility.
The iPhone continues to be a leading device in terms of functionality, convenience, and accessibility. Its ability to control and manage other devices remotely adds to its appeal and usefulness in various scenarios. Whether you’re a tech-savvy individual or someone with accessibility needs, the iPhone proves to be an invaluable tool in today’s digital world.


