PDF files are widely used for sharing and storing documents, but sometimes these files can be password protected, limiting the actions that can be performed on them. If you have an owner password protected PDF file on your iPhone or iPad and want to remove the password, this article will guide you through the process.
To remove password protection from a PDF file on your iPhone or iPad, you can use a third-party app called PDF Element. Follow the steps below to unlock your PDF document:
1. Open the App Store on your iPhone or iPad and search for “PDF Element.” Download and install the app on your device.
2. Once the app is installed, open it and tap on the “Agree” button to start using the app.
3. To import the password protected PDF file, tap on the “+” icon in the app’s interface. Choose the desired file from the available options, such as iCloud Drive, Dropbox, or your device’s local storage.
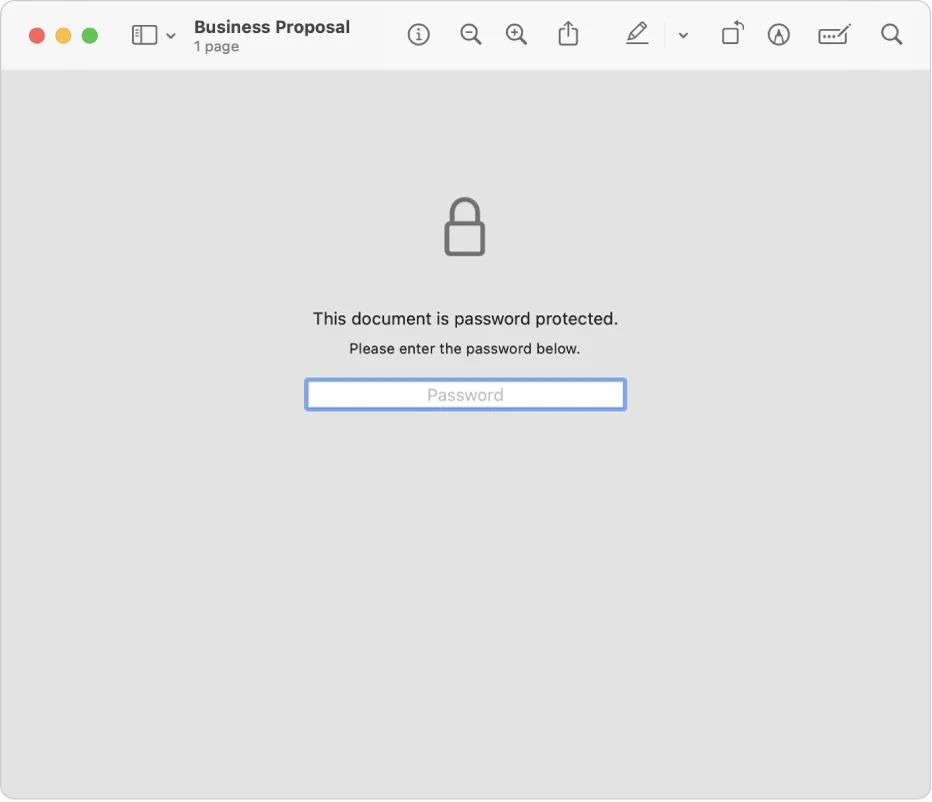
4. Open the imported file by tapping on it and enter the password to unlock the document. If you don’t know the password, you won’t be able to remove the password protection.
5. After the document is unlocked, tap on the three dots icon located at the top right corner of the screen to access more options.
6. From the options menu, tap on “Remove Password.” PDF Element will prompt you to confirm the action, so tap “Yes” to proceed.
7. The app will remove the password protection from the PDF file, making it accessible without any restrictions. You can now view, edit, or share the document as needed.
It’s important to note that removing the owner password from a PDF file does not remove any user password restrictions. If the PDF file has a user password, you will still need to enter it to access the document.
If you have a password protected PDF file on your iPhone or iPad and want to remove the password, you can use the PDF Element app. By following the steps mentioned above, you can easily unlock and remove password protection from your PDF documents, allowing you to freely access and manage them on your device.

How Do You Remove The Owner Password From Your iPhone PDF?
To remove the owner password from a PDF on your iPhone or iPad, you can follow these steps:
1. Open PDF Element on your iPhone or iPad. If you don’t have it installed, you can download it from the App Store.
2. Once you open the app, you will be prompted to agree to the terms and conditions. Tap on the “Agree” button to start using the app.
3. On the main screen of PDF Element, tap on the “+” icon to choose the PDF file from your device that you want to remove the owner password from. You can browse through your files and select the desired PDF.
4. After selecting the PDF file, it will open in the app. If the PDF file is protected with a password, you will be prompted to enter the password to unlock the document. Enter the password and tap on the “Unlock” or “Open” button.
5. Once the PDF file is unlocked, you will have access to its contents. At the top right corner of the screen, you will see three dots in a vertical line. Tap on these dots to access additional options.
6. From the options menu, tap on “Remove Password.” This option will remove the owner password from the PDF file, allowing you to freely edit, copy, or share the document without any restrictions.
7. After tapping on “Remove Password,” the app will process the PDF file and remove the password protection. This may take a few moments, depending on the size of the PDF file.
8. Once the password is successfully removed, you will be able to use the PDF file without any restrictions. You can view, edit, or share the PDF as needed.
By following these steps, you can easily remove the owner password from a PDF file on your iPhone or iPad using PDF Element. It provides a convenient solution for managing and working with password-protected PDFs on your iOS device.
What is An Owner Password On iPhone For PDF?
An owner password on an iPhone for PDF refers to a password that is set to restrict certain actions or permissions on a PDF document. This password is primarily used to control who can make changes to the PDF file and what kind of changes they can make.
Here are the key points about an owner password on an iPhone for PDF:
1. Restricting Permissions: The owner password allows the person with the password to control various permissions related to the PDF document. These permissions include modifying the content, printing the document, copying text or images, and adding annotations.
2. Change Permissions Password: In Adobe Acrobat, the owner password is specifically referred to as the change permissions password. This password ensures that only authorized individuals can modify the document or change its permissions.
3. Document Security: By setting an owner password on a PDF, the owner can enhance the security of the document, preventing unauthorized users from making any changes or performing certain actions on the file.
4. Different from User Password: It’s important to note that the owner password is different from the user password. The user password is used to restrict access to the entire PDF file, requiring the password to be entered before the document can be opened. On the other hand, the owner password is specifically used to restrict permissions within the document.
An owner password on an iPhone for a PDF is a password that is used to restrict permissions and control what actions can be performed on a PDF document. It ensures that only authorized individuals can modify the document or change its permissions, providing an added layer of security for the file.
How to Unlock a Protected PDF On Your iPhone?
To unlock a protected PDF on your iPhone, follow these steps:
1. Open the PDF document on your iPhone.
2. Tap on the “…” (ellipsis) button, usually located at the top or bottom of the screen, depending on the app you are using to open the PDF.
3. Look for an option called “Document Options” or something similar and tap on it.
4. Within the Document Options menu, find the option to change the password and tap on it.
5. You will be prompted to enter the required information, such as the old password and the new password you want to set.
6. Once you have entered the necessary information, tap on “Done” to change the password.
7. If you no longer want the PDF to be protected by a password, you can remove the password altogether.
8. To do this, go to the Document Options menu again and tap on the option to change the password.
9. Turn off the “Require Password” toggle switch or similar option.
10. You will be asked to enter the old password to confirm the removal of the password.
11. After entering the old password, tap on “Done” to remove the password from the PDF.
Remember to keep the new password safe if you choose to set one, as it will be required to access the protected PDF in the future.
Conclusion
Removing password protection from PDF files on iPhone and iPad is a simple process that can be done using the PDF Element app. By following a few easy steps, you can unlock a password-protected PDF document and gain full access to its contents. The app allows you to import the desired file, enter the password to unlock it, and then remove the password to make the document freely accessible. This feature is especially useful when you need to share or edit a PDF file that is restricted by password protection. With PDF Element, you have the flexibility and convenience to manage password-protected PDF files directly from your iPhone or iPad.


