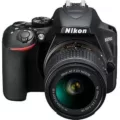
Welcome to the Nikon D7500 blog post! The Nikon D7500 is an incredibly powerful digital camera with plenty of features that make it a great choice for photographers of all levels. This post will discuss how to transfer photos from the Nikon D7500 to your computer and explain why this process is so important.
Transferring photos from your camera to your computer allows you to store them in a safe place, as well as make any necessary edits or share them online if you choose. It also lets you free up space on your camera’s memory card so that you can continue shooting without having to delete older images.
Thankfully, transferring photos from the Nikon D7500 is quite easy. There are two main ways to do it: by connecting the camera directly to the computer via a USB cable, or by using Wi-Fi connectivity and a mobile device such as a smartphone or tablet.
If you’re connecting via USB cable, simply plug one end of the cable into your computer and the other into the camera’s USB port. Then turn on your camera and click ‘Start Transfer’ in order for the photos to begin transferring onto your computer. When finished, turn off the camera and disconnect the cable before unplugging it from both devices.
Alternatively, if you’d prefer to use Wi-Fi connectivity then select ‘Connect To PC’ in the camera setup menu, followed by ‘Network Settings’ and then ‘Create Profile’. From here, you will need to search for a Wi-Fi network before entering any encryption keys or IP addresses that may be required. Once done, start pairing and then connect your mobile device (using NFC if possible) in order for images to be transferred over wirelessly.
transferring photos from the Nikon D7500 is simple when using either USB cables or Wi-Fi connectivity with a mobile device; both methods are fairly straightforward and require very little technical knowledge. By taking advantage of these options, you can easily store your images in a safe place while freeing up space on your memory card for more shooting opportunities!
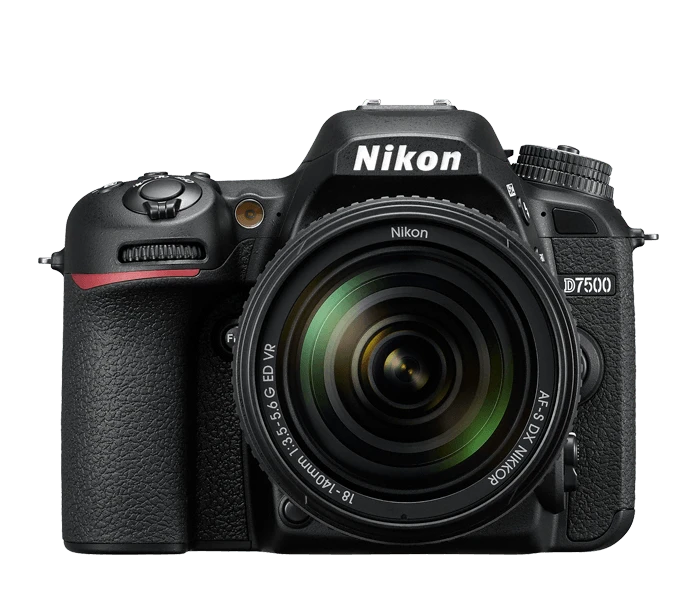
Transferring Photos from Nikon D7500 to Computer
To transfer photos from your Nikon D7500 to your computer, you will need to first connect the camera directly to the computer. Do not connect it via a USB hub or keyboard. Instead, plug the camera into a pre-installed USB port on your computer. Once the camera is connected, turn it on and then click “Start Transfer”. After all of the photos have been transferred, you can turn off the camera. For more detailed instructions, please consult online help for your particular camera model.
Transferring Photos from Nikon D7500
To transfer photos from your Nikon D7500 camera to an Android smartphone, you’ll need to first connect the two devices. To do this, make sure the camera is powered on and then place the camera’s N mark next to the Android smartphone. This will initiate a connection between the two devices and launch the Wireless Mobile Utility app on your phone. Once in the app, you can view or take photos from the camera and transfer them onto your smartphone.
Connecting a Nikon Camera to a Computer Wirelessly
To connect your Nikon camera to your computer wirelessly, you will need to set up an Infrastructure Mode connection. Begin by selecting ‘Connect to PC’ in the camera setup menu, then highlight ‘Network Settings’ and press 2. Next, highlight ‘Create Profile’ and press J, followed by highlighting ‘Search for Wi-Fi Network’ and pressing J again. Choose a network and enter the encryption key when prompted. Once connected, you will need to obtain or select an IP address. Finally, start pairing to complete the connection.
Troubleshooting Nikon Camera Connection to Computer
It is possible that your Nikon camera is not connecting to your computer because there is a conflict with another USB device connected to the computer. To resolve this issue, try disconnecting all other USB devices from the computer and then turning off the camera and disconnecting it from the computer. After that, install Nikon’s ViewNX-i software, which will automatically install the necessary camera drivers. Finally, restart your computer to kickstart the connection process again.
Transferring Pictures From Camera to Computer Using USB Cable
To transfer pictures from your camera to your computer using a USB cable, first, make sure that the USB cable is securely connected to both the camera and the computer. Next, turn on the camera and the computer, and set the USB Connection or Transfer mode setting in the camera menu to Mass Storage or Normal. Then, open a file browser on your computer and locate your camera in the list of drives. From here, you can select which pictures you’d like to transfer by dragging and dropping them onto your computer. Finally, once all of your desired pictures have been transferred, disconnect the USB cable from both devices.
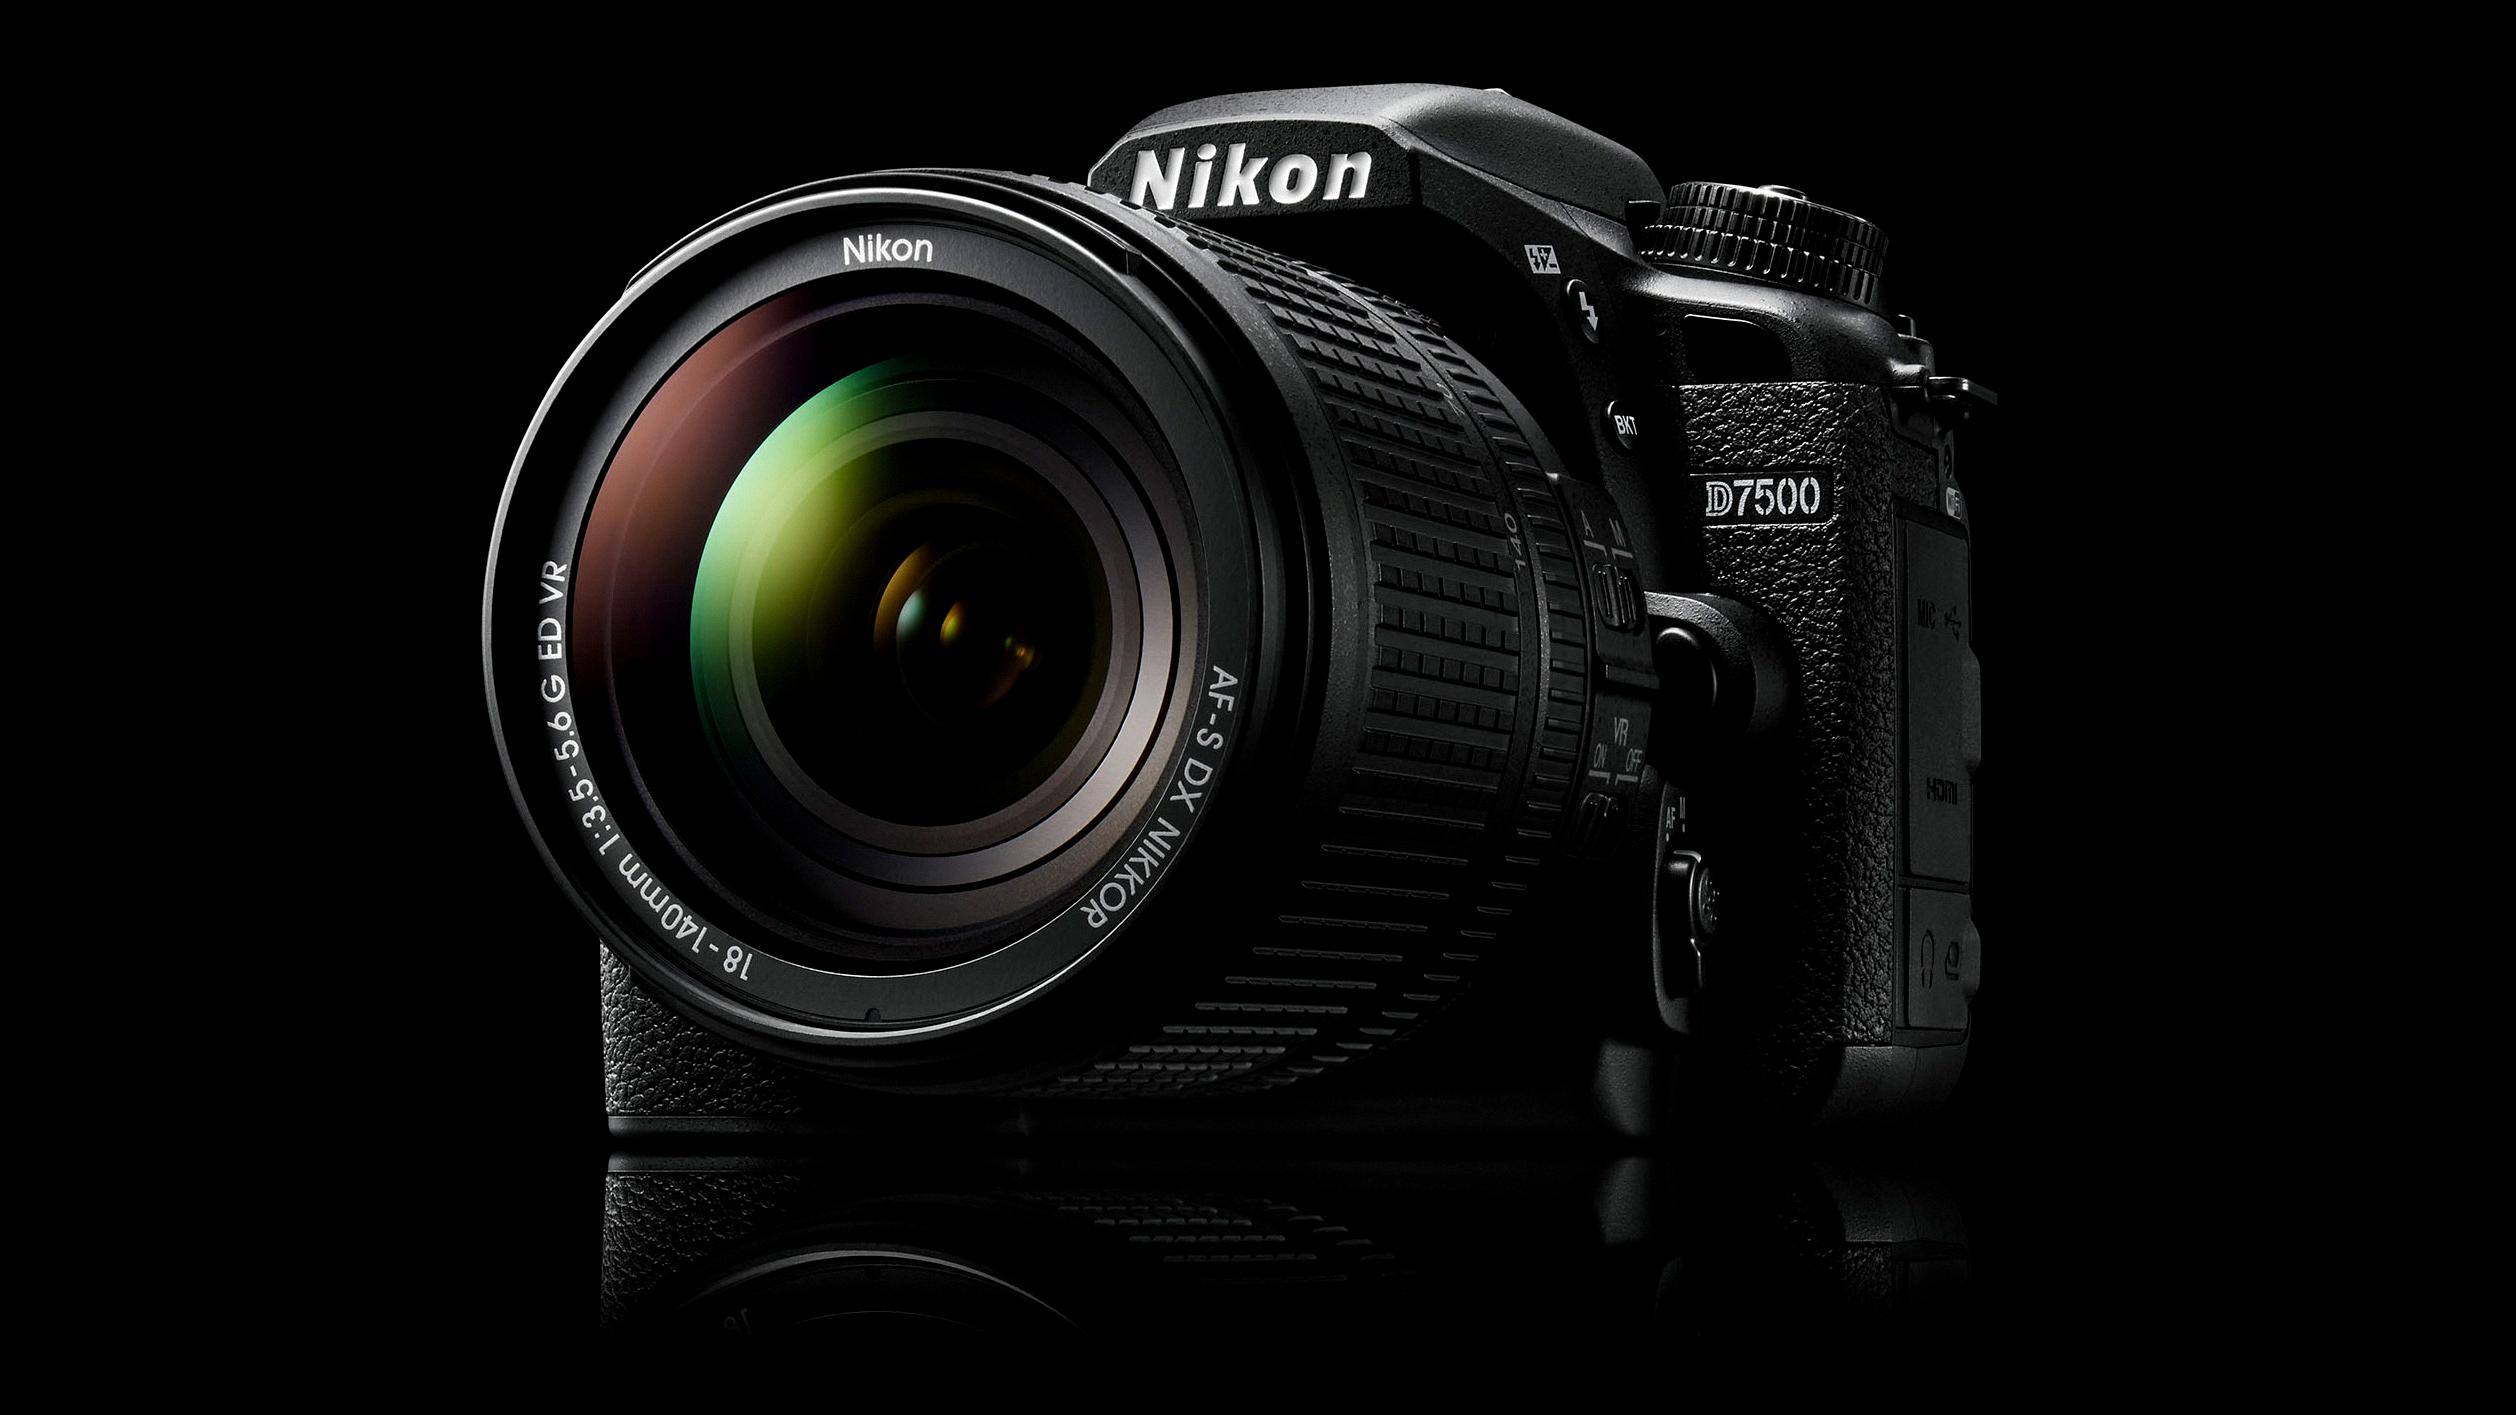
Source: digitalcameraworld.com
Connecting a Nikon Camera to a Computer via USB
To connect your Nikon camera to your computer via USB, first, make sure that a memory card is inserted into the camera. Then, connect the USB cable to the camera and the computer, making sure to match the colors of each port. Turn on the camera; this should launch the Nikon Transfer 2 component of NX Studio. Once that is open, click ‘Start Transfer’ to begin connecting. When finished transferring data, turn the camera off.

