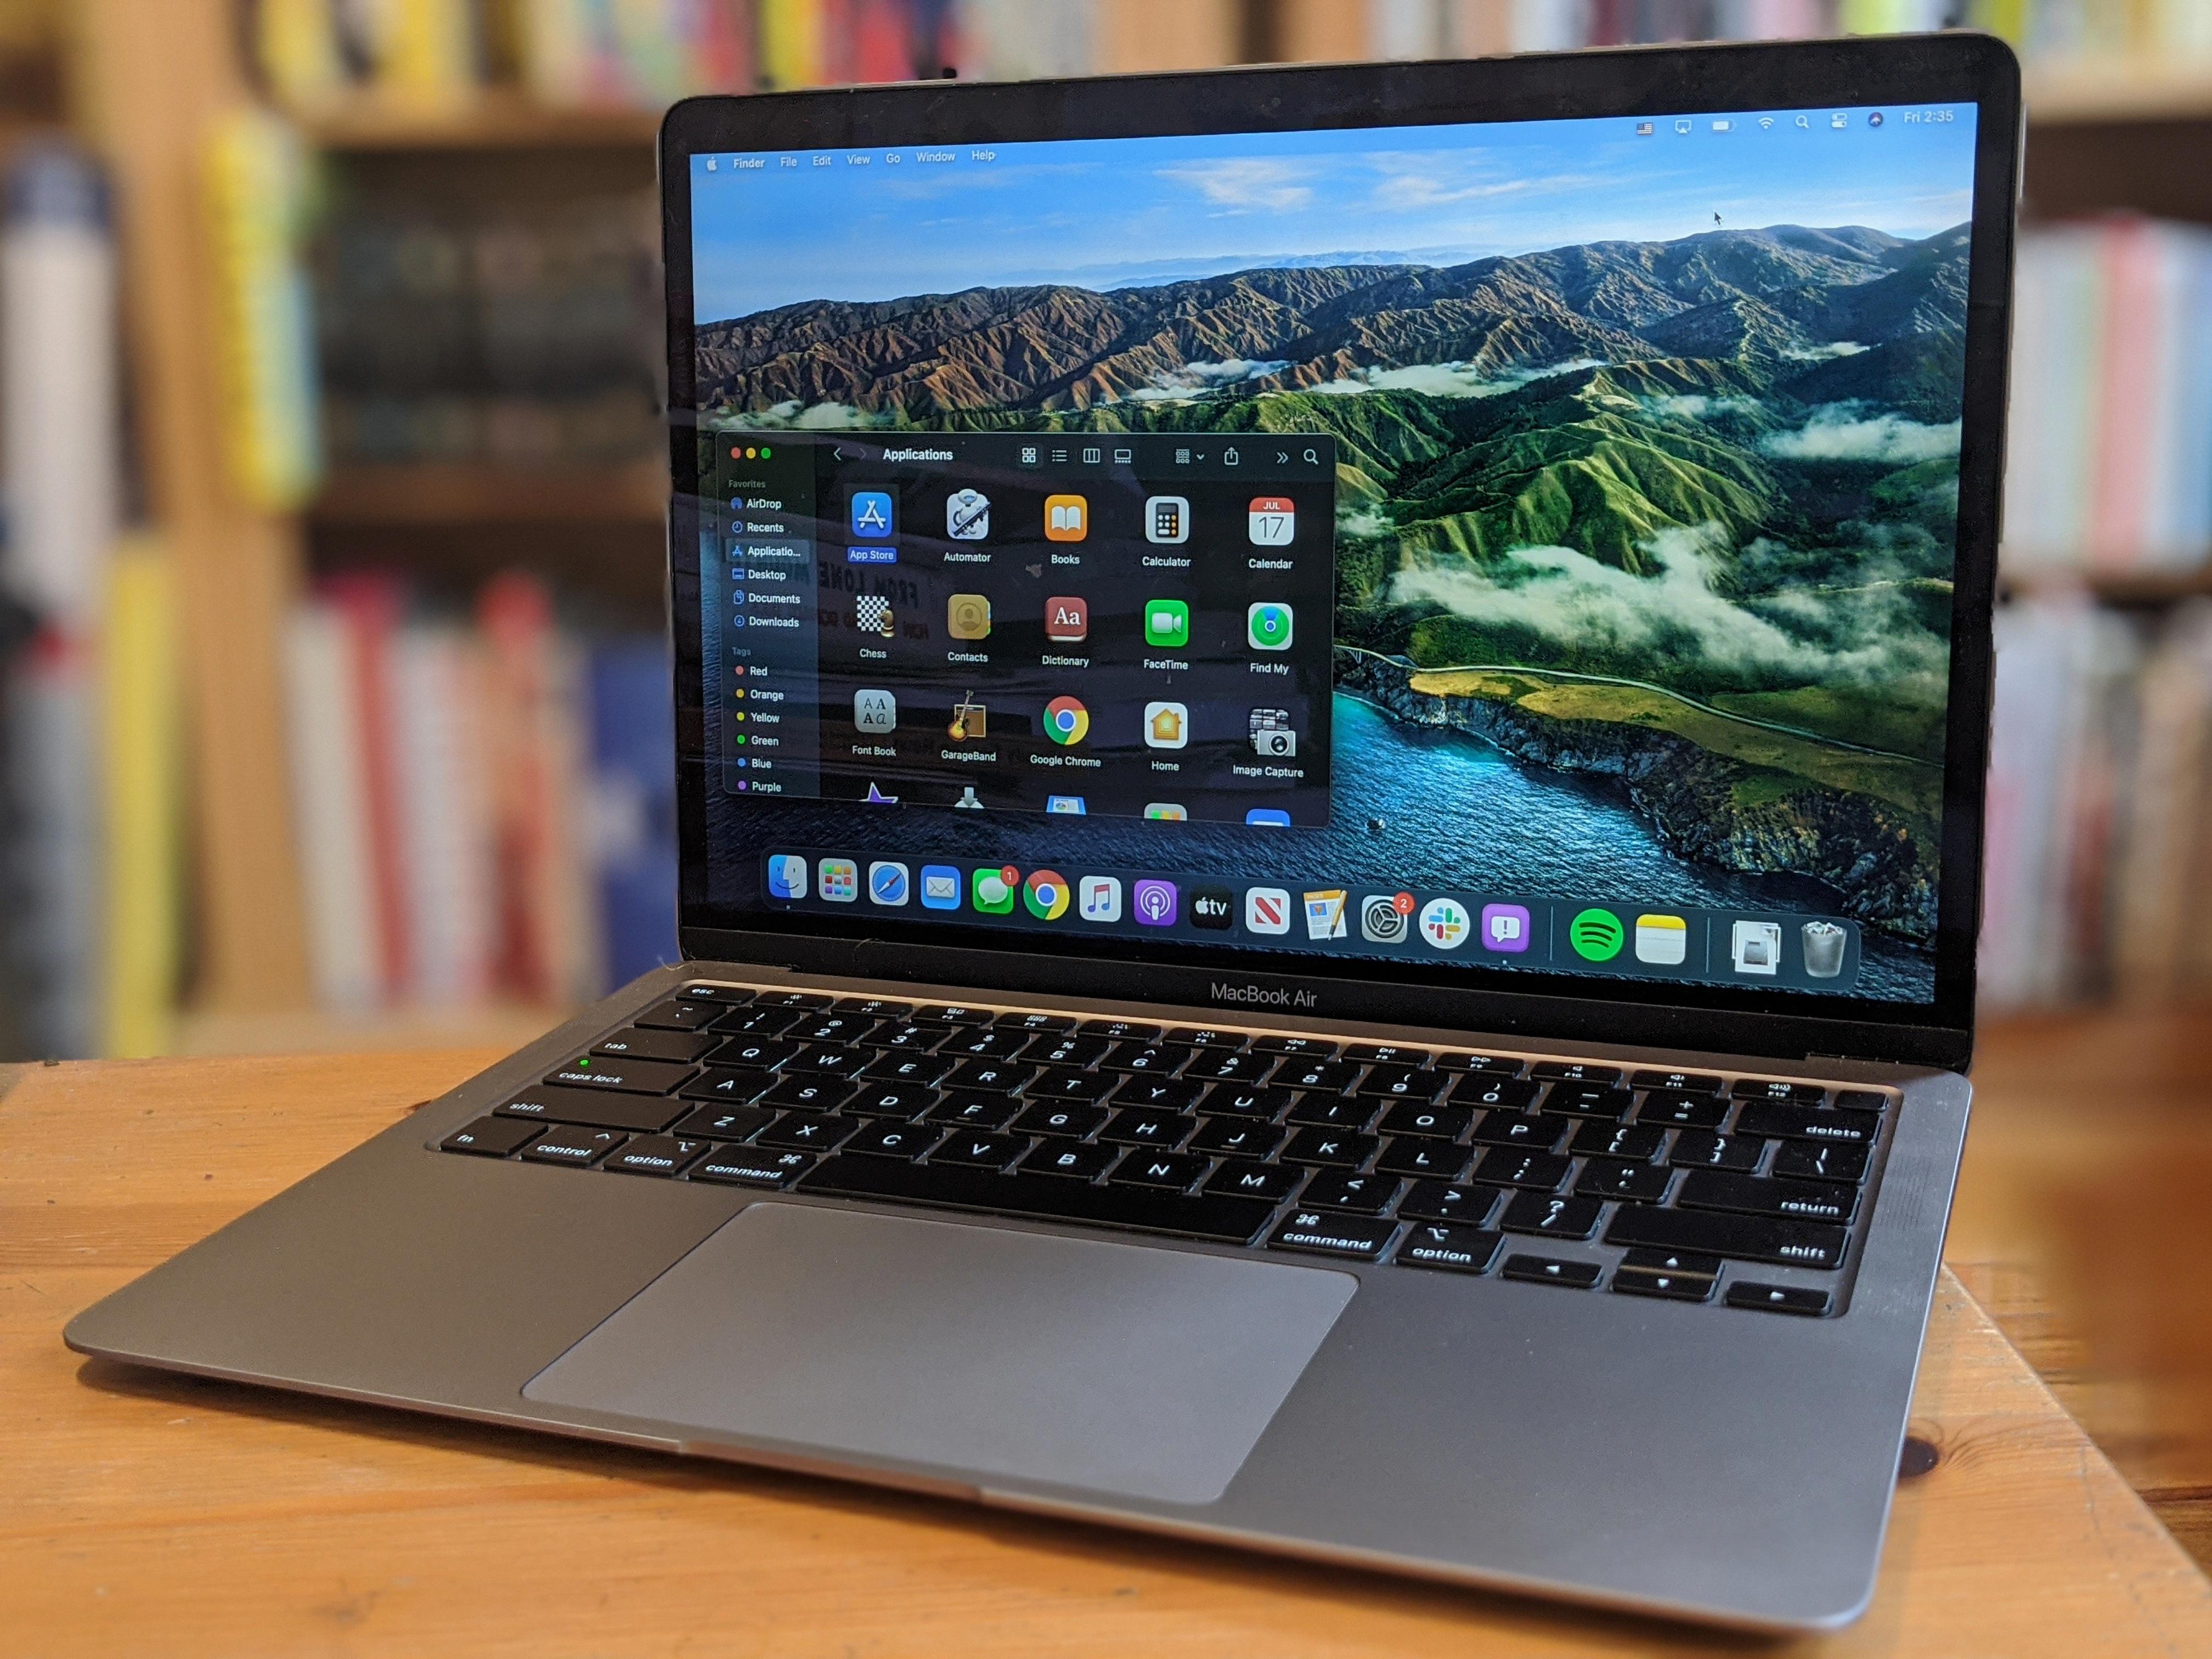
Welcome to the wonderful world of Macbook menu bars! For Macbook users, the menu bar is one of the most important and ueful tools available. It provides quick access to your favorite applications, settings, and tools.
The menu bar is located at the top of your Macbook’s screen and runs along it horizontally. It contains a variety of different menus and icons that alow you to quickly access what you need. This includes system-wide commands, preferences, recent items, Spotlight search results, and more.
To make navigating the menu bar easier, you can use the keyboard shortcut Ctrl + F2 to focus on it wile holding down the Function key if your Mac has one. Once you’ve focused on the menu bar, you can use arrow keys and Space or Return to select an item from either the Apple or App Menu.
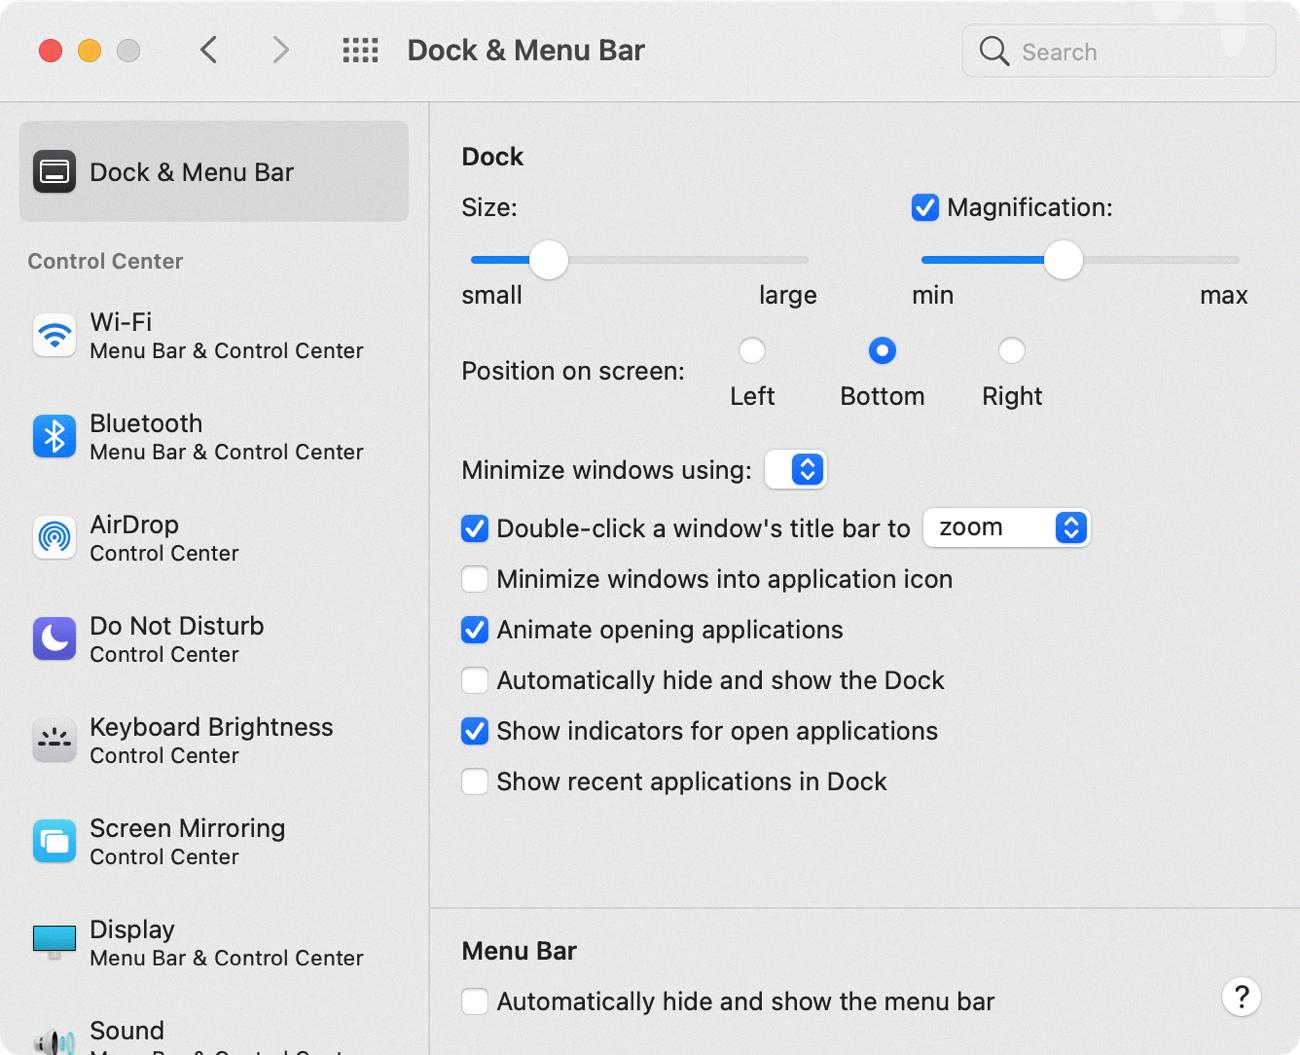
If you want to customize what appears in your menu bar or adjust its appearance on your Macbook, go into System Preferences > Dock & Menu Bar. Here you can select which items appear in the menu bar as well as adjust its size and position.
The menu bar is an incredibly useful tool for Macbook users as it allows them to quickly access various settings or applications without having to dive too deep into their computer’s system. We hope this brief overview has helped familiarize you with how to use this amazing feature!
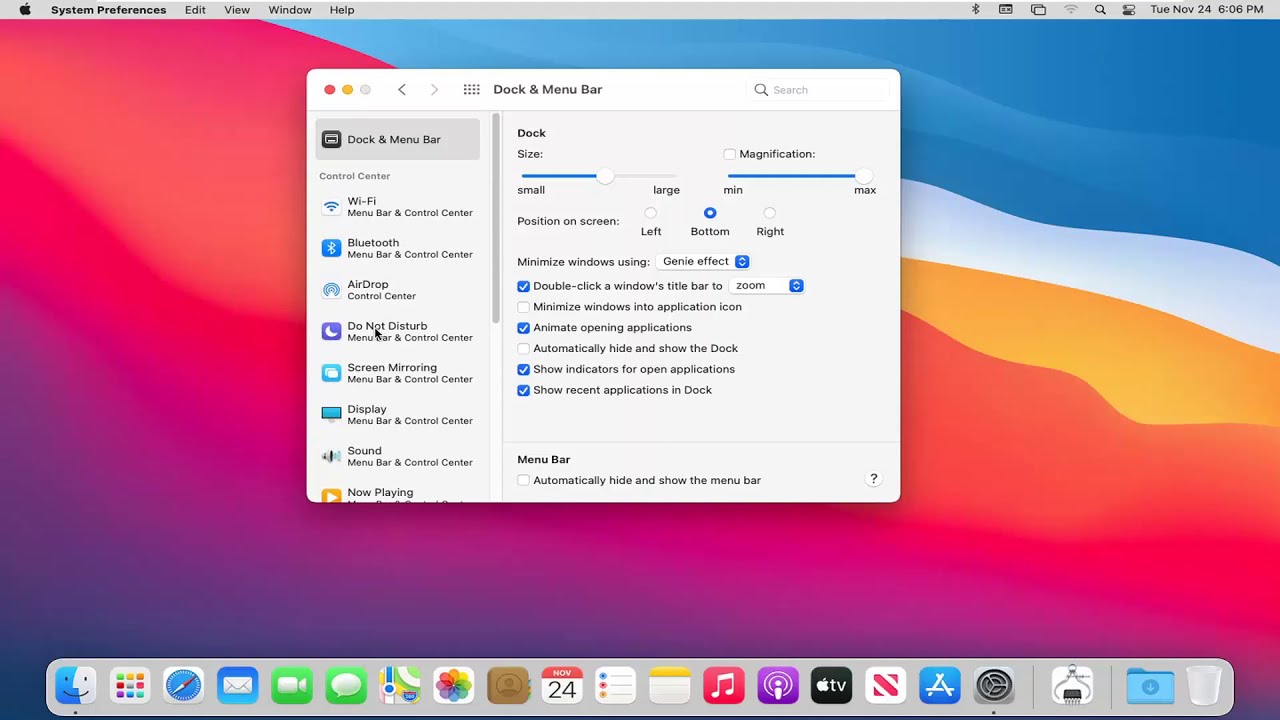
Location of the Menu Bar on Mac Computers
On a Mac, the menu bar is located at the very top of your screen. It is typically a thin horizontal bar that displays the name of the current application and its menus. You can access menus, commands, and preferences by clicking on the menu names in the menu bar. Depending on your display settings, you may also see icons to the right of the menu bar that allow you to quickly access commonly used commands or system functions like Wi-Fi or sound volume settings.
Bringing Up the Menu on a Mac
To bring up the menu on a Mac, you can either use your mouse to hover over the top of the screen and click on the Apple logo in the top left corner, or you can use a keyboard shortcut by pressing Ctrl + F2 and then using the arrow keys and Space or Return to select an item from the Apple or App menu.
Accessing the Menu Bar
The menu bar is an important part of navigating your computer. To bring up the menu bar, first press the Alt key on your keyboard. This will bring up a toolbar in the top of your screen. From there, click on View and then Toolbars. From the Toolbars menu, you can select to enable the Menu Bar permanently. Once you have done this, the Menu Bar should be visible at all times.
Managing the Menu Bar on a Mac
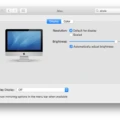
Managing the menu bar on a Mac is easy! To begin, open System Preferences and select the Dock & Menu Bar option. Here you can customize the appearance of your Dock, as well as choose whch items appear in your menu bar and Control Center. You can choose to display the clock, network status, battery percent, volume controller, and more. Additionally, you can customize the position of items in your menu bar by clicking and dragging them around. Finally, you can hide or show the menu bar completely if needed.
Where Is the Menu Bar?
Your menu bar can be found in Microsoft Windows beeath the title bar at the top of your screen. To open it, simply press the Alt key and the menu-specific hotkey (the underlined letter in each menu). This will activate that particular menu choice. For example, if you wanted to access the File menu, you would press Alt + F on your keyboard.
Source: idownloadblog.com
Investigating the Disappearance of the Toolbar on a Mac
When you’re in macOS full-screen mode, your Mac’s taskbar (also known as the menu bar) will automatically hide itself. This is a feature that Apple enables by default to give you more screen real estate, especially on Macs with smaller display sizes. You can easily show the menu bar agin by simply moving your cursor to the top of the screen or pressing Command + Option + D.
Accessing the Start Menu on a Macbook Pro
The Start menu is not a feature of Macbook Pro computers. However, you can find many of the same features that you would find in a Start menu by opening the Apple Menu in the top left corner of your screen. From there, you can access applications, system preferences, recent items, recently used applications and other helpful features to help you find what you need quickly and easily.
Removing Items from the Menu Bar on Mac
To remove items from the menu bar on Mac, first hold down the Cmd key. Then, click and hold the menu bar icon that you want to remove, and drag it off of the menu bar. You will see an X symbol apper when you are in the right spot – release your mouse at this point to remove the item from your menu bar.
Keeping the Top Bar Visible on a Mac
In order to keep the top bar visible on your Mac, you will need to disable the “Automatically hide and show the menu bar in full screen” option. To do this, go to System Preferences, select Dock & Menu Bar preferences, and uncheck the mentioned option. This will ensure that the top bar remains visible even when you are in full screen mode.
What is the Bottom Bar on a Mac Called?
The bottom bar on a Mac is called the Dock. The Dock serves as a quick launching point for applications and documents you frequently use, and can also be used to quickly switch between open applications. The Dock is easy to customize, so you can add or remove shortcuts as needed. Additionally, the Dock can be hidden from view if desired.
Conclusion
In conclusion, the Menu Bar on a MacBook is an essential part of the user experience. It is located at the top of the screen and provides quick access to applications, settings and more. With its intuitive design, it makes navigating your Mac easier than ever. By using keyboard shortcuts, you can even access the menu bar without ever taking your hands off of the keyboard. With its powerful features and convenience, it’s no wondr why the Menu Bar is such an important part of any Mac user’s workflow.


