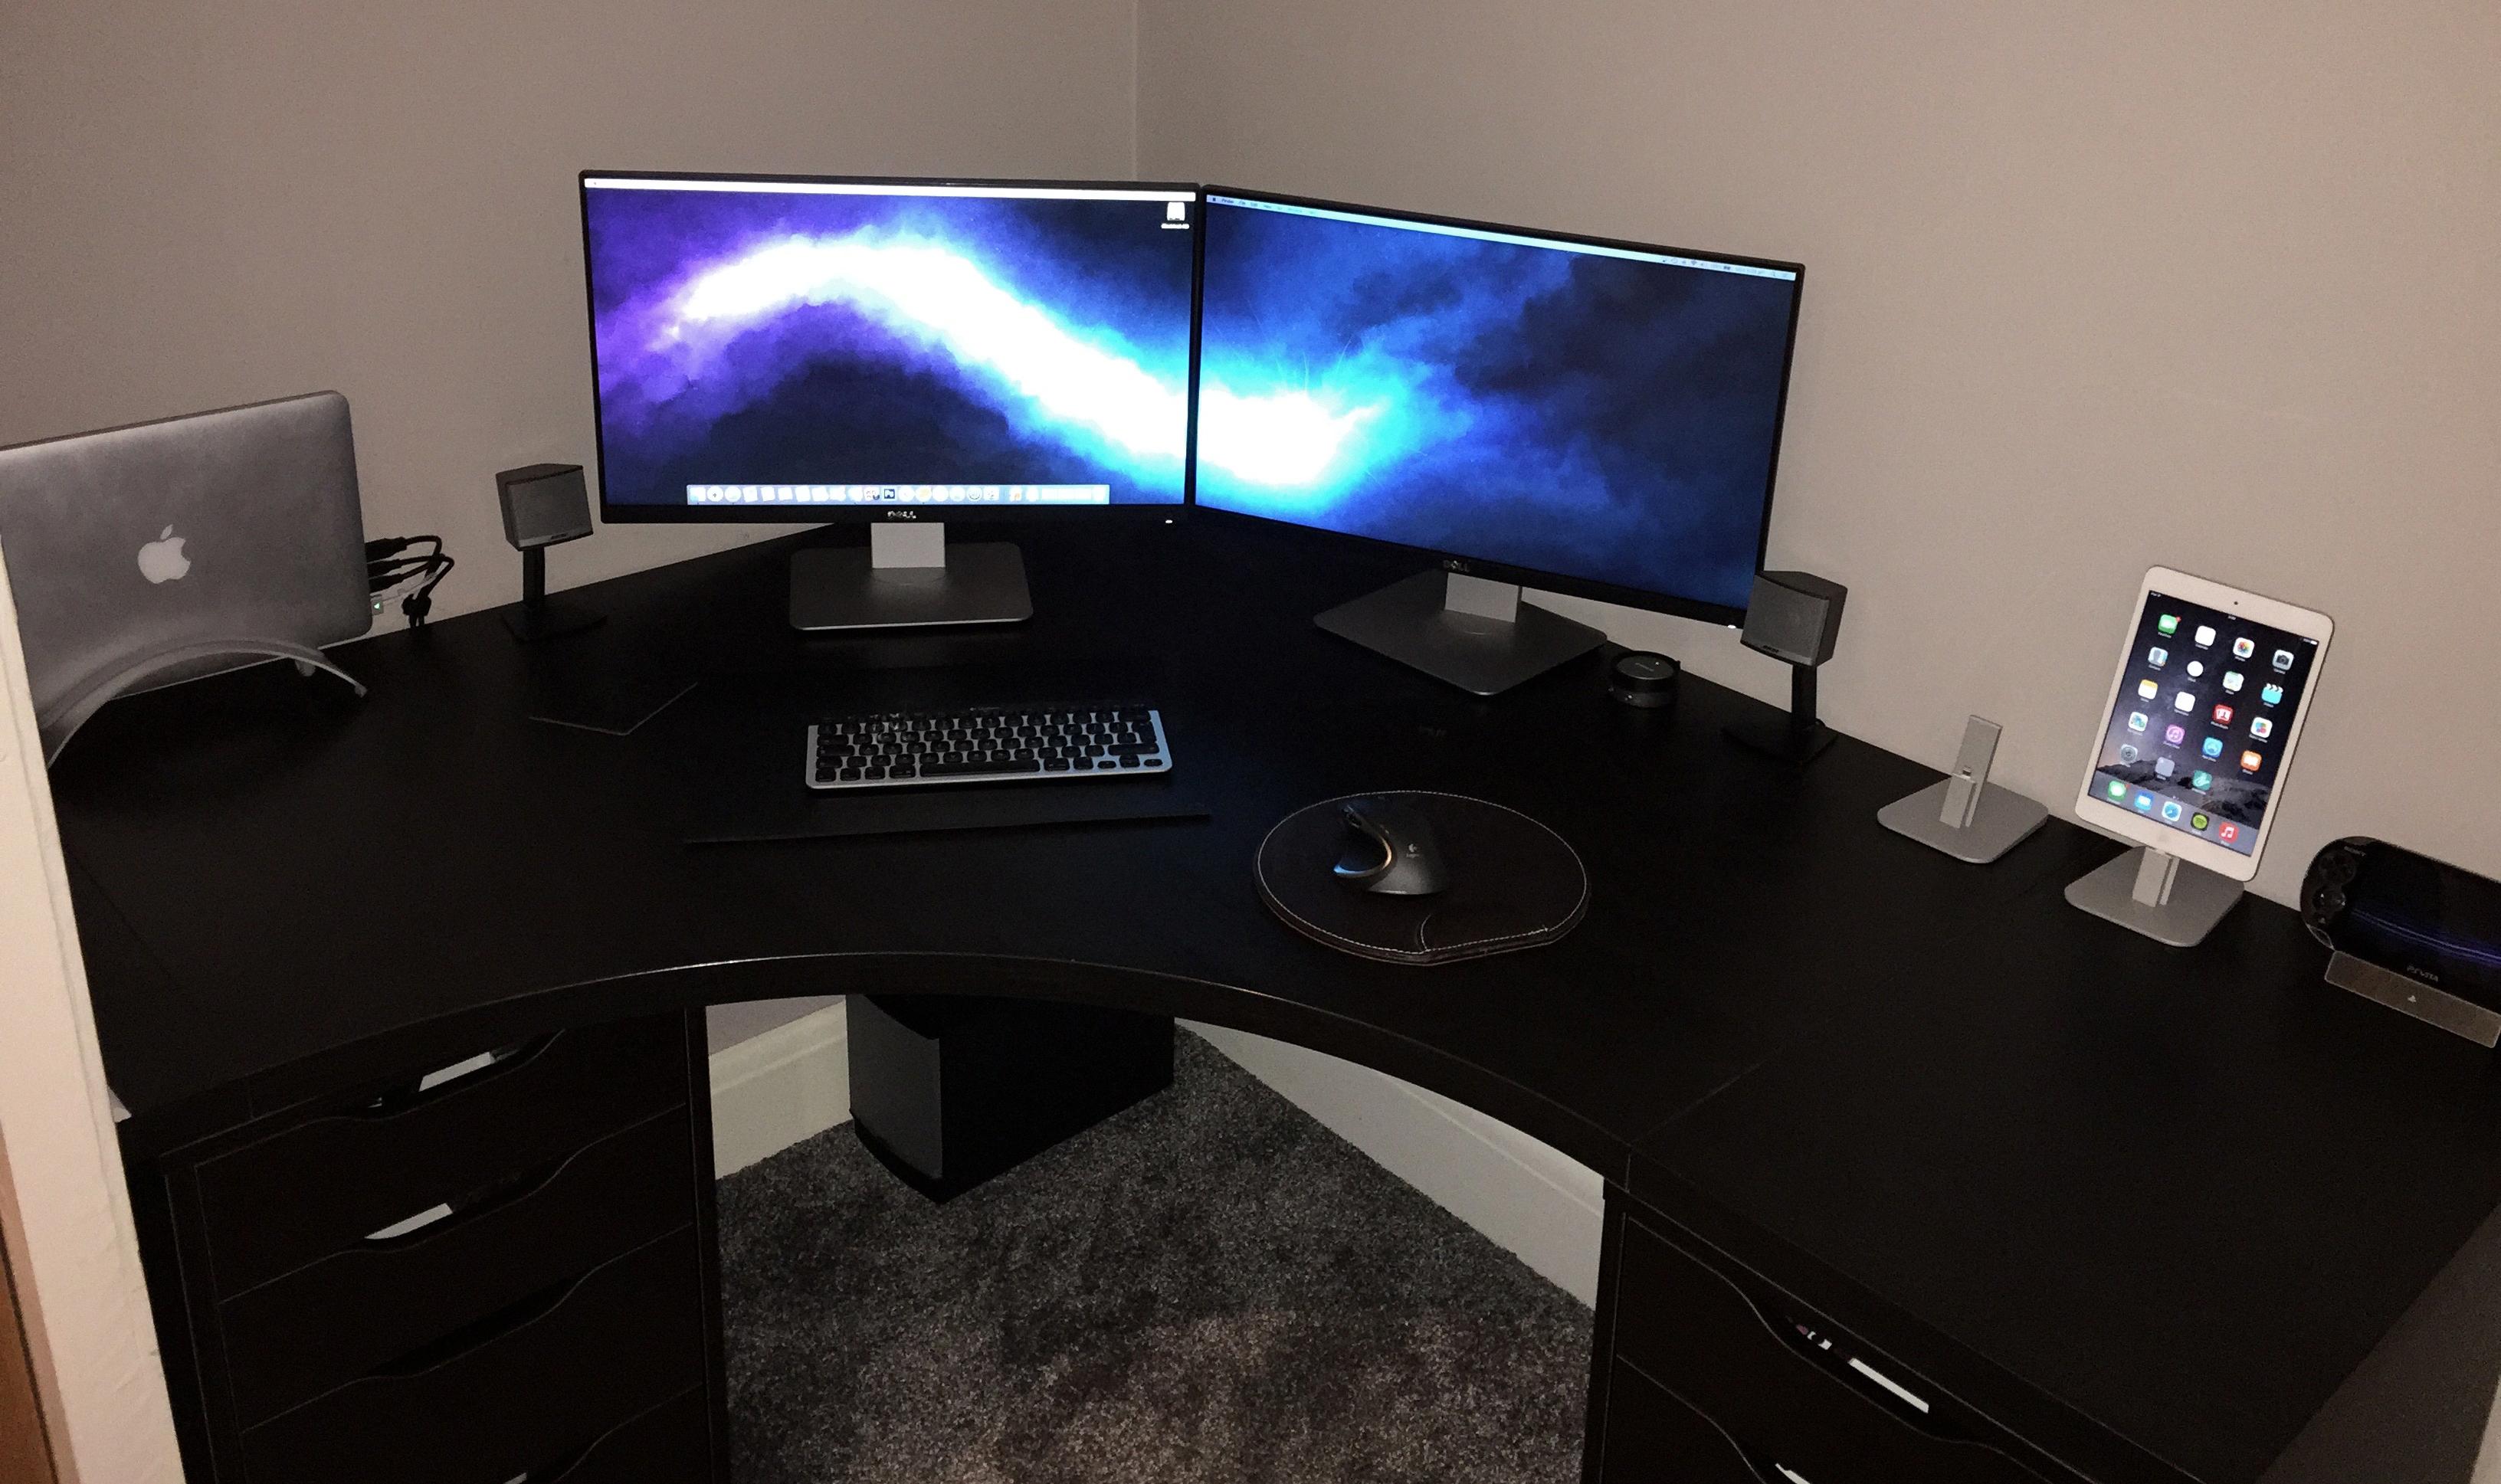
Are you looking to upgrade your MacBook Pro with an ultrawide monitor? Whether you’re a creative professional, a gamer, or just someone who wants more screen real estate, having an ultrawide monitor on your MacBook Pro can be a great addition.
Before we get into the details, let’s take a look at what an ultrawide monitor is. An ultrawide monitor is essentially a widescreen display that offers additional horizontal space compared to regular widescreens. This allows for more content to be viewed without having to scroll or zoom in and out as much. The most common aspect ratio of ultrawide monitors is 21:9 and they typically range from 29” to 34” in size.
Now that you know what an ultrawide monitor is, let’s talk about connecting it to your MacBook Pro. Most MacBook Pros come equipped with USB-C, DisplayPort, and/or Thunderbolt ports for external display connectivity. With these ports, you should have no problem connecting an ultrawide monitor to your laptop. Additionally, some models may also include a mini display port for further connection options.
Once you’ve connected the two devices together, it’s important to set the resolution correctly on your Macbook Pro so that the display looks its best when displayed on the external monitor. To do this, go into System Preferences > Displays > Resolution and select the resolution that best fits your needs (usually something close to 2560×1080 or 3840×1600).
Finally, if you’re using macOS Sierra or later versions of macOS, it’s worth noting that you can force applications to open full screen on macOS Sierra by going into System Preferences > Mission Control > Automatically rearrange Spaces Based On Most Recent Use and checking off “When switching to an application open its windows in full-screen mode”.
All in all, using an ultrawide monitor with a Macbook Pro can be a great way to increase productivity and maximize the amount of content that can be seen at once on-screen. With the right connections and settings in place, you should have no issue getting up and running with this setup!
Can the MacBook Pro Support Ultrawide Monitors?
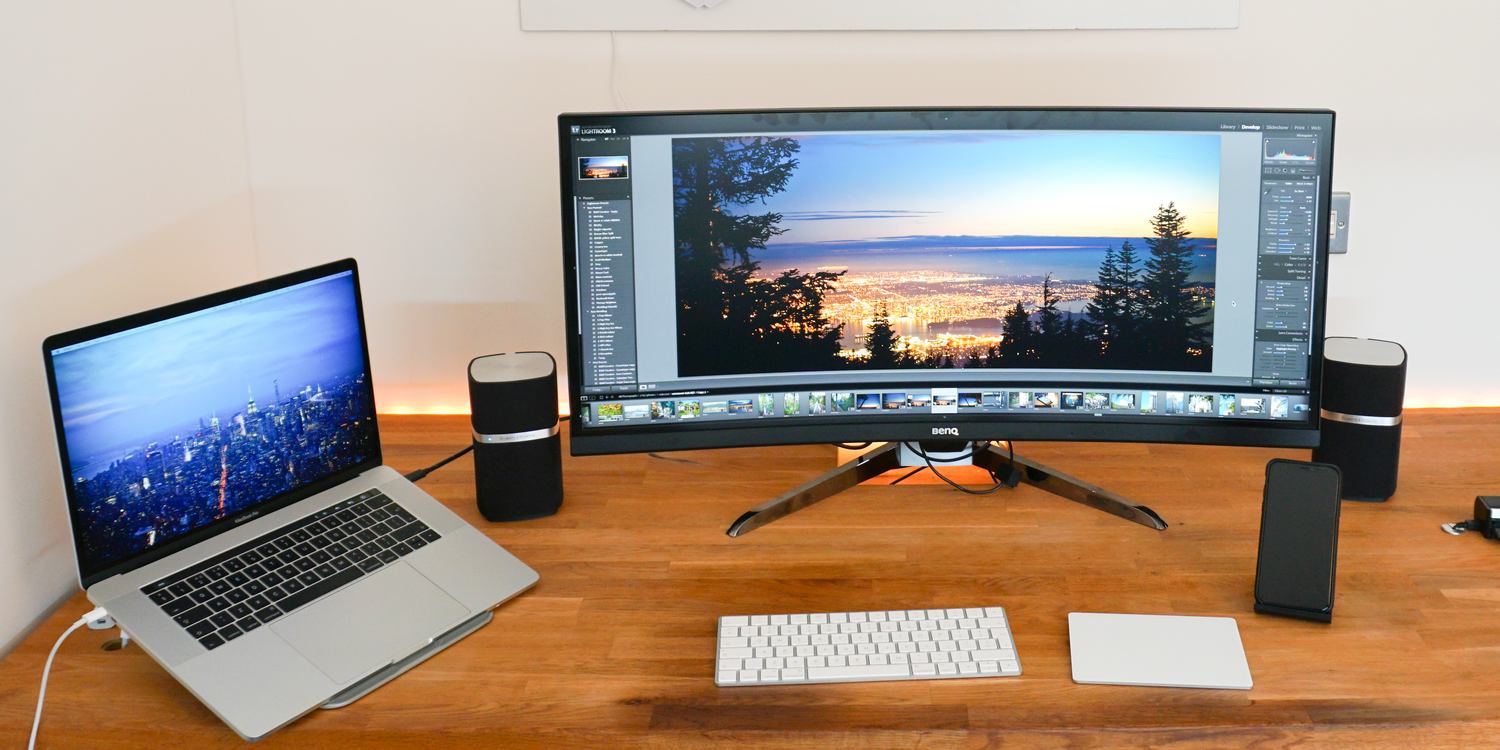
Yes, MacBook Pros can support ultrawide monitors. Most modern MacBook Pro laptops are equipped with either USB-C, DisplayPort, or Thunderbolt port connections. These ports allow you to connect an ultrawide monitor to your laptop as an external display. Depending on your model of MacBook Pro, you may also need an adapter in order for the monitor to connect correctly. Once connected, you can enjoy a wider field of view and increased screen real estate for all your work and entertainment needs.
Does Mac OS Support 3440×1440 Resolution?
Yes, Mac OS supports 3440×1440 resolution. This resolution is supported on macOS Sierra and any other version of Mac OS since it was introduced. To use this resolution, you will need to make sure that your display supports it and that you have the right cables to connect it. Once you have the right display and connections in place, simply go to System Preferences > Displays > Resolution and select the 3440 x 1440 option. From there, your Mac will automatically adjust the settings to use this new resolution.
Does the MacBook Pro M1 Support Ultrawide Monitors?
Yes, the MacBook Pro M1 is compatible with ultrawide monitors. It supports resolutions up to 5120×1440 on a 49-inch ultrawide monitor or 5120×2160 on a 5k2k screen. To ensure compatibility, you should pick up a monitor with a USB-C connector and at least 65W power delivery. This will ensure that your MacBook Pro M1 can provide enough power to run your monitor without any issues.
Fixing the Resolution on an Ultrawide Monitor
Fixing the resolution on your Ultrawide monitor is quite straightforward. Depending on your operating system, the steps may vary slightly, but the overall process remains the same.
First, launch your Control Panel. From there, locate the Display Settings or Screen Resolution option. Once you are in this section, you will see a list of available resolutions for your monitor. Select the one that best fits your needs or choose a higher resolution for an enhanced viewing experience.
Once you have selected the desired resolution, select Apply and then OK to save any changes you have made. Finally, check to make sure that the new resolution is visible and that everything looks as expected. If not, repeat the steps until you have reached satisfactory results.
Fixing an Overscaling Monitor on a Mac
If your monitor is over-scaling on your Mac, you can try adjusting the Underscan setting in Display Settings. To do this, open System Preferences from the Apple menu. and select Displays. Look for a setting called Underscan and adjust it to reduce the amount of scaling. You may also need to adjust the resolution to get the picture to look as you want it. If these changes don’t fix the issue, it’s possible that your monitor is not compatible with your Mac, or that hardware components are damaged. In this case, you may need to take your Mac and monitor to a repair shop or contact Apple Support for assistance.
Does HDMI Support 3440×1440 Resolution?
Yes, HDMI does support 3440×1440 resolution. HDMI 2.0 is capable of providing up to 100Hz in this resolution, however in order to use this frequency you must have a compatible graphics card and an HDMI 2.0 cable. Additionally, different ports may have different capabilities, so be sure to check the specifications of your device before attempting to achieve 3440×1440 resolution at 100Hz.
Can the M1 MacBook Pro Support a 4K Monitor?
Yes, the M1 MacBook Pro can support up to 4K resolution on an external monitor. When using the M1 Pro model, you can connect up to two external displays with a maximum resolution of 6K at 60Hz, or when using the M1 Max model, you can connect up to three external displays with a maximum resolution of 6K and one external display with a maximum resolution of 4K at 60Hz.
Connecting a MacBook Pro to an LG Ultrawide Monitor
In order to connect your MacBook Pro to an LG Ultrawide monitor you will need to use a Thunderbolt 3 (USB-C) cable. First, plug one end of the cable into a Thunderbolt 3 (USB-C) port on the left side of your MacBook Pro, and then plug the other end into the USB-C port on the back of your LG Ultrawide monitor. Once it’s connected, you should be able to adjust the settings on your Mac to display on either or both monitors.

