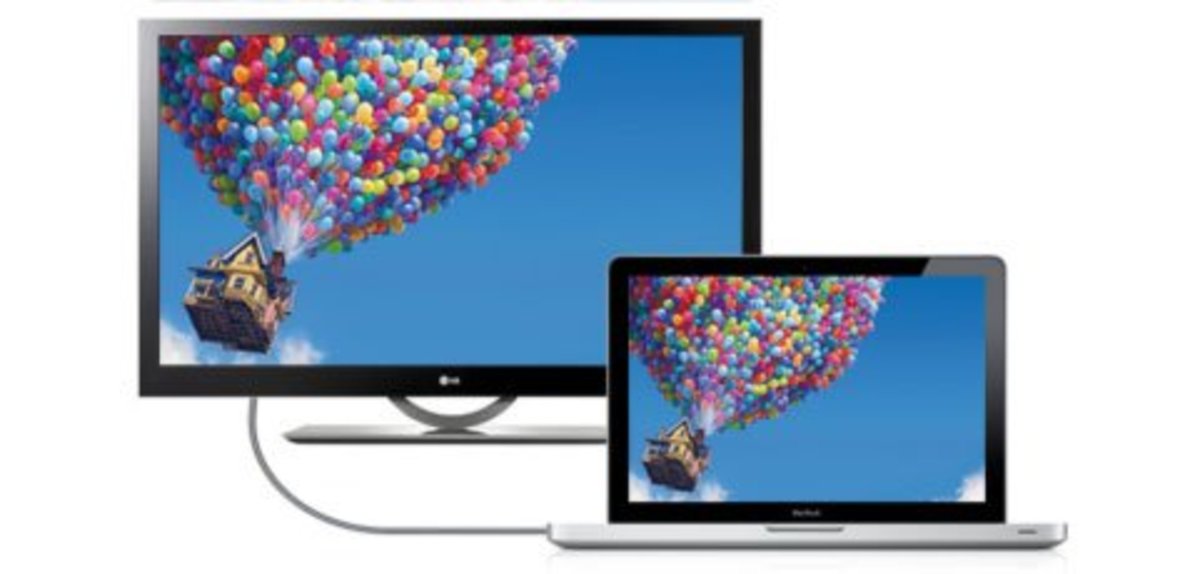
Are you looking to connect your Macbook Pro to your television with HDMI? If so, you’re in luck – it’s an easy process that will allow you to view your Macbook Pro’s content on your TV. You can even use the HDMI connection to transmit sound from your laptop to the television.
In order for you to be able to take advantage of the Macbook Pro and HDMI sound, you will need a few things: first and foremost, an HDMI cable. This cable should be able to connect from the Macbook Pro’s port (usually located on one side of the laptop) and to the appropriate port on your television. Then, if you have external speakers or a sound system connected to your TV, make sure it is powered on and ready for use.
Once you have everything connected, it’s time to adjust some settings so that sound is transmitted through the HDMI connection. On a Macbook Pro running macOS High Sierra (or earlier), open System Preferences by clicking the Apple icon in the upper left corner of your screen. Then, click “Sound” and select “Output” from the top tabs. Here, you should see a list of available output devices; select “HDMI Audio Output” from this list and check the box labeled “Show volume in the menu bar.”
If you are using macOS Mojave or later, open System Preferences again by clicking on the Apple icon in the upper left corner of your screen. This time, click “Sound Effects” instead of “Sound;” select “HDMI Audio Output” from this list and check off both boxes labeled “Mute audio when headphones are unplugged” and “Show volume in the menu bar.”
Now that everything is set up correctly, you should be able to hear audio coming through your television when playing video or audio files through your Macbook Pro! If not, double-check all connections – make sure that all cables are plugged into their respective ports securely and that both devices are powered on – then try adjusting some volume settings in System Preferences > Sound > Output or Sound Effects > HDMI Audio Output (depending on which version of macOS you are running).
We hope this blog post was helpful as you attempt to connect sound from your Macbook Pro to a television via HDMI!
Troubleshooting No Sound When Connecting Laptop to TV with HDMI
There could be several reasons why there is no sound when connecting a laptop to a TV via HDMI. Firstly, check that the HDMI connection is securely connected and that the correct input source is selected on the TV. Secondly, make sure that the audio output settings are correctly configured on your laptop. Open Settings – System – Sound and select the correct output device (e.g. speakers or HDMI). Thirdly, ensure that all volume levels are set to an appropriate level (external speakers or TV speakers). Finally, check that any additional audio software is up-to-date and configured correctly. If these steps don’t solve the issue, it’s possible that the hardware or drivers for either device may need updating or replacing.
Troubleshooting No Sound on an HDMI Connection
It’s possible that the HDMI connection has no sound because the source device and TV are not correctly connected via HDMI. Make sure that the HDMI cable is securely connected to both the source device (set-top box, Blu-ray Disc™ player, etc.) and the TV. Additionally, ensure that you’re using the appropriate inputs when you use an HDMI connection that supports the ARC feature. If all connections are secure and correct, it could be a result of an incorrect setting in your audio/video menu. Check your audio/video settings to confirm they are properly configured for your device’s audio output type (e.g. Digital Audio Out / Optical Out). If all connections and settings are correct, then there may be a fault with either the source device or the television itself.
Troubleshooting Sound Issues on Mac Connected to TV
If the sound is coming from your Mac instead of your TV, it may be because Mac’s audio output is not set to the TV. To fix this issue, open System Preferences and click Sound. Then select the Output tab and if you’re trying to play sound from your connected TV, select the HDMI option. Alternatively, right-click on the sound icon in the menu bar and select the HDMI option. This should ensure that audio is routed through to your TV instead of your Mac.
Connecting Macbook to TV for Sound
To connect your Macbook to your TV for sound, you will need an HDMI cable. Begin by plugging one end of the HDMI cable into the HDMI port on the back of your Macbook. Then plug the other end into an available HDMI port on the back of your HDTV. Once this is done, open up System Preferences on your Macbook by clicking on the Apple icon in the top left corner of your screen and selecting System Preferences. From there, select Sound in the sidebar (you may need to scroll down), then click Output on the right. Select your HDTV in the list of devices, and you should now hear sound coming through it.
Troubleshooting Lack of Sound When Connecting Mac to TV via HDMI
There could be several reasons why there is no sound when you connect your Mac to the TV with HDMI. First, make sure that the HDMI cable is securely connected to both the TV and your Mac. Additionally, check that your Mac is set to output audio through the HDMI port by going to the Apple menu > System Preferences > Sound and selecting your HDMI device in the Output pane. If you’re connecting using a Mini DisplayPort adapter, make sure that your Mac can send audio over Mini DisplayPort. If these steps don’t work, try restarting both devices or checking for any software updates available for either device.
Connecting a Mac to a TV Using HDMI
To connect your Mac to your TV using HDMI, you’ll need an HDMI cable and a compatible adapter. First, connect one end of the HDMI cable to your Mac’s Thunderbolt port, HDMI port, or DVI port. Then plug the other end of the HDMI cable into your TV’s video input port. Once the two devices are connected, you may need to adjust the resolution on your TV. To do this, go to the Apple menu > System Preferences > Displays in the sidebar and choose a resolution that works best for you.

