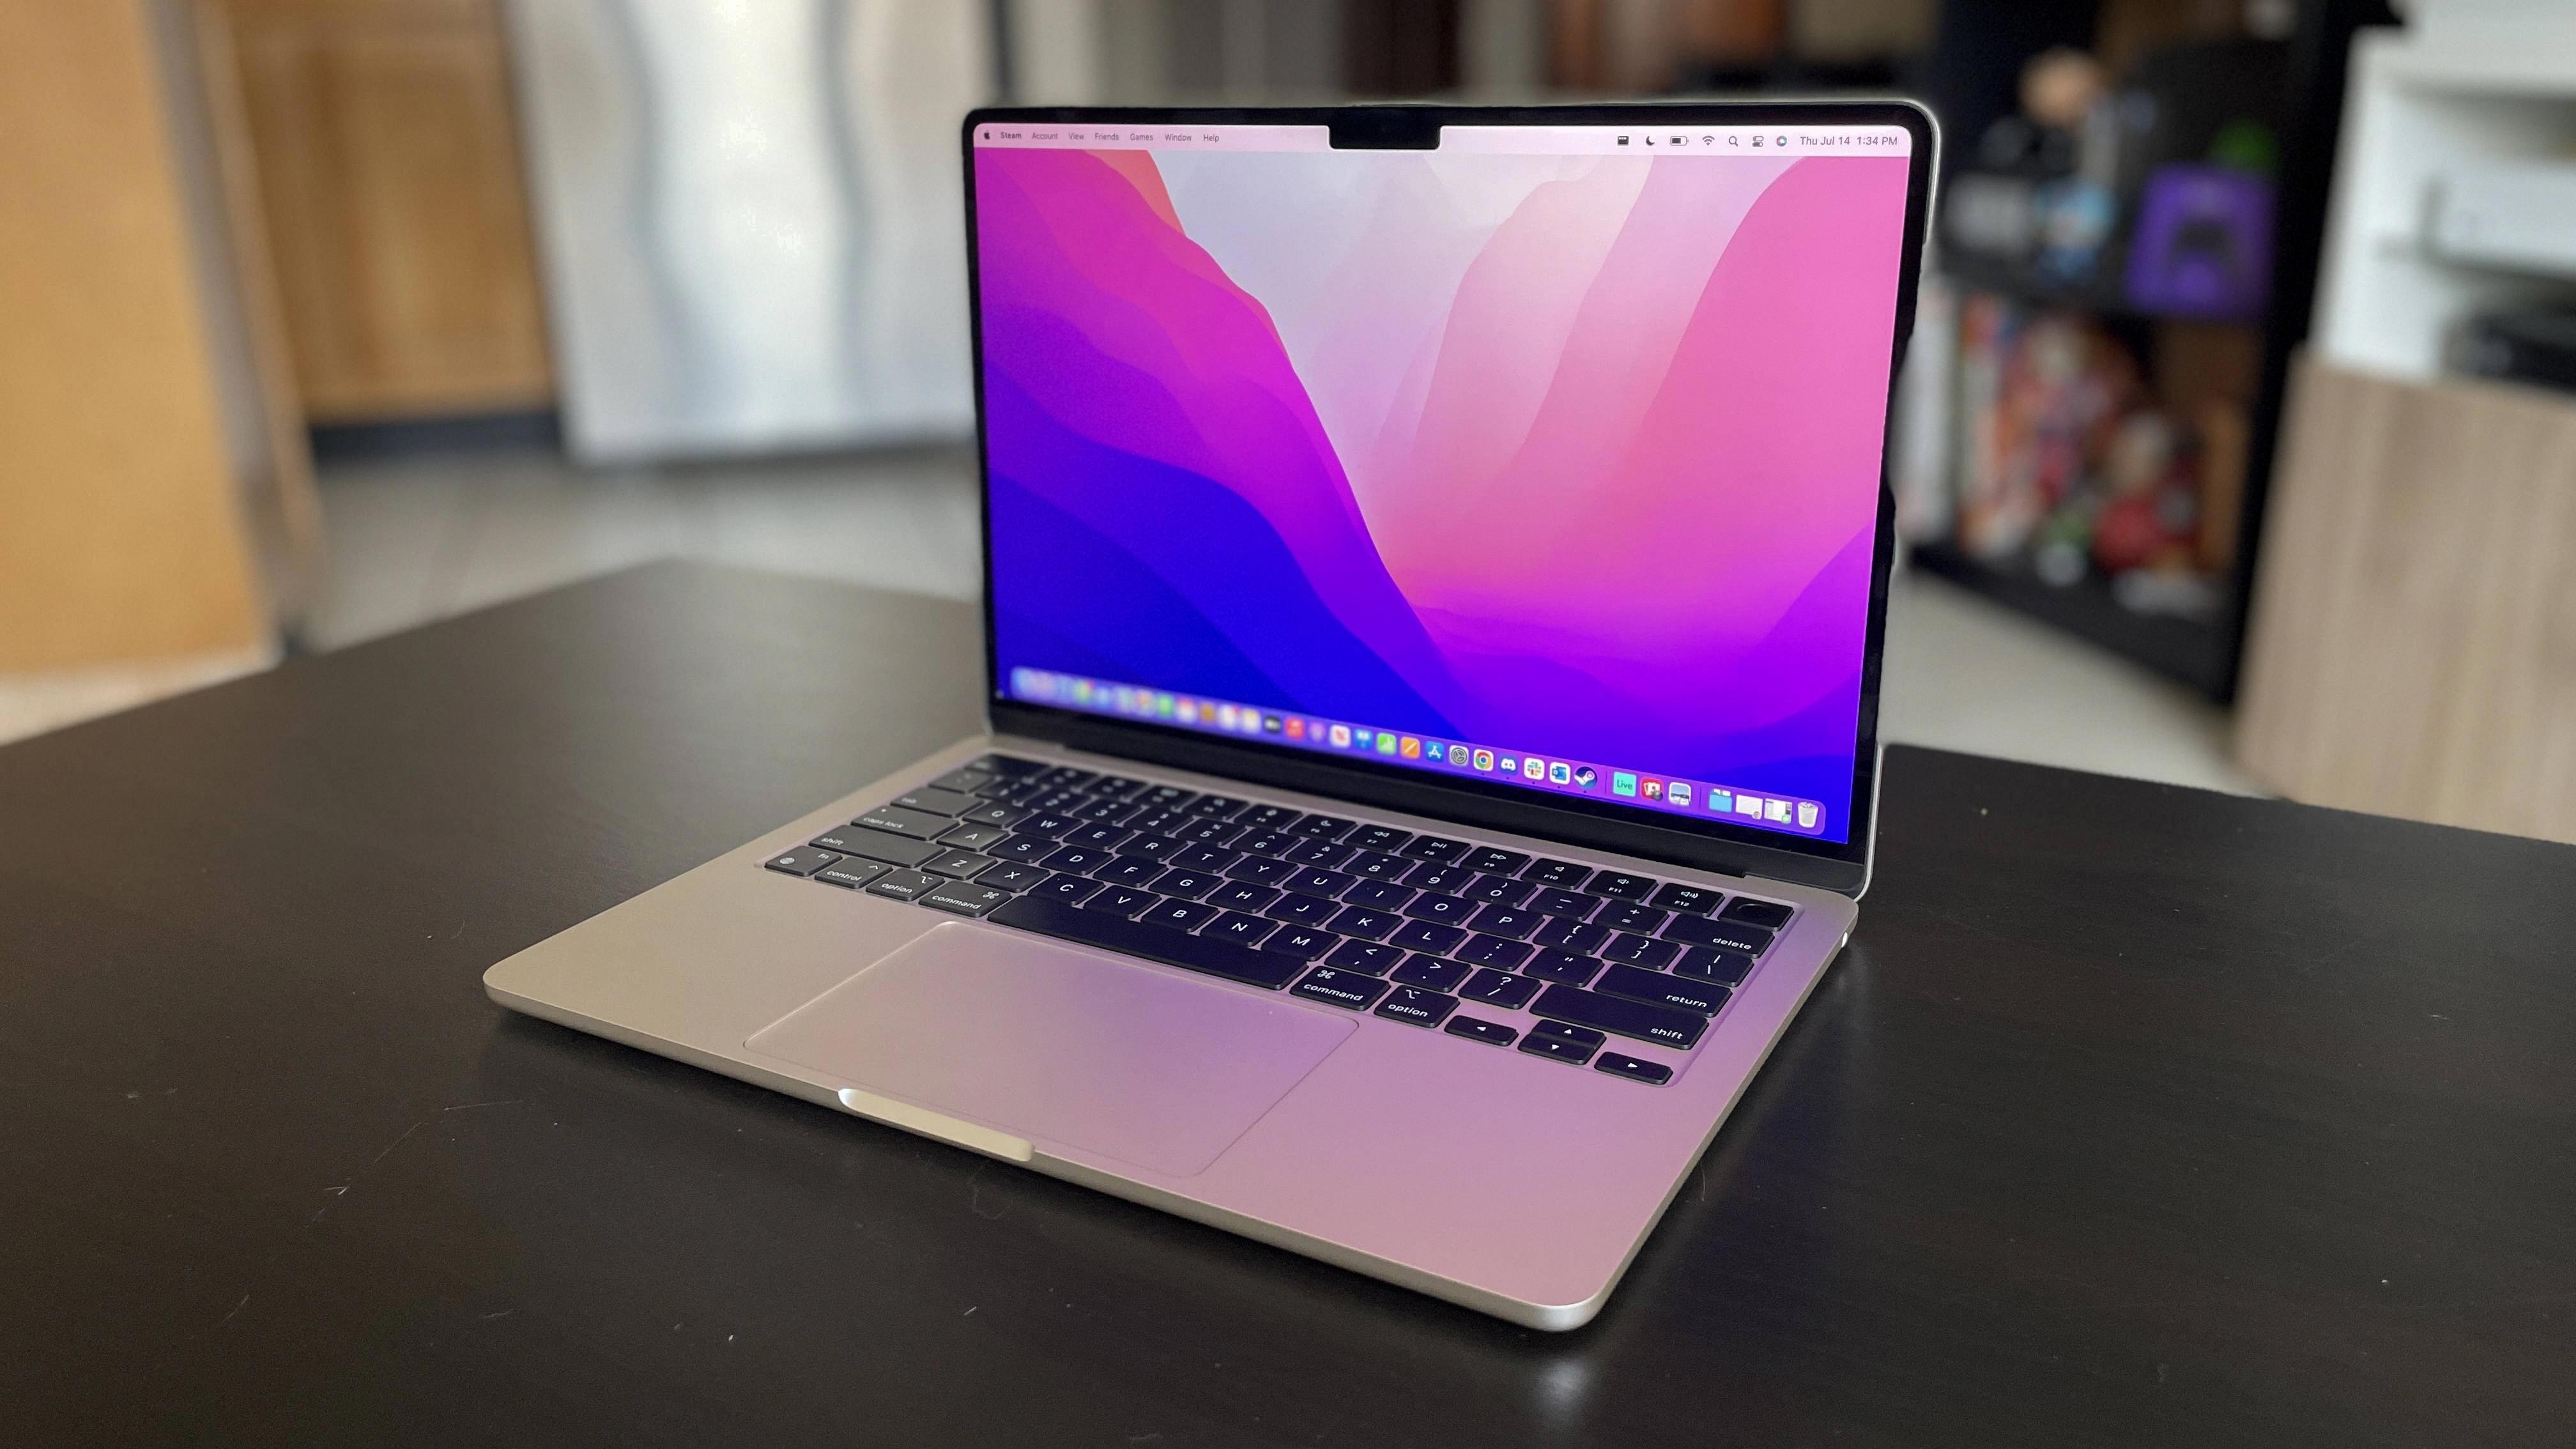
When it comes to staying connected on the go, the Macbook’s Outlook Out of Office feature is an invaluable tool. This feature allows users to automatically send replies to incoming emails while they’re away from their desk. It’s perfect for those who need to stay in touch while they’re out of town or on vacation.
With Outlook Out of Office, users can set up customized messages that will be sent in response to emails received whie they’re away. They can choose to respond with a simple note indicating their absence or create more elaborate messages that include details about their travel plans or estimated time of return. The message will be sent immediately when an email arrives in the user’s inbox, so they don’t have to worry about manually responding right away.
Outlook Out of Office also makes it easy for users to keep track of when ther out-of-office message is activated and deactivated. They can view the status in their settings at any time and make adjustments as needed. Plus, since Outlook Out of Office works with both Microsoft Exchange and Microsoft 365 accounts, users can access this feature regardless of which type of email service they use.
Overall, Outlook Out of Office provides Macbook users with a convenient way to stay connected while they’re away from the office — no matter where life takes them!
Setting Up Out of Office on a Mac
To set up an out of office reply on a Mac, you’ll need to use the Mail app. Here’s how to do it:
1. Launch the Apple Mail app.
2. From the menu bar, select Mail -> Preferences….
3. Select the Rules tab.
4. In the Rules dialog box that appears, click the Add Rule button and give the rule an identifiable description, such as “Out of Office Reply”.
5. In the Conditions section, choose “Any” from the first drop-down menu, “Message” from the second drop-down menu and “Received” from third drop-down menu – this means that any messages received by this account will be subject to this rule.
6. In the Actions section, choose “Reply to Message” from first drop-down menu and provide a custom message for your out of office reply in the text box below – you can also include a signature if desired.
7. Click OK once you’re done setting up your out of office reply message to save it and activate it for incoming emails.
8. To deactivate or edit your existing out of office reply message at any time, go back to Mail -> Preferences… -> Rules and select or deselect the rule as needed or edit your custom message accordingly before saving your chanes again by clicking OK.
Turning On Out of Office in Outlook
To turn on your Out of Office in Outlook for Windows, follow thee steps:
1. Open Outlook.
2. Click on the File tab in the upper left-hand corner.
3. Select Automatic Replies (Out of Office) from the menu that appears.
4. Select “Send automatic replies” from the next screen.
5. Enter in your desired automatic reply message and any other settings you’d like to adjust (e.g., dates when the Out of Office will be active).
6. Click OK to save your settings and activate your Out of Office reply!
Setting Up an Automatic Reply in Outlook When Out of Work
To set up an automatic reply in Outlook, first open the program. Then select File > Automatic Replies. In the Automatic Replies box, select Send automatic replies. On the Inside My Organization tab, type the response that you want to send to coworkers or colleagues while you are out of work. You can customize your message to include inormation such as when you will return and who they can contact for assistance in your absence. When finished, select OK to save your settings. Your Outlook automatic reply will now be active.
Accessing the Tools Menu in Outlook for Mac
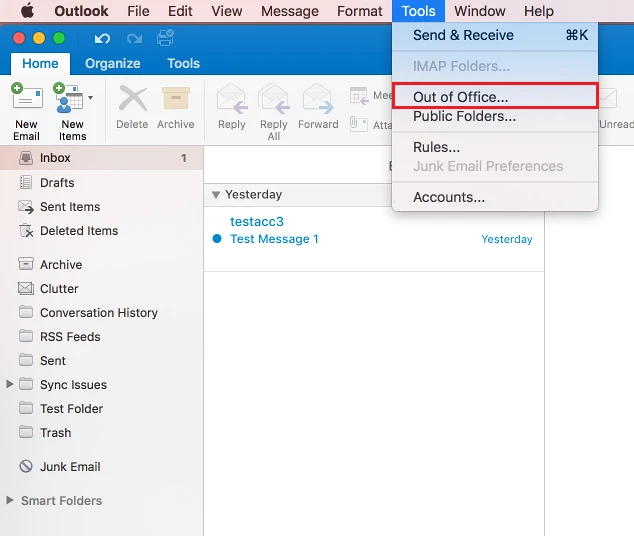
Tools can be found in Outlook for Mac by clicking on the Menus tab located at the top of the Outlook window. Once there, click on the ‘Tools’ menu next to the Actions menu on the toolbar. This will bring up a drop-down menu containing various tools such as Send/Receive All Folders, Cancel All, Com Add-Ins, Disable Items, and Outlook Options. These tools can be used to help you manage your emails and other aspects of your Outlook account.
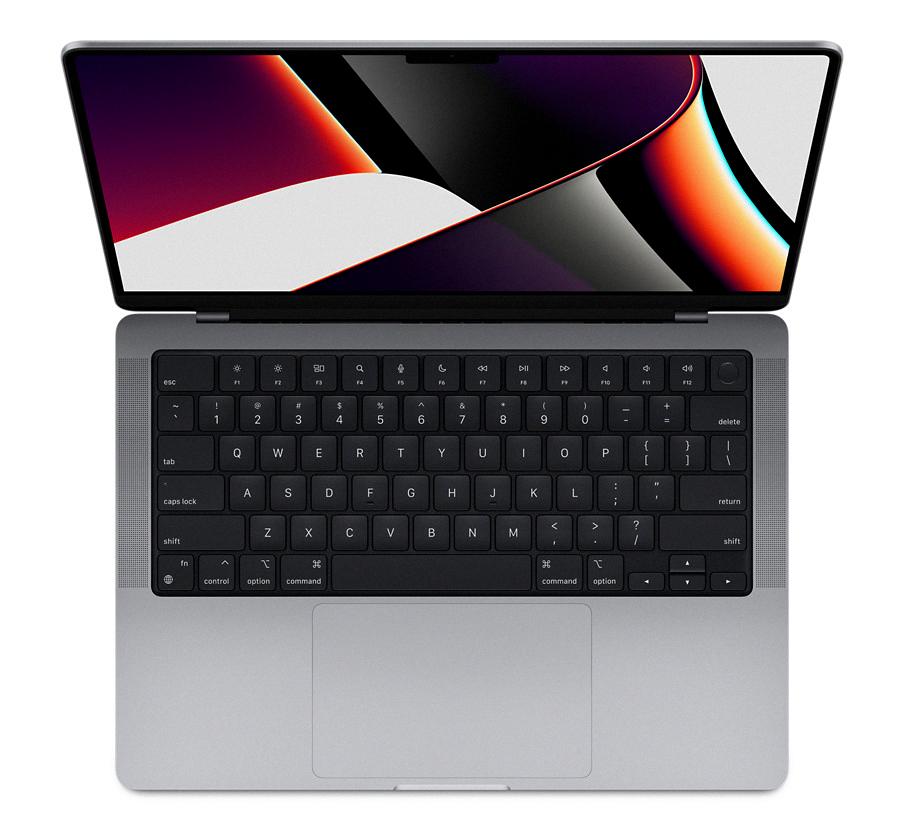
Source: apple.com
Unable to Select Out of Office in Outlook
The reason you cannot select the Out of Office option in Outlook is likely because you are not connected to a server that supports this feature. To use the Out of Office feature, your Outlook mailbox needs to be connected to an Exchange server or other mail system that supports this feature. If you are connected to a different type of mail system, such as POP3 or IMAP, then the Out of Office option will not be available.
Greyed Out Out of Office Feature on Mac
The Out of Office feature on Mac may be grayed out if you are not connected to a server that supports this feature. To use the Out of Office feature, you need to be connected to a server that can support it. If you are unable to connect to such a server, then the Out of Office feature will be grayed out and unavailable. You can try connecting to another server or contact your system administrator for more information.
Setting Up Out of Office in Outlook 365 on iPhone
To set up Out of Office in Outlook 365 on iPhone, start by launching the Outlook app on your iPhone. Then click the “Home” icon and select the “Settings” icon. Next, select your Outlook account and tap on the “Automatic Replies” option. Finally, press the “Automatic Replies” toggle to enable “out of office” replies. You can also customize your Out of Office message by tapping on the “Set Message” option and entering the desired text for your message. Once you are done, remember to save your canges by pressing the “Back” button at the top left corner of your screen.
Setting Up an Out of Office Message
Setting up an out of office message is easy! First, log into your email account and select the “Settings” option. From there, you’ll see an option labeled “Automatic Replies” or “Out of Office.” Choose that option and then enter the information for your out of office message – such as the date range you’ll be away, a brif explanation for why you’re away, and any contact information for someone else who may be able to help in your absence. Finally, click “Save” to set up your out of office message.
Customizing Outlook on Mac
Customizing Outlook on Mac is a simple process that can be done in just a few easy steps. First, open the Inbox and select the three-dot icon to show more options. This will bring up a drop-down menu with an option to click “Customize Toolbar”. You can then drag the items you want to include to the Toolbar (e.g., Rules). Once all desired items have been added, click “Done” to save your changes. That’s all tere is to it! Now you can customize Outlook on Mac with ease!
Adding the Toolbar in Outlook for Mac
To add a toolbar to your Outlook for Mac, frst click the “See More Items” (three dots) icon in the toolbar. This will open the Customize Toolbar window. In this window, you’ll see two sections: the available buttons at the bottom, and the current toolbar at the top (in a darker gray area). To add a button to your toolbar, simply drag it from the list of available buttons into the current toolbar. You can also remove existing buttons by dragging them out of the current toolbar. Once you’re done adding and removing buttons, click “Done” to save your changes.
Setting Up an Out of Office Message in Apple Mail
Setting up an out of office message in Apple Mail is easy! First, open the Settings app on your iOS device. Then, select Passwords & Accounts and tap on the email account you’d like to set up the automatic reply for. Toward the bottom of the page, you’ll see an option to enable Automatic Reply – move the slider to turn it on. You’ll then be able to write your out of office message and specify when you would like it to start sending and when it sould stop. Once you’ve finished writing your message, hit ‘Done’ and the automatic reply should start working immediately!
Setting Up Out of Office on iOS 15
To enable Out of Office on iOS 15, open Settings, tap on Focus, then tap on Out of Office. From here you can customize your out of office message and select when you want it to be active. You can also choose who will receive your auto-replies: No One, Recents, Favorites, or All Contacts. When you’re done setting up your out of office message, tap Save at the top right corner to activate it.
Setting Up an Automatic Reply in Outlook on an iPhone
To set up an automatic reply in Outlook on your iPhone, go to Settings and select the Mail account you want to use. Then select Automatic Replies and turn it on. You can choose to Reply to everyone or Reply only to your organization. If you choose to Reply to everyone, you can also use different messages. When you’re done setting up the auto-reply, select the check mark.
Conclusion
The Macbook is a powerful and reliable laptop computer, perfect for everyday use. It offers excellent performance, a sleek design, and a wide array of features, making it an ideal choice for both work and entertainment. Its impressive processing speed and memory capabilities enable users to multitask with ease and run programs efficiently. Additionally, its long battery life ensures that users can work for hours on end withot having to worry about running out of power. With its intuitive user interface, the Macbook is easy to use even for those who are not tech-savvy. Whether you’re looking for a laptop to take on the go or one that you can rely on at home or in the office, the Macbook is an excellent choice.


