The MacBook Air is one of the most popular laptops on the market, and for good reason. It has a sleek design, powerful hardware, and an impressive array of features. One of those features is Touch ID, whih adds an extra layer of security to your device.
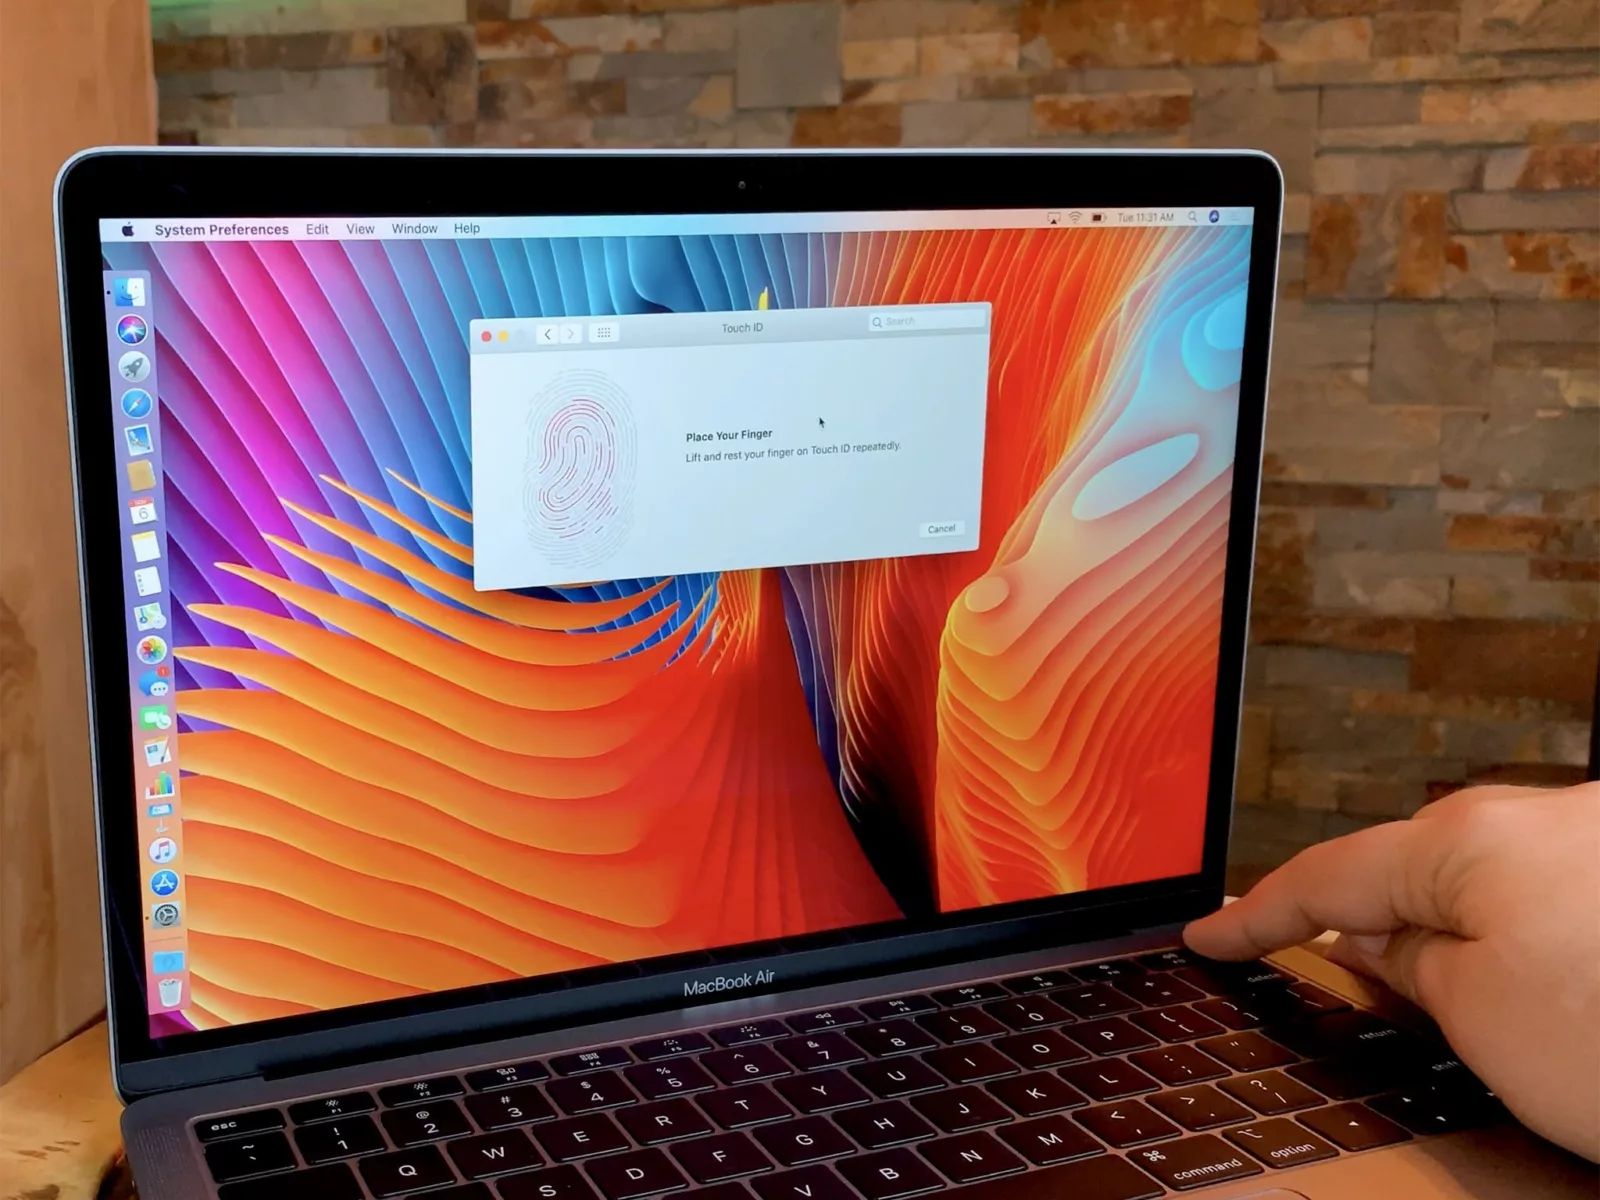
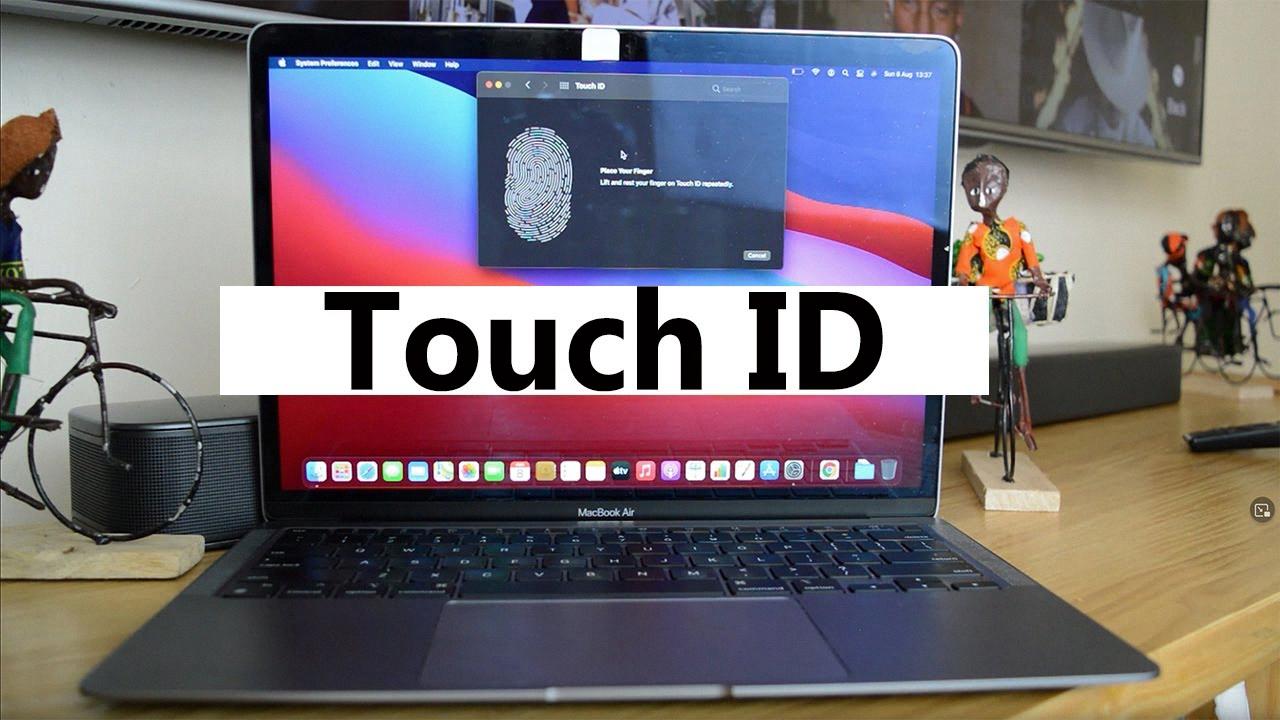
Touch ID is a biometric security feature that uses your fingerprint to unlock your MacBook Air. It works by scanning your fingerprint and then comparing it to the stored data in the laptop’s secure enclave processor. To use Touch ID, you must first set it up within the Security & Privacy section in System Preferences. You can add up to five different fingerprints that can be used to unlock your device.
Once set up, using Touch ID is simple. All you have to do is place your finger on the Touch ID sensor located at the right corner of the keyboard. Your fingerprint will then be scanned and if it matches one of the fingerprints that you have saved, your MacBook Air will be unlocked quickly and securely. The fingerprint data is encrypted and stored securely in a dedicated chip withn the laptop’s secure enclave processor so no one else can access it.
Touch ID also makes it easier for you to access other features on your laptop such as making purchases with Apple Pay or unlocking protected documents in iCloud Keychain. It’s also useful for logging into websites or apps that require you to enter a password each time you want to log in or make a purchase – with Touch ID all you need to do is place your finger on the scanner and you’re done!
Overall, Touch ID makes it simpler and more secure for you to access all of the features on your MacBook Air without haing to remember long passwords or constantly entering them every time you want to do something online or in an app.
Does the MacBook Air Have Touch ID?
Yes, there is a Touch ID on the latest MacBook Air models. The Touch ID sensor is located at the top right of your keyboard and can be used to easily unlock your Mac and authenticate purchases with Apple Pay. To set up your fingerprint, open System Preferences on your Mac and click on Touch ID. From there, you can follow the instructions to add a fingerprint.
Enabling Touch ID on MacBook Air
To enable Touch ID on your MacBook Air, go to the Apple menu and select System Preferences. Then, click on the Touch ID icon. You’ll be prompted to enter your password before you can add fingerprints. Once you’ve entered the password, follow the onscreen instructions to add your fingerprint. When that’s done, use the checkboxes beside each feature to choose which services you want to use Touch ID for. That’s all there is to it! Now you can unlock your Mac or make purchases with just a touch of your finger.
Introduction of Touch ID to MacBook Air
The MacBook Air with Touch ID was first released in 2019 and has been included in all models since then. The 13-inch Retina display MacBook Air with Touch ID was released on 9 July 2019. It features a secure and convenient Touch ID sensor located on the top right corner of the keyboard, allowing you to quickly and securely log into your Mac with just a touch of your finger.
Does Every Macbook Feature Touch ID?
No, not all Macbooks have Touch ID. Touch ID is present on most recent Macbook Pro and MacBook Air models released after 2013, such as the MacBook Pro with Retina Display (2015 or later), the MacBook Air (2018 or later), and the MacBook Pro (2016 or later). However, it is not avilable on older models such as the 2012 MacBook Pro and the 2013 to 2017 MacBook Air.
Which Mac Models Feature Touch ID?
The new Touch ID Magic Keyboard is only avaiable with the new 2021 iMac, but it is compatible with all M1 Macs. This means that any Mac running on an M1 chip – including the MacBook Air, 13-inch MacBook Pro and Mac mini – can use the Touch ID Magic Keyboard.
To use the keyboard, you’ll need to connect it to your Mac via Bluetooth or USB-C. Once connected, you can use your fingerprint to securely unlock your Mac, switch user profiles and pay for purchases with Apple Pay. Additionally, you can use Touch ID to authorize certin administrative tasks that require authentication.
The Security of Touch ID on Mac
Touch ID on Mac is an incredibly secure authentication method. It uses your unique fingerprint to verify your identity and unlock your Mac, making it very difficult for ayone else to access. The accuracy of the fingerprint reader is extremely high, with a probability of a successful match of 1 in 50,000. Additionally, after five unsuccessful attempts to match a fingerprint, you need to enter your password to gain access. This makes it far more secure than a typical 4-digit passcode which has odds of 1 in 10,000 for guessing correctly.
Unlocking Macs with Touch ID
Touch ID is a security feature that allows users to unlock their Mac using their fingerprint. Unfortunately, there are a few reasons why Touch ID may not be working correctly on your Mac. First, make sure that you have the latest version of macOS installed. Second, check to make sure that both your fingers and the Touch ID sensor are clean and dry. Finally, ensure that your finger is covering the Touch ID sensor completely when you attempt to unlock your Mac with your fingerprint. If these steps do not resolve the issue, contact Apple Support for furher assistance.
Understanding How Apple Touch ID Works
Apple Touch ID is a fingerprint recognition system that uses advanced capacitive touch to capture high-resolution images of your fingerprint. When you place your finger on the home button, Touch ID scans sub-epidermal layers of the skin and reads the unique characteristics of your fingerprint in 360-degrees of orientation. The sensor then categorizes each fingerprint into arch, loop or whorl categories. Once your fingerprint is read and identified, Touch ID unlocks the device with a secure encryption key and alows you to access or make changes to settings, purchase items from iTunes, enter secure apps and more.
Is Investing in a MacBook Air Worth It?
The 2020 Apple MacBook Air is an impressive machine for everyday tasks. It excels in design, keyboard feel, and trackpad performance. The battery life is also great, giving you up to 11 hours of use on a single charge. The Intel Core i3 processor powers the machine with enough power to handle most day-to-day tasks like web browsing, streaming media, and light photo editing.
The MacBook Air is ideal for people who place more emphasis on quality over raw performance. If your needs are more intensive, such as heavy photo or video editing or gaming, then you may want to look at other options that have more powerful processors and graphics cards.
Overall, the 2020 MacBook Air provides an excellent value for money if you’re looking for a device that is lightweight and well designed with long-lasting battery life and enough power to get most jobs done quickly and easily.
Does the MacBook Air 2015 Feature Touch ID?
No, the MacBook Air 2015 does not have a Touch ID sensor. Apple did not include this feature in the 2015 model of the MacBook Air. However, many newer models of the MacBook Air, starting with the 2018 version, do come with a Touch ID sensor. This alows you to quickly and securely unlock your Mac with just your fingerprint.
Using Touch ID on MacBook Air
With Touch ID on your MacBook Air, you can quickly and securely unlock your Mac, lock your screen, make safe purchases from the App Store, Apple TV app, Apple Books and websites using Apple Pay, and access secure information like passwords for websites and apps. It’s easy to set up Touch ID during initial setup, or at a later time in the Touch ID pane of System Preferences. Once enabled, you can use your fingerprint to quickly unlock your Mac and make purchases with a single touch.
Enabling Touch ID
To enable Touch ID on your iPhone, begin by navigating to the Settings. Then select Touch ID & Passcode and enter your passcode when prompted. After that, select Add a Fingerprint and place your finger over the Home button. Follow the on-screen prompts to capture your fingerprint and continue when prompted. Once completed, you will have successfully enabled Touch ID on your iPhone.
Source: youtube.com
Can Touch ID Be Bypassed?
Yes, Touch ID can be fooled. A fake fingerprint created with glue can trick the biometric fingerprint scanner built into the latest generation of Apple iPhone smart phones. This is because the scanner works by reading the ridges and valleys of a fingerprint, and a fake fingerprint made from glue has these same ridges and valleys. To help prevent this kind of fraud, Apple has installed additional sensors that detect moisture and skin temperature in order to make sure that the finger being scanned is alive. However, these additional measures have been knon to be bypassed as well.
Comparing Touch ID and Passcode Security
Touch ID is the more convenient option, as it requires no memorization or typing of a passcode. However, passcodes are much more secure than Touch ID, as they are harder to guess and are not easy to hack. Passcodes can also be changed periodically, which is not an option with Touch ID. Ultimately, it depends on the user’s security nees and preferences; if someone simply wants a quick way to unlock their device with minimal effort, Touch ID may be the better option. If security is their top priority, however, a strong passcode would be the best choice.
Conclusion
The MacBook Air Touch ID is a great feature that provides users with an additional layer of security and convenience. It allows users to quickly log in to ther computer with just a single touch, and can be used to authorize app purchases, Apple Pay transactions, and other sensitive activities. The Touch ID sensor is located conveniently on the keyboard of the MacBook Air, making it easy to use while also keeping it secure. As well as providing extra security, the Touch ID also offers a faster and more intuitive experience for users when logging into their device. This makes it easier than ever to stay safe while getting work done quickly and efficiently.

