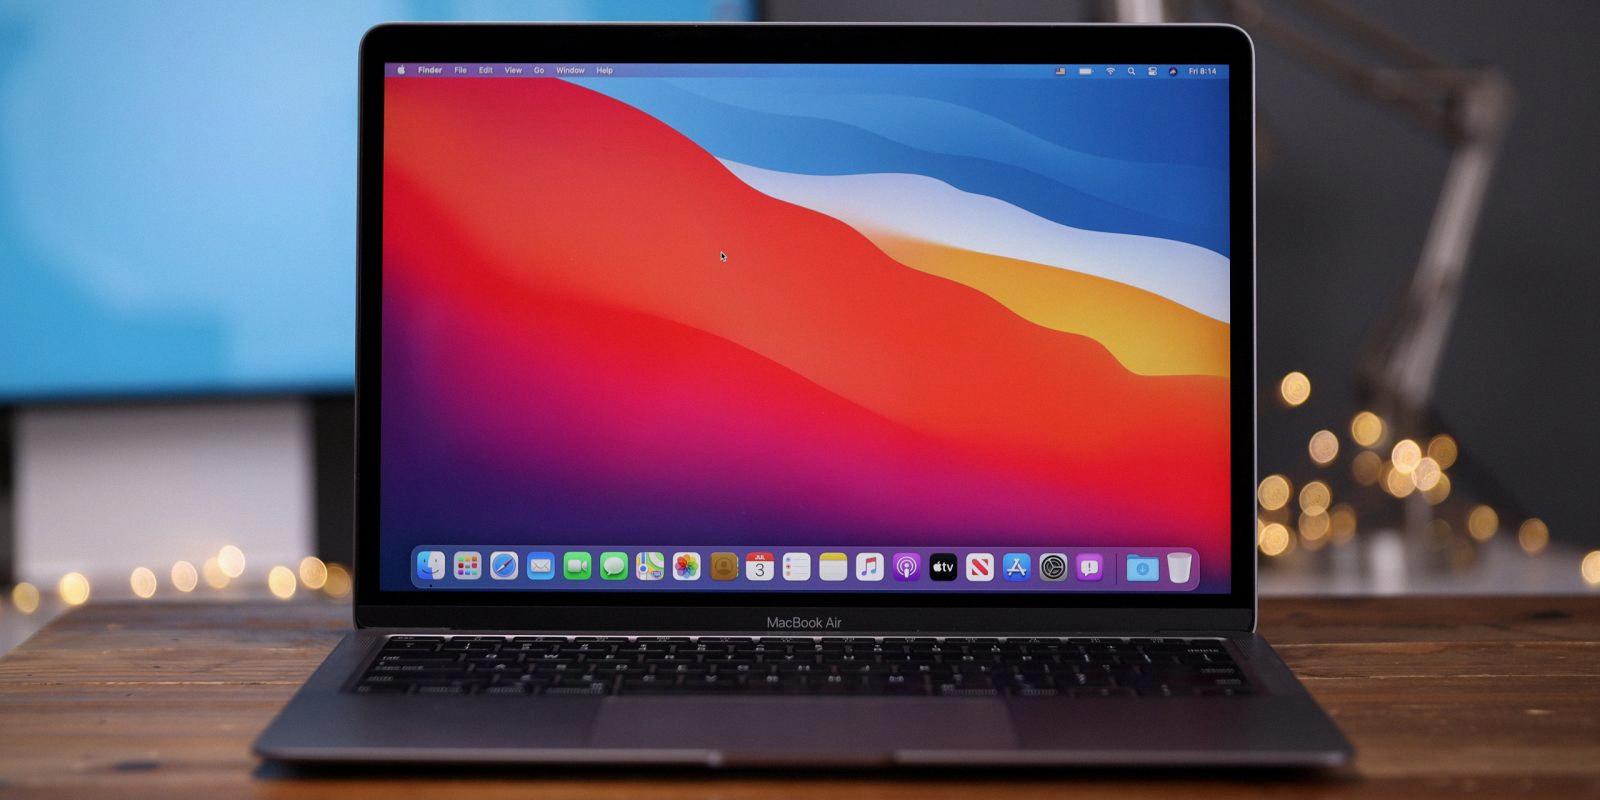
Mac OS Big Sur, the latest operating system developed by Apple, brings a host of exciting new features and improvements to Mac users around the world. With its sleek design, enhanced performance, and innovative functionalities, Big Sur takes the Mac experience to a whole new level. In this article, we will delve into the key aspects of Mac OS Big Sur and explore how to access the Library folder in this operating system.
Accessing the Library folder directly through the Terminal is a useful feature for advanced users who need to navigate through system files and configurations. To access the Library folder in Mac OS Big Sur, follow these steps:
1. Click the Spotlight Search icon in the upper right corner of the screen.
2. Enter “Terminal” and press Enter.
3. In the Terminal window that appears, type “open library” and hit Enter.
4. The Library folder will open in a Finder window, allowing you to browse its contents.
Alternatively, you can also access the Library folder by following these steps:
1. Press Command-Shift-H to open a window showing your home folder.
2. Go to View -> Show View Options.
3. Check the box next to “Show Library folder.”
4. The Library folder will now be visible in your home folder.
By accessing the Library folder, users can explore various application-specific settings, preferences, and cache files that are essential for troubleshooting, customization, and advanced system management.
Mac OS Big Sur brings a range of exciting features and improvements to Mac users, including a redesigned interface, enhanced performance, and improved privacy and security. Additionally, the ability to access the Library folder directly through the Terminal provides advanced users with convenient access to system files and configurations. With its innovative functionalities and user-friendly design, Mac OS Big Sur offers a seamless and enjoyable experience for Mac users worldwide.
Where is the Library in MacOS Big Sur?
To locate the Library folder in macOS Big Sur, you can access it directly through the Terminal. Here are the steps:
1. Click on the Spotlight Search icon located in the upper right corner of your screen.
2. In the search bar that appears, type “Terminal” and press Enter.
3. The Terminal window will open, presenting you with a command prompt.
4. In the Terminal window, enter the command “open library” (without quotes) and hit Enter.
5. After executing the command, the Library folder will open in a Finder window.
How to Make Your Library Visible On Mac?
To make your Library folder visible on a Mac, you can follow these steps:
1. Open Finder on your Mac.
2. In the menu bar at the top of the screen, click on the “Go” menu.
3. While holding down the Option key on your keyboard, you will notice that the Library option appears in the drop-down list. Click on it.
4. This will open the Library folder, which contains various files and folders related to your user account and applications.
5. If you frequently need to access the Library folder, you can make it easily accessible by dragging the Library icon from the top of the Finder window to the Dock, sidebar, or toolbar.
By using this method, you can quickly access the Library folder on your Mac and make any necessary changes or modifications as needed.
How to Show Your Library in Monterey?
To display the Library folder in Monterey, you can follow these steps:
1. First, open a new Finder window by pressing Command-Shift-H on your keyboard. This will take you directly to your home folder.
2. In the top menu bar, click on “View” and then select “Show View Options” from the drop-down menu. Alternatively, you can press Command-J as a shortcut.
3. A small “View Options” window will appear. At the bottom of this window, you’ll find a checkbox that says “Show Library Folder.” Check this box.
4. Once you’ve checked the “Show Library Folder” box, the Library folder will become visible in your home folder and will remain visible until you uncheck the box.
It’s important to note that the Library folder is hidden by default in macOS Monterey to prevent accidental modification or deletion of important system files. Therefore, it’s recommended to exercise caution when making changes within the Library folder, as it contains critical files for your applications and system settings.
How to Find Library Folder On Mac?
To locate the Library folder on your Mac, you can follow these steps:
1. Open the Finder application on your Mac.
2. In the top menu bar, click on the “Go” option.
3. While holding down the Option key on your keyboard, you will notice that the Library option appears in the dropdown menu.
4. Click on the Library option to open the Library folder.
Alternatively, you can also access the Library folder by following these steps:
1. Open a Finder window.
2. In the menu bar at the top of the screen, click on “Go”.
3. From the dropdown menu, select “Go to Folder”.
4. In the text box that appears, type in “~/Library” (without the quotes) and press the Enter key or click on the “Go” button.
By using either of these methods, you will be able to access the Library folder on your Mac.

