If you’re a Mac user looking for more control over your Logitech mouse settings, you’ve come to the right place. In this blog post, we’ll cover how to customize your Logitech mouse settings on macOS.
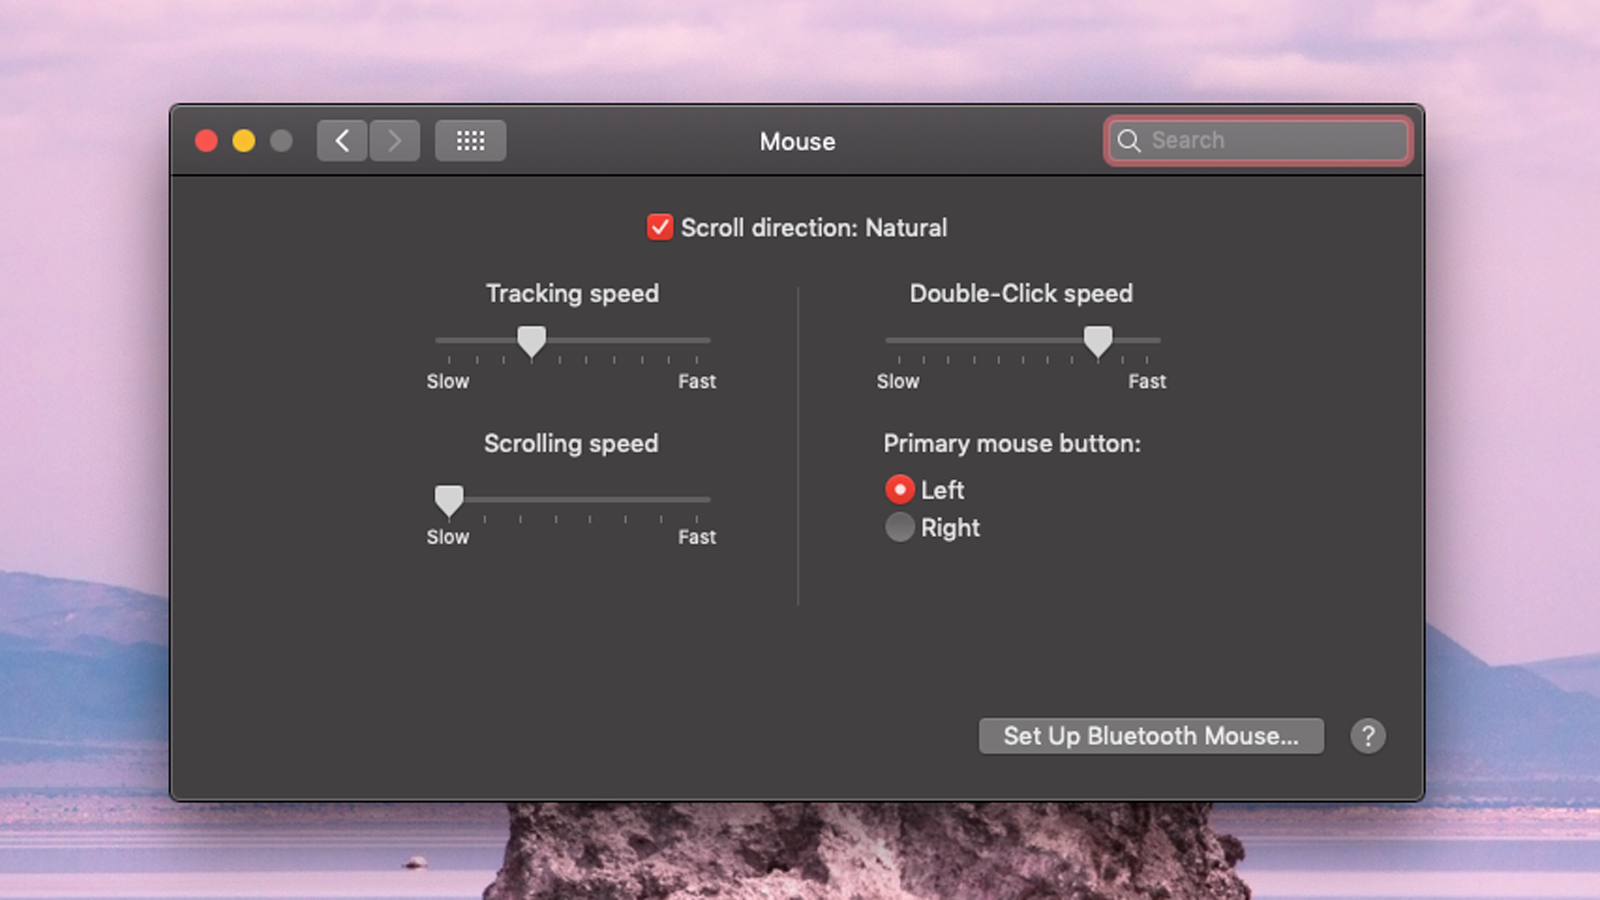
First, you’ll want to open the System Preferences panel on your Mac. From there, select “Mouse” in the sidebar. In Mouse settings, you can adjust the tracking speed of your Logitech mouse by dragging the slider next to Tracking Speed. This will allow you to move your mouse faster or slower depending on what suits you best.
In addition to adjusting tracking speed, you can also customize the DPI (dots per inch) of your Logitech mouse by opening the Logi Options app and selecting Sensitivity (DPI) icon. From here, simply drag the sliders to your desired DPI and click apply – it’s that easy!
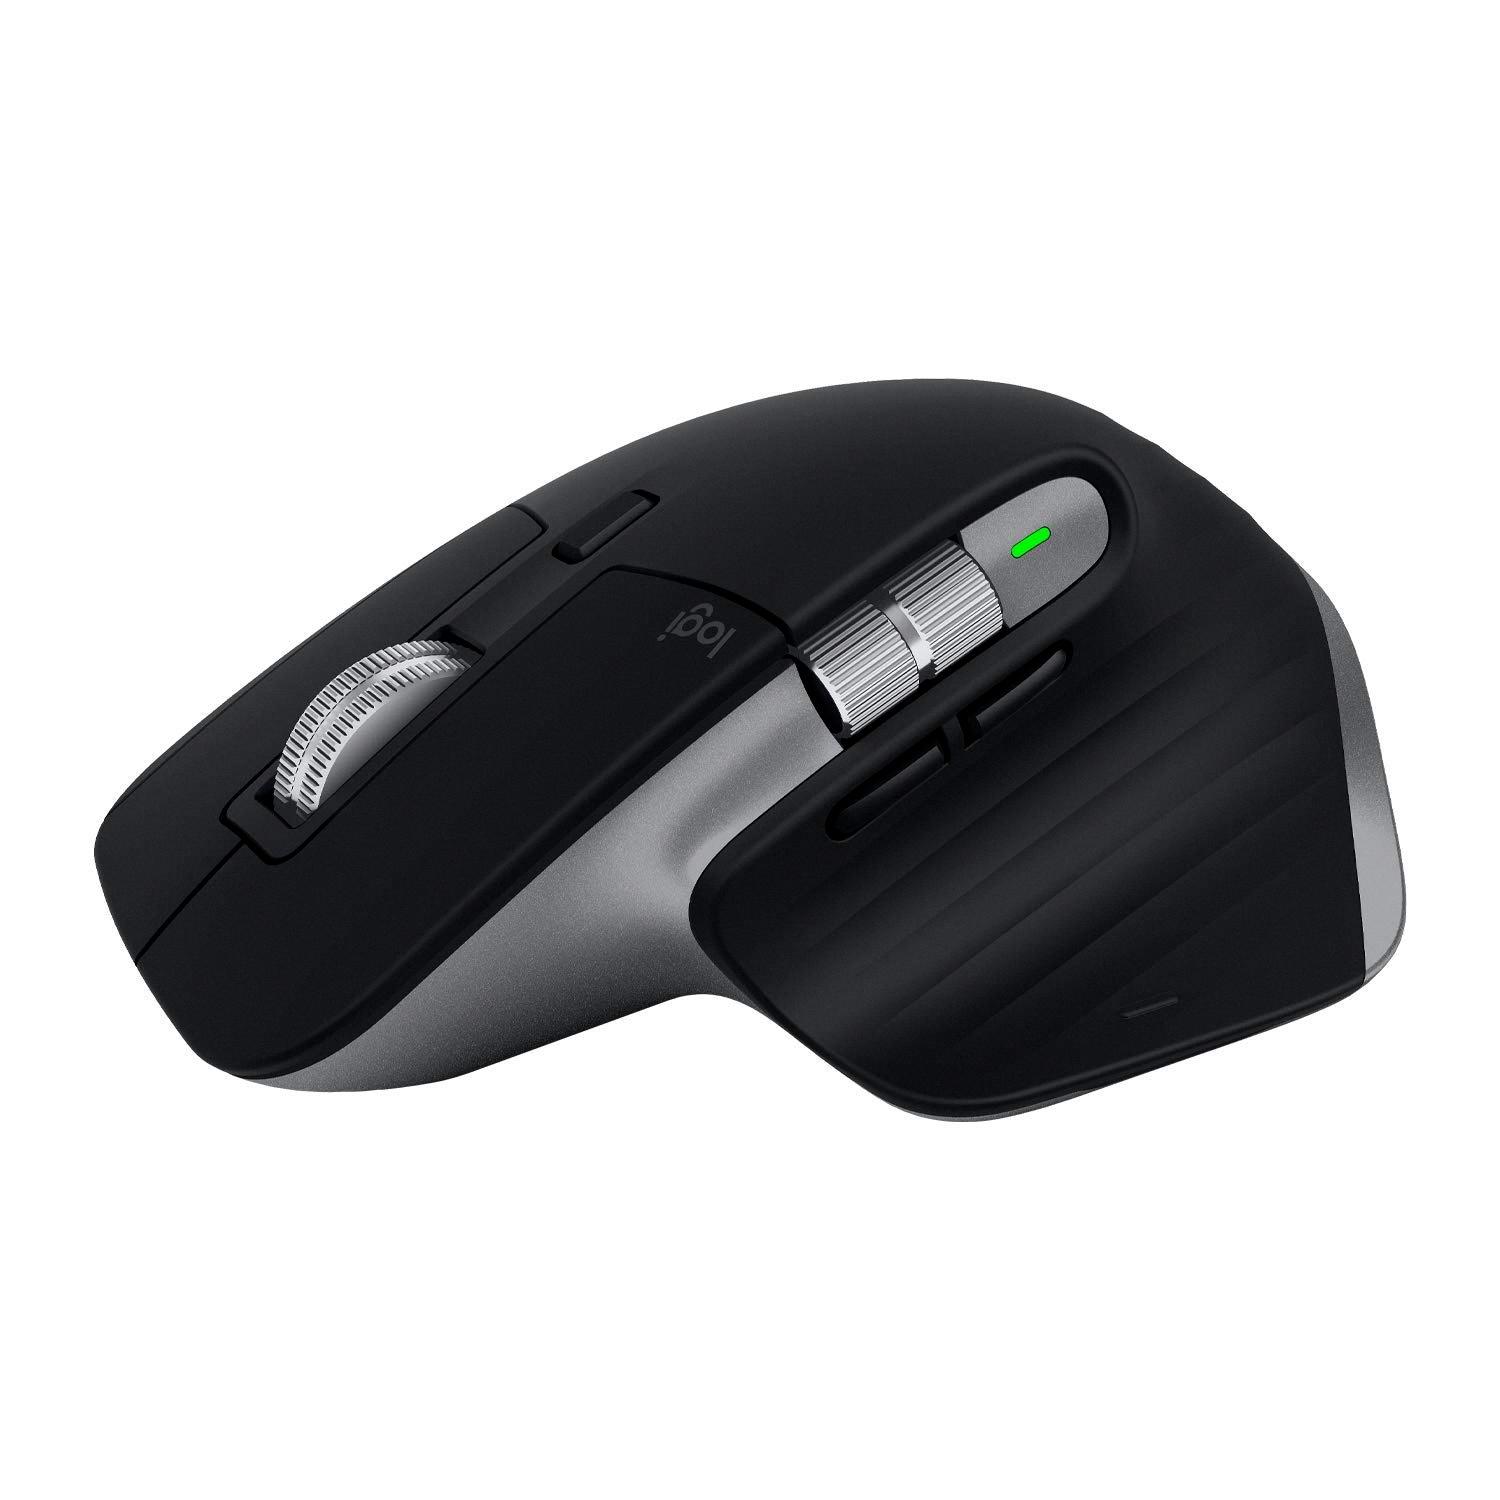
Finally, if you have a customizable Logitech MX Master Mouse or any other type of customizable mouse, you can assign Force Click functions by opening up the Logi Options app and selecting the button you’d like to assign to Force Click. Then swipe down in the list and choose “Look up” and that’s it!
Customizing your Logitech mouse settings on macOS is an easy way to get more out of your device and tailor it exactly how you need it for your work or play style. Whether it be adjusting tracking speed or enabling Force Click functions – with just a few clicks and swipes of your mouse, you can unlock a whole new level of control with your Mac setup!

Changing Logitech Mouse Settings on Mac
To change your Logitech mouse settings on your Mac, begin by opening the System Preferences. Choose Apple Menu > System Preferences and then select Mouse in the sidebar. You may need to scroll down to find it. From here, you can adjust the tracking speed of your mouse, as well as other settings. To do this, drag the slider next to Tracking Speed on the right to choose a speed that works best for you. As you adjust the slider, test out your changes by moving the mouse around so you can see how it affects its movement.
Changing the Settings on a Logitech Mouse
To change the settings on your Logitech mouse, start by opening the Logitech Gaming Software. You’ll see a list of available mice connected to your computer. Select your mouse and click on the ‘Settings’ tab. Here you’ll find various options including Sensitivity (DPI), Acceleration, and Pointer Speed. To adjust the DPI, drag the slider to your desired setting. You can also customize the other settings to suit your preferences. When you’re finished, press ‘Apply’ to save your changes. Your new settings will take effect immediately.
Assigning Mouse Buttons to Logitech Mac
To assign mouse buttons to Logitech Mac, you’ll first need to open the Logi Options app. Once the app is open, select the button that you’d like to assign and then swipe down in the list and choose “Look up.” You can also customize buttons on other mice with customizable buttons by using their respective apps. After assigning your mouse buttons, you should be able to use them as desired on your Mac!
Accessing Logitech Mouse Settings
The Logitech mouse settings can be accessed in the Settings app on Windows. To get there, click or tap on its button from the Start Menu or press Windows + I on your keyboard. Then, in the Settings app, access Devices. On the left side of the window, select “Mouse” and then select the Logitech mouse from the list of connected devices. This will bring up a separate window for configuring your Logitech mouse settings. Here you can customize options like pointer speed, scrolling speed, buttons and wheel settings, and more.
Programming Logitech Mouse Buttons
To program your Logitech mouse buttons, start by opening your Control Panel. Double-click the Mouse icon, and then click the Buttons tab. Under Button Assignment, select the box for the button you’d like to assign a function to and then select the desired function. Once you’ve made your selection, click Apply and then click OK. Your new button assignment will be saved and ready to use. Close the Control Panel when you’re finished.
Enabling Logitech Options on Mac
To enable Logitech Options on your Mac, you will need to follow the steps below:
1. Open System Settings (or System Preferences) on your Mac.
2. Go to General > Login Items.
3. Click on the Plus (+) icon.
4. Select Logi Options from your Mac’s Applications folder.
5. Select Save.
Once you have completed these steps, Logitech Options will launch automatically when you start up your Mac and will be available for you to use at any time!
Configuring Mouse Settings
To configure your mouse settings, start by clicking the Start button and then clicking Control Panel. From there, open Mouse Properties. Once in mouse properties, click the Buttons tab. Here you can switch the functions of the right and left mouse buttons by selecting the Switch primary and secondary buttons check box. You can also adjust other options such as double-click speed, pointer speed, and wheel scrolling speed. When you are finished adjusting your settings, click OK to save your changes.
Accessing Mouse Settings
To access mouse settings, open the Start menu and select Settings > Ease of Access > Mouse. From there, you can turn on the toggle under Control your mouse with a keypad to control your mouse using a numeric keypad. You can also select Change other mouse options to change your primary mouse button, set scrolling options, and more. There are various other settings you can customize too, such as pointer speed, pointer trails, and click lock.
Programming Mouse Buttons on a Mac
Programming your mouse buttons on a Mac is easy! First, open the System Preferences window. Then, click the Microsoft Mouse icon. After that, click the “Add” button. In the Choose a File window, locate the program that you want to assign custom settings to and click on its executable file. Finally, click “Open” and configure your mouse settings for that program. Once you’ve done this, your custom mouse settings will be applied whenever you use that specific program.
Changing the Click Settings on a Mac
To change the click settings on your Mac, open System Preferences by going to the Apple menu and selecting System Preferences. Once you have opened System Preferences, click on the Mouse icon in the sidebar. This will open the Mouse settings window. Here, you can adjust the right and left click speed, double-click speed, and tracking speed. You can also adjust other settings such as scroll direction and scrolling speed. When you are done making changes, click the “OK” button in the bottom-right corner of the window to save your changes.
Using Mouse Buttons on a Mac
Using Mouse Keys on a Mac, you can control the pointer using the 7, 8, 9, 4, 6, 1, 2, and 3 keys found on the keypad. To click a mouse button with this method, simply press 5 on the keypad. To press and hold a mouse button while using Mouse Keys on a Mac, press 0 (zero). Finally, to release the mouse button you would simply press 5 again.
Calibrating a Logitech Mouse
To calibrate your Logitech mouse, you’ll need to download and install the Logitech SetPoint software. Once it is installed, open the SetPoint software and click on the “Mouse” tab. You should see a “Pointer Settings” section with an option to “Calibrate…”. Click on that option to begin the calibration process. Follow the instructions given by the software to complete the calibration process. This should help improve the accuracy and performance of your mouse.

Source: amazon.com
The Functionality of the 1 2 3 Buttons on Logitech Mouse
The 1 2 3 buttons on the Logitech mouse are used to switch between up to three devices that you have connected to it. By pressing one of these buttons, you can easily switch your mouse connection from one device to another without having to disconnect and reconnect each time. These buttons allow you to quickly and efficiently move between multiple devices, such as computers, laptops, tablets, and phones.
Conclusion
In conclusion, Logitech mice offer a variety of customizable settings on Mac that can help you get the most out of your mouse. You can easily adjust the mouse’s tracking speed, DPI, and button assignment to tailor it to your needs. This makes it easy to get the perfect feel for your mouse, whether you’re gaming or working. With a few simple steps, you can optimize your Logitech mouse to be as comfortable and efficient as possible.


