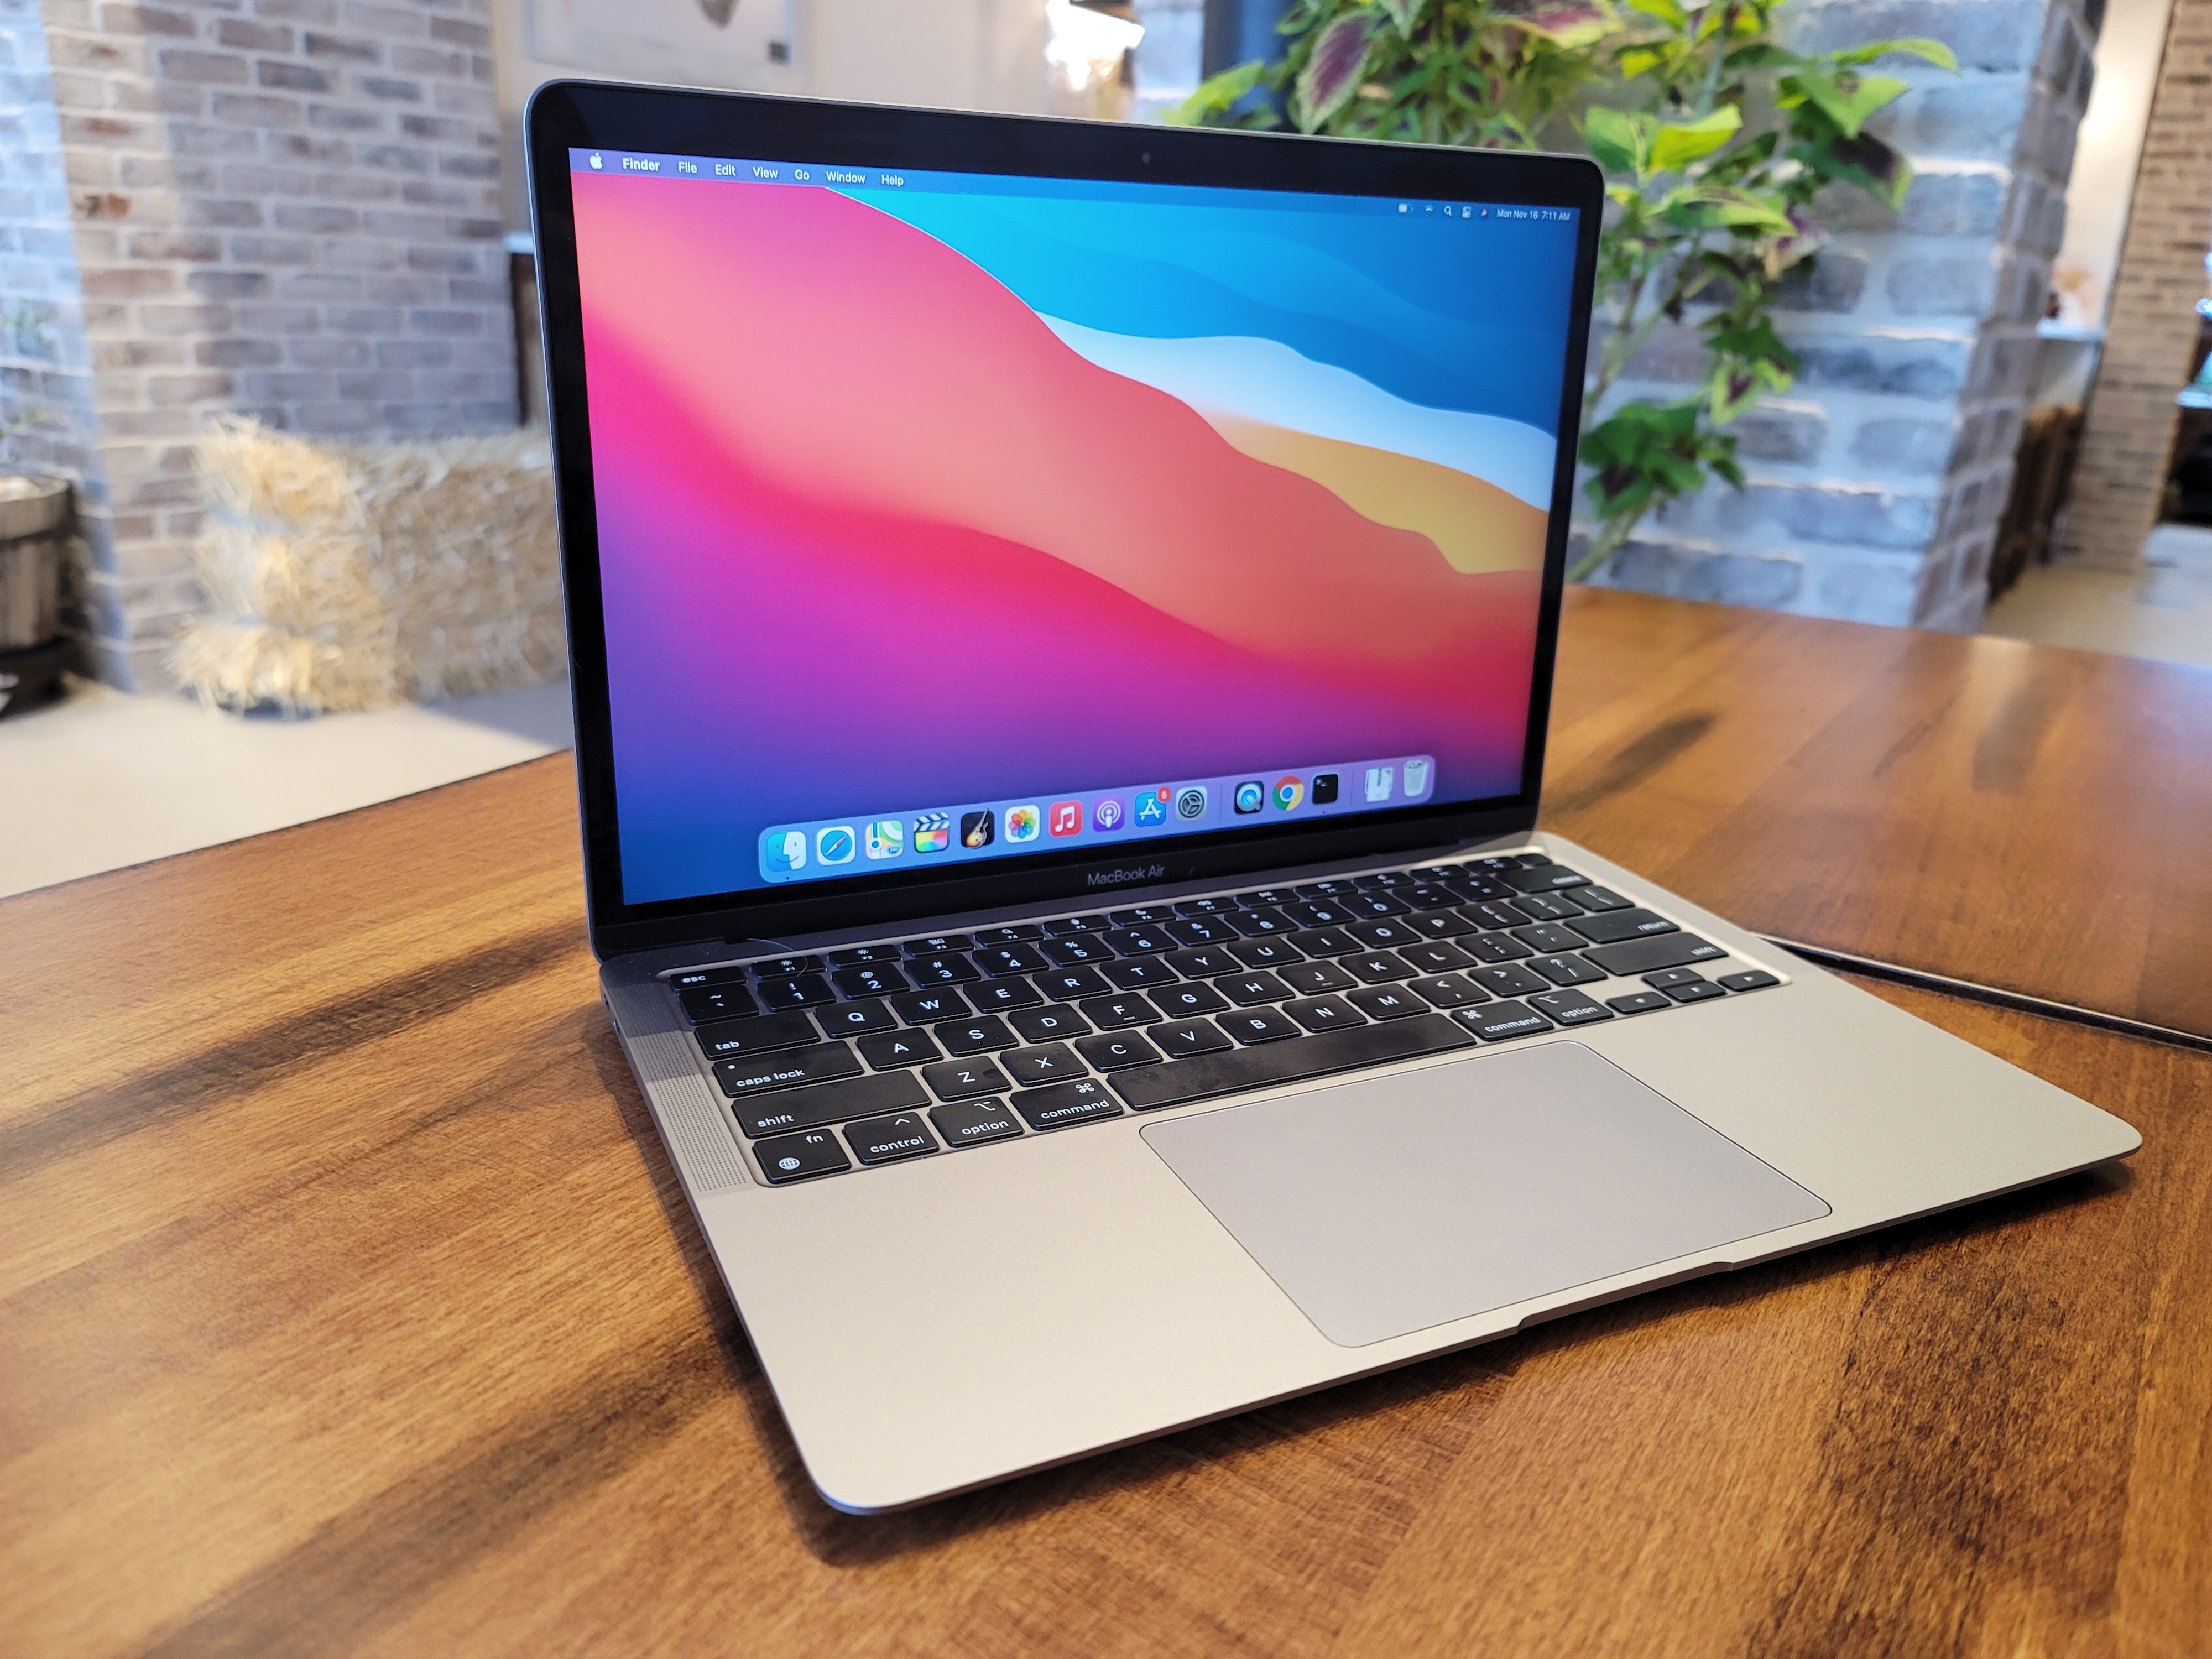
Welcome to our blog post on how to launch Boot Camp on your Mac! Boot Camp is a great tool that allows you to run both macOS and Windows on the same computer, allowing for a seamless transition between the two operating systems. With Boot Camp, you can take advantage of the full capabilities of both macOS and Windows, making it an ideal tool for users who need access to both operating systems.
In this post, we’ll walk you through the steps of launching Boot Camp on your Mac. We’ll cover:
1. Preparing for Installation
2. Setting Up Boot Camp
3. Installing Windows
4. Using Boot Camp
5. Troubleshooting Tips
Before we get started, it’s important that you have a few things prepared before launching Boot Camp:
– An external hard drive with at least 16GB of storage space, preferably USB 3.0 or Thunderbolt 3 (USB-C) compatible
– A copy of the Windows 10 ISO file and product key (if needed)
– A separate partition on your Mac’s hard drive, formatted as MS-DOS (FAT) or ExFAT with at least 30GB of storage space available
Once you’ve gathered everything listed above, you’re ready to set up Boot Camp! The first step is to open the Launchpad application and search for “BootCamp”. When the application opens, click “Continue” in the first window and review information about setting up a dual-boot system with macOS and Windows 10. If all looks good, click “Continue” in the second window and then select which version of Windows 10 you want to install from the dropdown menu (Home or Pro). Click “Continue” again and then read over any additional information presented before clicking “Install”. The installation process will begin automatically once all necessary files have been downloaded onto your Mac’s hard drive.
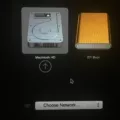
Once installation is complete, you can now start using Boot Camp on your Mac! To switch between macOS and Windows 10 simply reboot your computer while holding down the Option key until a startup menu appears — here you can choose which operating system to boot into. To make a permanent switch between macOS and Windows 10 simply open System Preferences > Startup Disk under General Settings and select either macOS or Windows from the list provided.
When using either macOS or Windows within Boot Camp remember that data cannot be shared between partitions — so if you need access to files like photos or documents be sure to save them separately on both partitions! In addition, remember that some applications may not work correctly when running within a virtualized environment such as Boot Camp — if this is an issue be sure to check with each app’s developer before downloading it onto your device.
Finally, if you ever encounter any issues while using Boot Camp there are several troubleshooting tips available online that can help resolve common problems like slow performance or errors during installation/setup:
– Make sure all drivers are up-to-date by downloading them directly from Apple’s website
– Delete any unused files/folders from either partition (macOS/Windows) as they could be causing conflicts in performance/compatibility
– Reinstall drivers/applications if experiencing errors when running programs/games within either partition
We hope this blog post has given you some insight into how to launch Boot Camp on your Mac! Remember that although setting up Boot Camp does take some time it’s well worth it for those who need access to both macOS and Windows — so don’t hesitate to give it a try today!
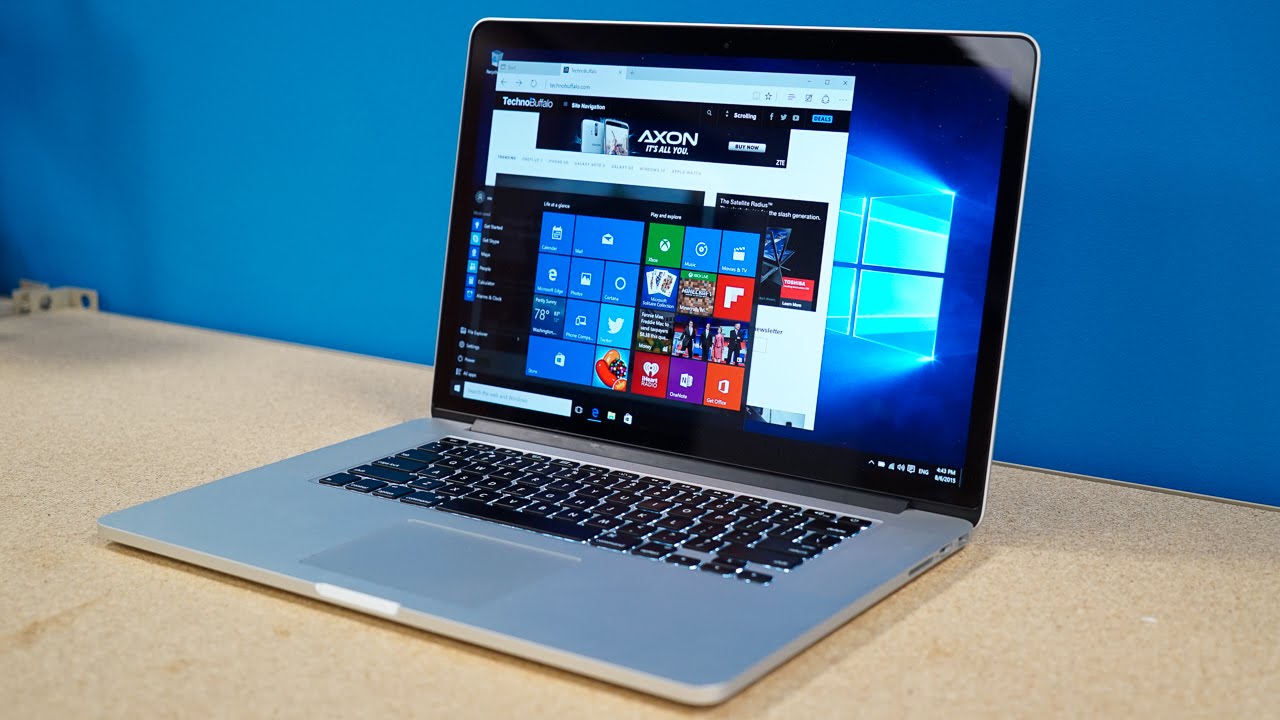
Switching Between Windows and Mac
Thanks for asking! To switch between Windows and Mac on your Mac, you first need to restart your computer. Once the computer is restarted, hold down the Option key on your keyboard until a grey screen appears. On this screen, you will see two options: one for your Mac partition and one for your Windows partition. Double-click on whichever partition you would like to boot into, and your computer will boot into that operating system. Once you are finished using the chosen operating system, simply repeat the process to switch back to the other operating system.
Opening Windows in Boot Camp
To open Windows in Boot Camp, you’ll need to restart your computer and select the Windows partition from the Startup Disk utility. To do this, open System Preferences from the Apple menu, then select the Startup Disk preference. From there, choose the “Windows on BOOTCAMP” partition, and click “Restart.” Finally, confirm your choice to reboot to Windows. Afterward, your computer will start up in Windows.
Accessing Windows on a Mac
To access Windows on your Mac, you first need to connect to a Windows computer or server. To do this, open the Finder and choose to Go > Connect to Server. Then, click Browse and find the shared computer or server that you want to connect to. Double-click it, then click Connect As and enter your username and password if necessary. Once connected, you can select volumes or shared folders on the server. You will then be able to access and use any Windows applications that are installed on the server.
Running Windows and Mac Simultaneously
Yes, Mac users can run Windows and macOS simultaneously without rebooting or sacrificing performance with Parallels Desktop. Parallels Desktop is virtualization software that allows you to create virtual machines on your Mac, where you can install different operating systems such as Windows, Linux, and more. With Parallels Desktop, you can switch between operating systems with just a click of a button, so you can have both macOS and Windows running at the same time. It also provides optimized performance for both operating systems without any noticeable lag or slowdowns. Additionally, you can also access your files from either OS without having to copy them from one system to another.
Absence of Boot Camp on Mac Computers
If you have an Apple M1 chip Mac, then unfortunately Boot Camp is not supported on your device. This is because Boot Camp requires Intel-based processor hardware and the new M1 chip Macs use a different ARM-based processor. Apple has not yet released an update to support Boot Camp on these devices. We apologize for any inconvenience this may cause you. If you need to use Windows, there are other solutions available such as virtualization software like Parallels Desktop or VMWare Fusion which can be used to run Windows alongside macOS on your Mac.
Can Windows Be Booted on an M1 Mac?
Yes, you can boot into Windows on an M1 Mac with the help of virtualization software such as Parallels. This allows you to install and run a full version of Windows on your M1 Mac, giving you access to all the apps and games that are compatible with ARM architecture. However, since not all apps or games are compatible with ARM chipsets, it’s best to check compatibility before installing Windows on your M1 Mac. There is also a Preview version of VMWare Fusion that now supports Apple Silicon chips too.
Conclusion
In conclusion, launching Boot Camp on a Mac allows you to use two operating systems on one computer. This enables you to switch between macOS and Windows on your Mac, giving you the best of both worlds. The process of setting up Boot Camp is fairly simple and straightforward and requires no additional software or hardware beyond what is already included with your Mac. On new M1 Macs, the process is even easier with the new Startup Options feature that can be found in System Preferences. With Boot Camp, you can make use of both macOS and Windows for all of your computing needs.

