Kodi addons are a great way to access a wealth of content from different sources, but sometimes they don’t always work as expected. If you’re having trouble getting your favorite Kodi addons to work, here are some tips that might help.
First, make sure that you have the latest version of Kodi installed on your device. Outdated versions may not be compatible with certain addons, which can cause them to fail or not work correctly. To check for updates, open the Settings menu in Kodi and select System > Updates > Check for updates.
Second, check to see if the addon is still supported by its developers. Many addons are created by third-party developers who may no longer be actively maintaining them – this can result in the addon becoming outdated or not working properly. If this is the case, it may be best to look for an alternative addon that offers similar features and functionality.
Third, if you’re using an unofficial repository or source for your addons, then make sure that it’s up-to-date and secure. Unofficial sources often contain outdated versions of addons which can cause issues when trying to use them with newer versions of Kodi.
Finally, verify that your Internet connection is stable and fast enough to stream content from the addon’s source(s). If your ISP is throttling streaming traffic or blocking certain streams, then you won’t be able to access them – resulting in the “No stream available” error message in Kodi.
If none of these solutions fix your issue with Kodi addons not working, then it might be worth considering investing in a VPN service to hide your streaming activity from your ISP or switch providers if necessary. With a good VPN service in place and a reliable internet connection, you should have no trouble streaming all of your favorite content without any issues!
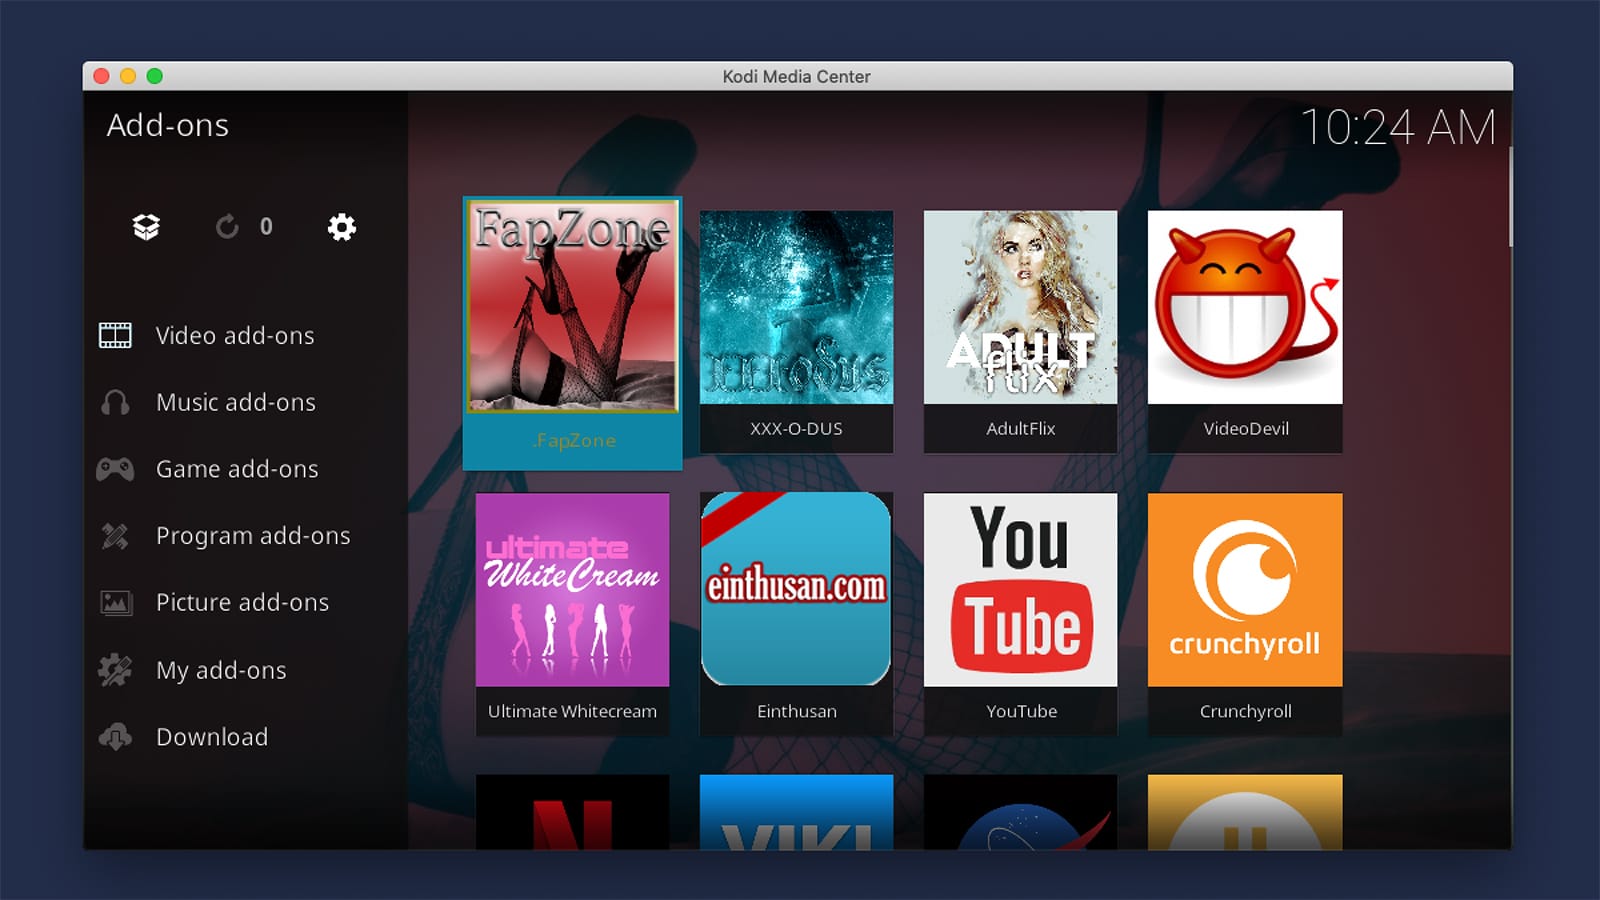
Troubleshooting Kodi Addon Issues
There are several possible causes for Kodi addons not working. It could be due to an outdated version of Kodi, a corrupted source file, or an outdated addon itself. In addition, some addons may not be compatible with your operating system or hardware. You can try updating Kodi and any related plugins you have installed, as well as checking if the addon has been updated recently. If that doesn’t work, you may need to delete and reinstall the addon or try a different version of it. Additionally, make sure that your device has the latest version of its operating system installed.
Enabling Addons on Kodi
In order to get addons to work on Kodi, you will need to first enable Unknown Sources in the Kodi System settings. To do this, open Kodi and then open Settings from the home screen. Click System and then select Add-ons on the left of the screen. On the right side, you will find an option called Unknown Sources – make sure it is enabled by selecting it if it’s disabled. When prompted, click Yes to confirm your selection.
Once Unknown Sources is enabled, you can install third-party addons from any source you choose. The addon installation process may vary depending on the source, but generally you will need to download the addon and install it through Kodi’s Addon Browser. After that, the addon should be available and ready to use!
Troubleshooting Kodi’s Lack of Streams
Kodi not finding any streams can be caused by a number of factors. One possible cause is that your Internet Service Provider (ISP) has blocked certain streams, meaning that Kodi will be unable to access them and display the error “No stream available”. Another potential cause is that your ISP is throttling your connection for either streaming illegal content or using too much bandwidth. Other possible causes include a poor internet connection, an outdated version of Kodi, or incorrect video add-ons or repositories being used. To ensure you are receiving the best experience with Kodi, make sure you have the latest version installed, use official video add-ons from trusted sources, and check your internet connection speed to ensure it meets the minimum requirements for streaming.
Refreshing the Kodi Library
To refresh your Kodi library, start by navigating to the ‘Files’ section in Kodi. Highlight the source you want to refresh and call up the context menu by pressing ‘C’ on your keyboard. From here, select ‘Change content’ and adjust the content setting so that it reads ‘None’. When prompted, select ‘OK’ to confirm. Kodi will then ask if you want to remove all items within this path from your library – select ‘Yes’ to proceed with refreshing your library. Once completed, you can then re-adjust the content set to what it was before and your library will be refreshed with any new or changed items.
Clearing and Expanding Kodi Cache
To clear the Kodi cache or expand the cache, first open Kodi and go to the Add-ons section. Then select Video Add-ons and open Covenant. Once you have opened Covenant, go to the Main Menu and select Tools. In the Tools menu, click on Clear Cache and Clear Provider. A prompt will appear asking for confirmation; click Yes to proceed with clearing the cache and expanding the cache size. You should see a notification that says ‘Process complete’ once it’s done.
Is Kodi Still Compatible With FireStick?
Yes, Kodi is still working on the FireStick. Kodi is available as a free app from the Amazon App Store and can be installed directly onto your Fire TV device. Once it is installed, you can access all of your favorite content including movies, TV shows, music, and more. Kodi also provides access to third-party add-ons that can be used to stream content from a variety of sources. However, it is important to note that some add-ons may not be legal in your country or region so make sure to check before using them.
Conclusion
In conclusion, Kodi addons not working can be a frustrating experience. There are many potential causes for this, such as outdated addons, ISP blocks, or throttling of internet connection. Fortunately, there are some steps that you can take to try to fix the issue, such as enabling Unknown Sources in Kodi’s settings and replacing outdated addons with newer ones. If these steps do not work, then it may be best to contact your ISP for help in resolving the issue.

