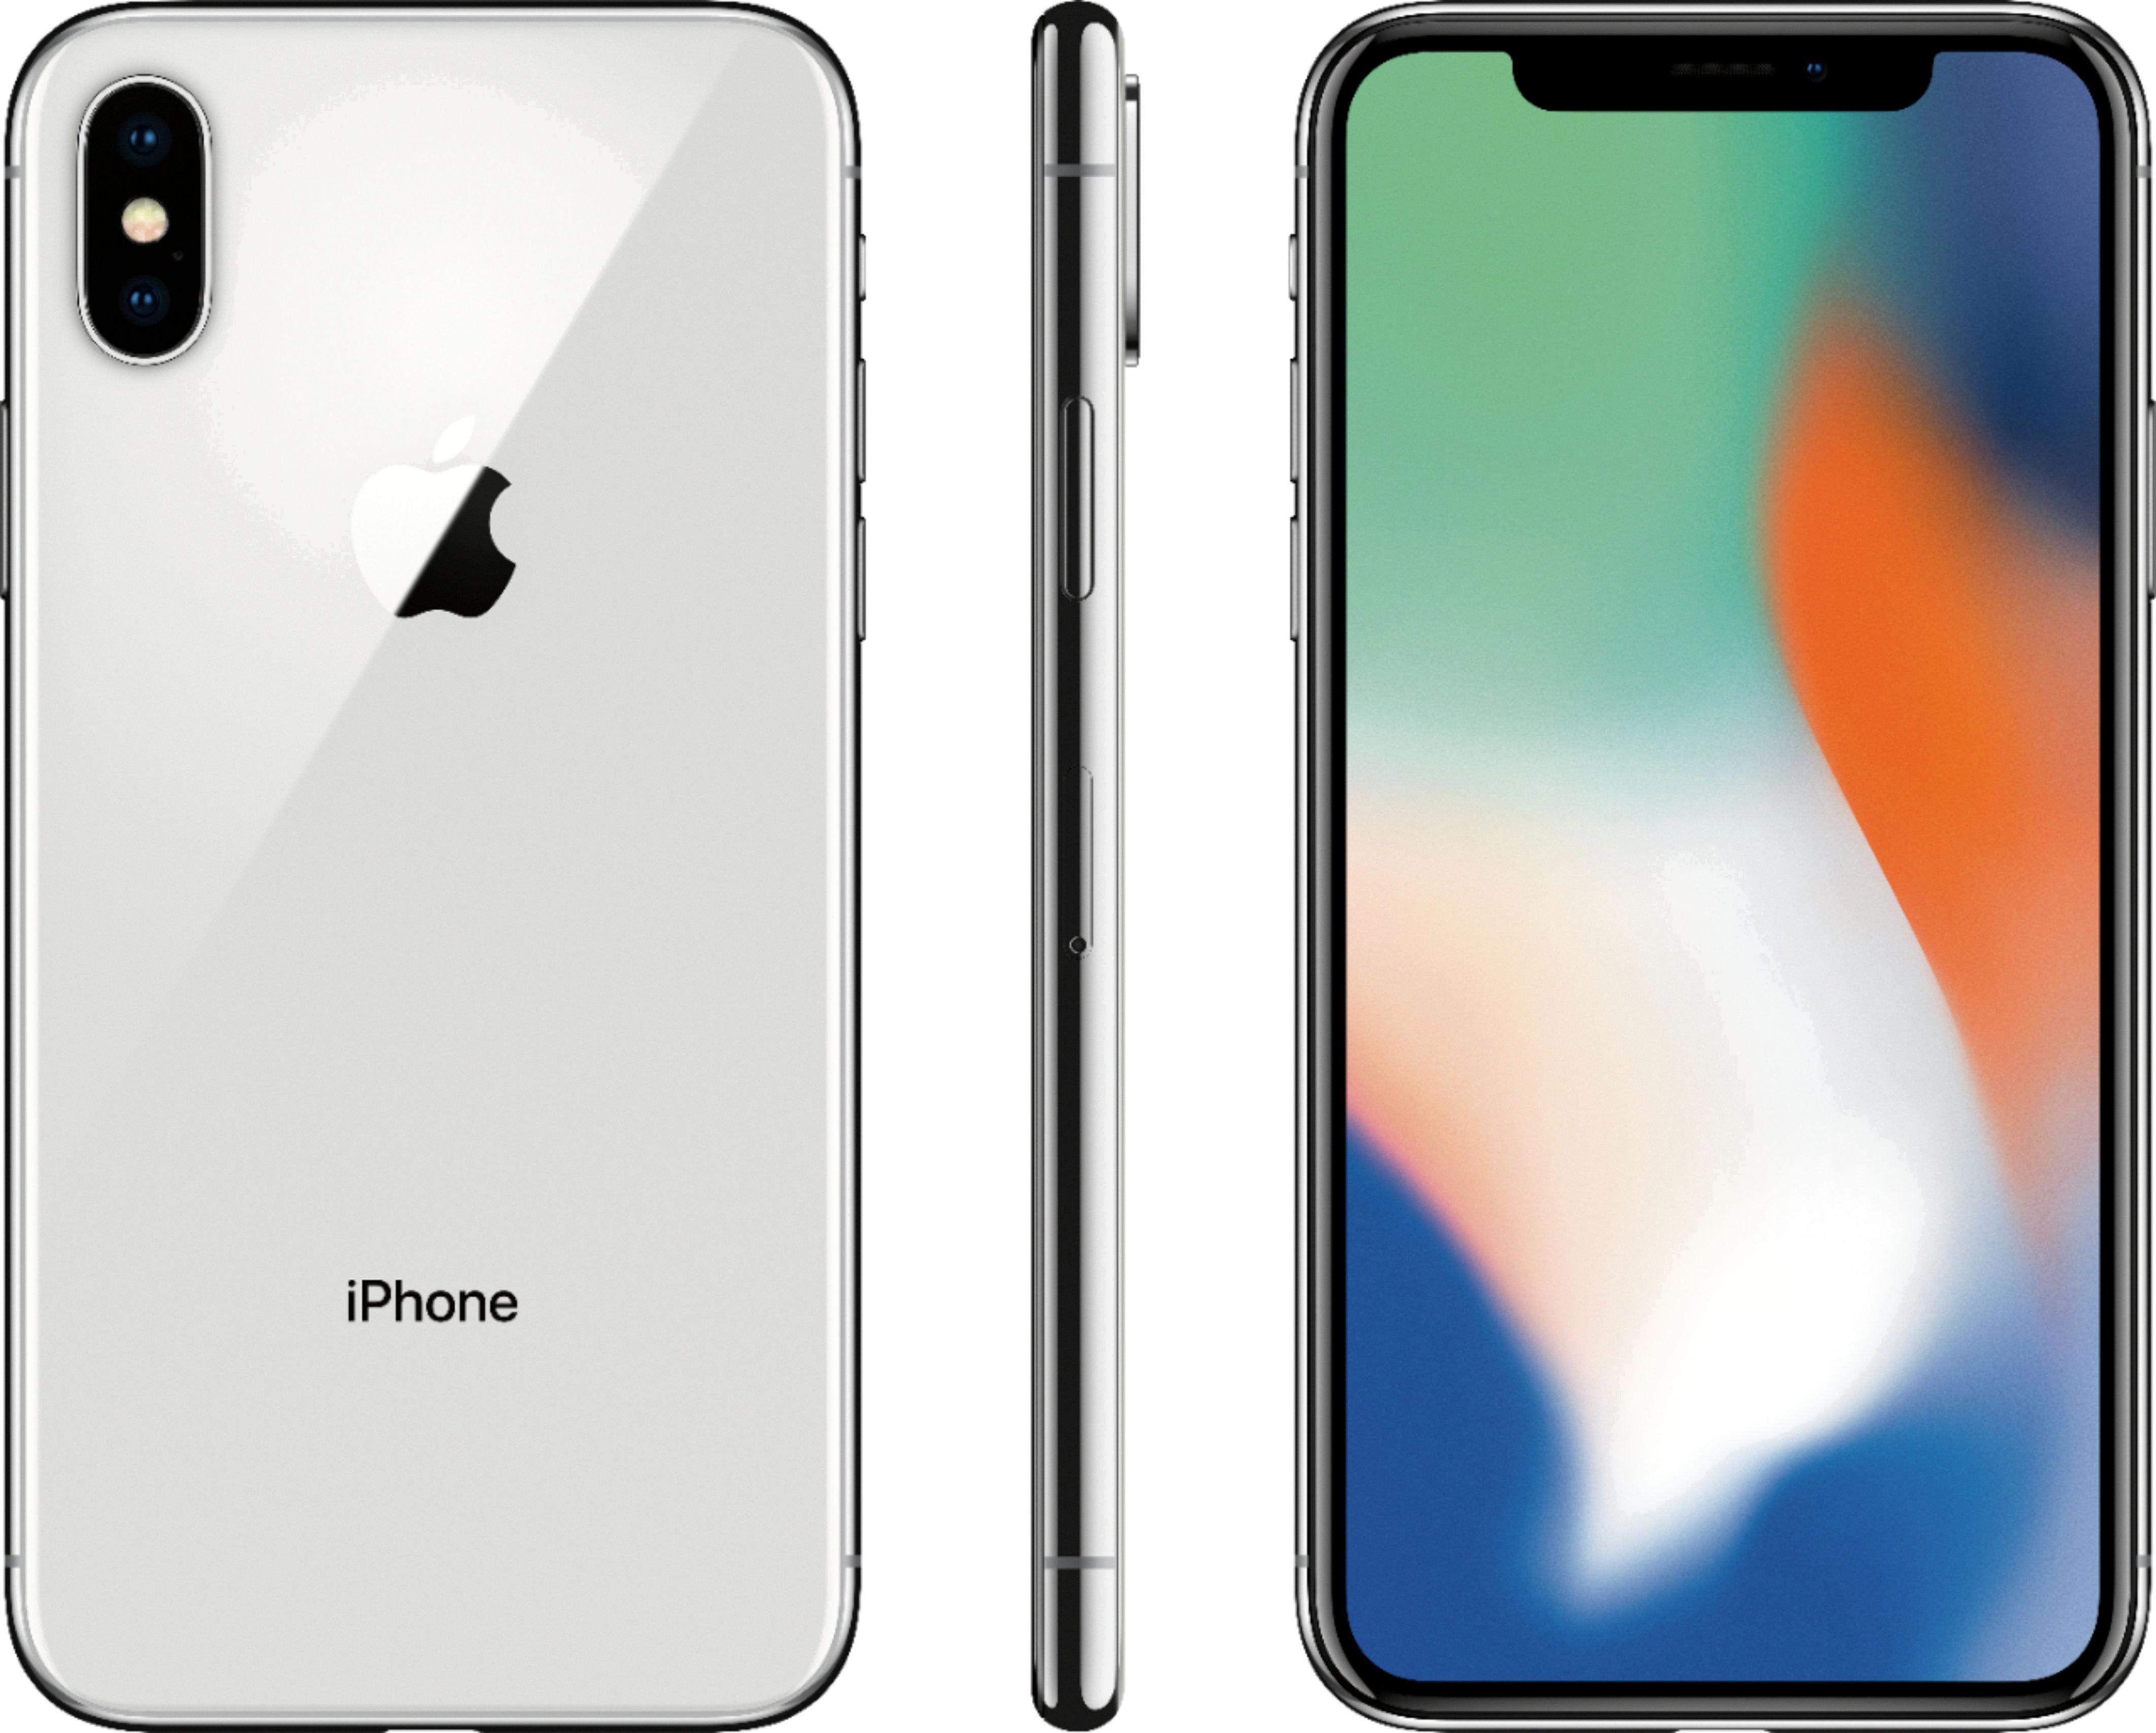
The iPhone XR is one of the most powerful and versatile smartphones on the market today. It has a beautiful display, a powerful processor, and a great camera. But with all that power, it can be confusing to know how to connect your iPhone XR to iTunes.
Let’s start by talking about why you might want to connect your iPhone XR to iTunes. Maybe you want to back up your data or transfer music or movies between devices. Or perhaps you just want to sync your contacts and calendar events with your computer. Whatever the reason, connecting your iPhone XR to iTunes is fairly simple and straightforward.
First, make sure you have the latest version of iTunes installed on your computer and that it is running correctly. Next, plug in your iPhone using the Lightning cable that came with it. Once connected, a prompt should appear asking if you want to trust this computer on your device. Tap ‘Trust’ and then enter the passcode for your iPhone if prompted.
If everything was successful, you should now see an icon for your device in the top left corner of iTunes. You can now access all of its content such as music, movies, photos, etc., or perform various tasks such as backing up data or restoring from a backup file.
To sync content between devices (like music or photos), click the ‘Sync’ button at the bottom right corner of iTunes and select which type of content you wish to sync with what device (iTunes -> iPhone). When finished, click ‘Apply’ at the bottom right corner of iTunes and wait for until syncing finishes before disconnecting your device from iTunes.
And that’s it! You can now easily access all of the content stored on your iPhone XR through iTunes on any compatible computer or laptop whenever you need it!
Troubleshooting iPhone XR Connection Issues with iTunes
If your iPhone XR won’t connect to iTunes, it could be due to a few different issues. First, make sure that you have the most recent version of iTunes installed on your computer. If that doesn’t help, try using a different USB port or cable to connect your iPhone to iTunes. Additionally, check for any debris in the charging port on the bottom of your iPhone. If none of these solutions work, contact Apple Support or visit an Apple Retail Store for assistance.
Unlocking a Disabled iPhone That Says Connect to iTunes
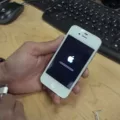
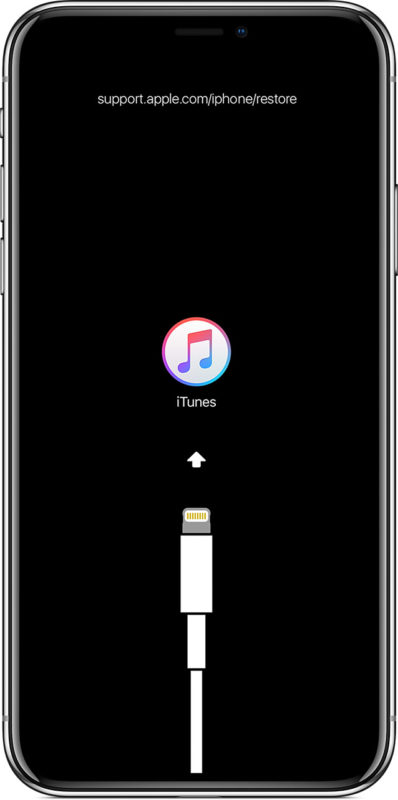
To unlock an iPhone that is disabled and says connect to iTunes, you need to first turn off the iPhone. Then, connect the iPhone to a Mac or PC and press and hold the Home button (or corresponding volume key) until the recovery mode appears. Open Finder or iTunes on your computer, click on the iPhone icon, then select the ‘Restore’ option. This will erase all content and settings from your device and will unlock your device. Once finished, you can start setting up your phone again as a new device.
Unlocking a Disabled iPhone XR Without iTunes or Computer
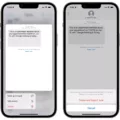
Unlocking a disabled iPhone XR without iTunes or a computer can be done using Apple’s Find My iPhone service. This service allows you to remotely access the device from another iOS device or from the website. First, you will need to sign in with your Apple ID and password on either the website or the app. Then, select your device from the list of available devices and choose “Erase iPhone”. This will erase all of the data on the phone, including any locks that may have been set. Once it has been erased, you will be prompted to set up your phone as new. After that is complete, you should be able to unlock your phone without having to use iTunes or a computer.
Restoring an iPhone XR Without iTunes
Restoring your iPhone XR without using iTunes is relatively simple. First, make sure your device is powered on and unlock it. Then, open the Settings app and navigate to General > Transfer or Reset iPhone. From here, you’ll be able to select the ‘Erase All Content and Settings’ option which will reset your device to its factory settings. If you choose not to erase all of your data, then you can also select ‘Reset All Settings’ which will reset all of your settings back to their defaults without deleting any of your personal data. Once you have chosen the option that best suits your needs, follow the onscreen instructions until the reset process is complete.
Connecting an iPhone to iTunes Manually
To manually connect your iPhone to iTunes, begin by connecting your device to your computer with a USB cable. Then, open iTunes and click the device icon in the upper-left corner of the window. From the list under Settings on the left side of the iTunes window, click the type of content that you want to sync or remove. You should now be able to access your device’s content and settings through iTunes. If you don’t see the device icon, make sure that you have installed all of the necessary updates for both your iPhone and iTunes.
Factory Resetting an iPhone XR Without a Computer
You can factory reset your disabled iPhone XR without a computer by following these steps:
1. Go to the Settings app on your iPhone XR.
2. Tap General, then tap Reset at the bottom of the page.
3. Tap Erase All Content and Settings. If you have to Find My iPhone enabled, then you’ll need to enter your Apple ID and password.
4. Confirm that you want to erase all content and settings from your device by tapping Erase Now. Your device will start the factory reset process, which may take several minutes to complete depending on how much data is stored on it.
Resetting a Disabled iPhone Without iTunes
Yes, you can reset a disabled iPhone without iTunes. To do so, go to iCloud.com on a computer or other device, log in to your iCloud account (Apple ID), click on “Find iPhone” and then “All Devices”. Select the device that has been disabled, and click “Erase iPhone”. This will reset the device back to its factory settings and remove all data. Please note that this process may take some time to complete.

