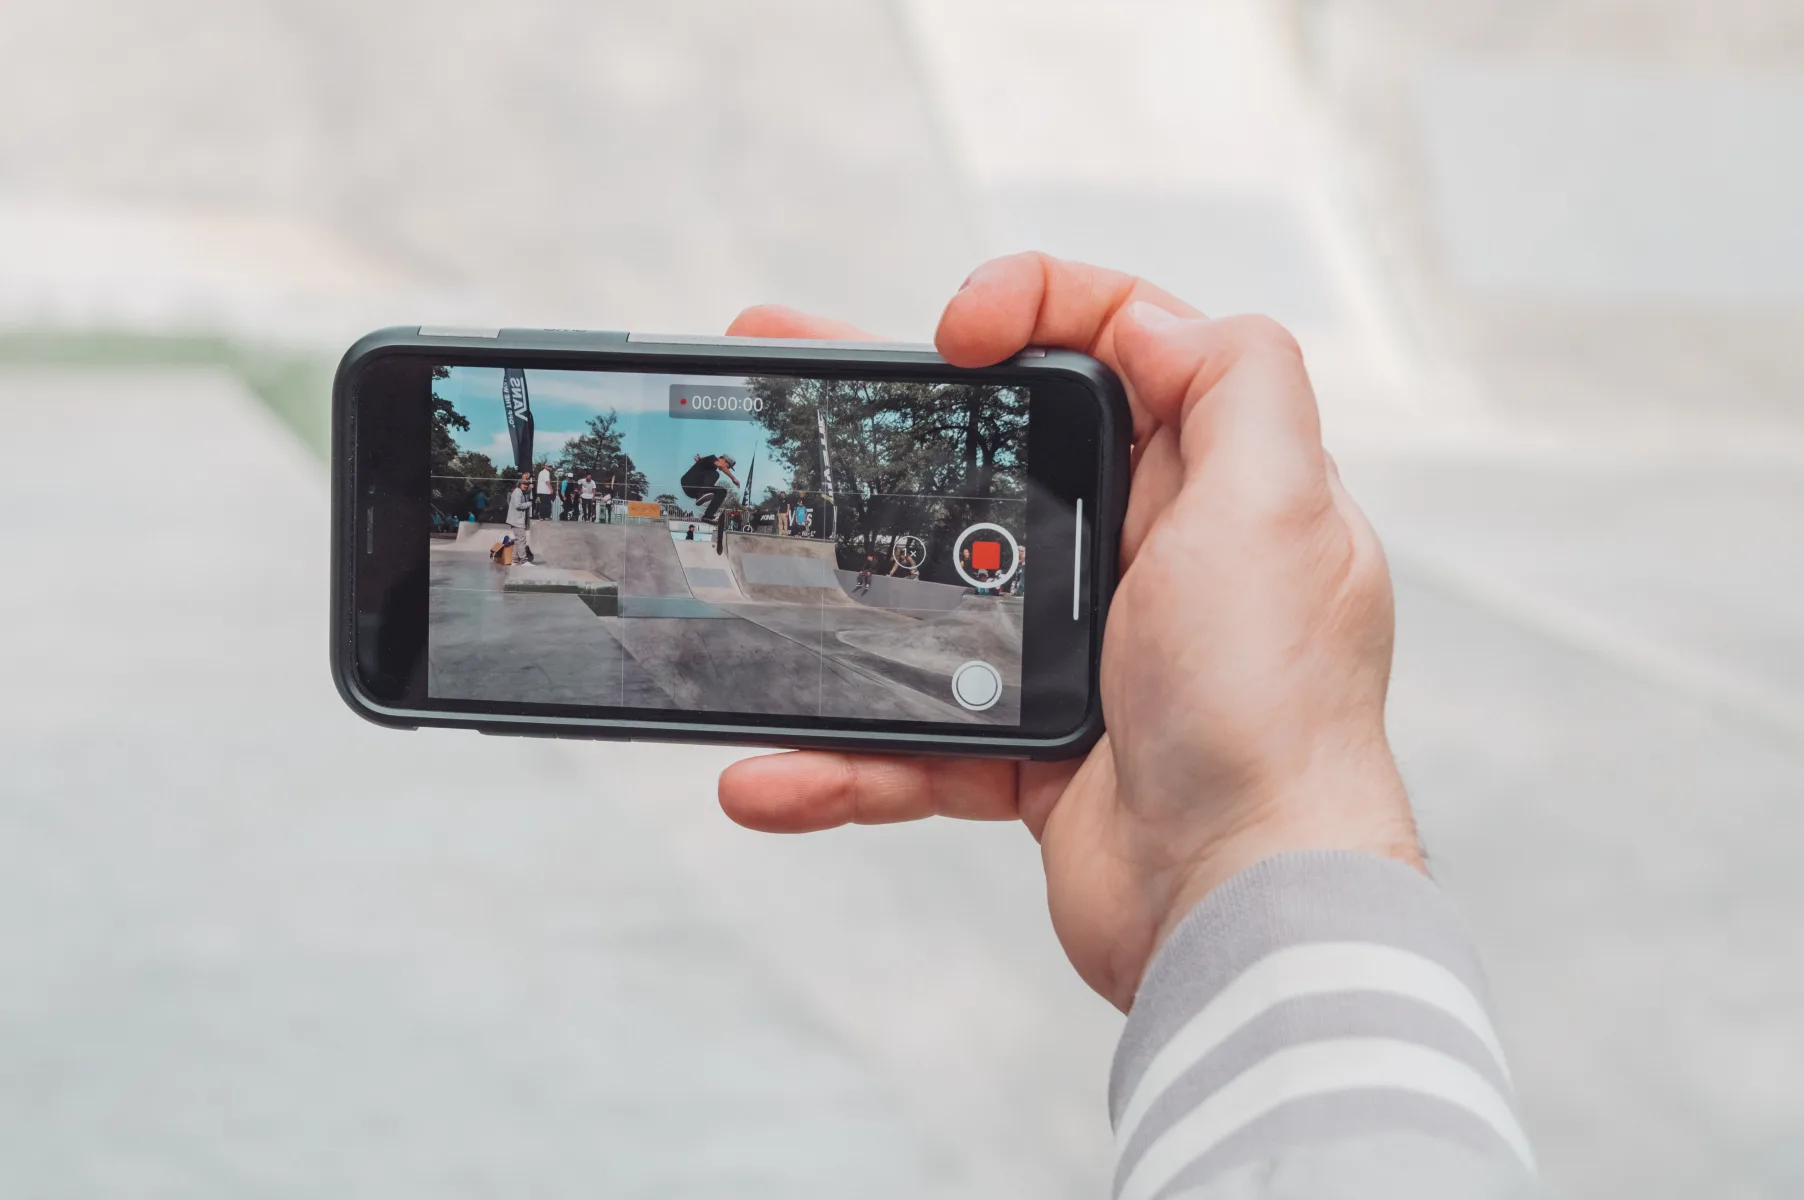
If you own an iPhone, you know how great the video camera is and the incredible quality of the videos it captures. But did you know that tere are many settings available to help you get the most out of your iPhone’s video camera?
First, you should be aware of the resolution settings. You can shoot your videos in 1080p HD, 720p HD, 4K Ultra HD, or 4K Cinema. 1080p and 720p are fine for most purposes, but if you want to capture a lot of detail in your video or use it for professional purposes then 4K is necessary. You can also choose beween 30fps or 60fps frame rate; higher frame rates will allow for smoother motion in your video but will take up more storage space on your device.
Next, consider adjusting the exposure settings on your iPhone’s video camera. You have three options: Auto Exposure (AE), Auto Exposure Lock (AEL), and Manual Exposure (ME). AE allows the camera to adjust its exposure automatically whle shooting; AEL locks exposure so it doesn’t change while shooting; and ME allows you to manually adjust exposure by setting a shutter speed, ISO sensitivity, and white balance.
Another important setting is focus mode. Your iPhone offers Continuous Autofocus (CAF) and Manual Focus (MF). CAF will allow the camera to continuously adjust focus while shooting; MF allows you to manually set focus by touching where onscreen that you woud like it to focus on.

Finally, don’t forget about color balance! You can choose beween Auto White Balance (AWB), Custom White Balance (CWB), and Manual White Balance (MWB). AWB allows the camera to adjust white balance automatically; CWB lets you set a custom white balance preset; MWB lets you manually adjust white balance by selecting a temperature and tint value.
By understanding these various settings for iPhone video cameras, you can make sure that every video captured with your device looks its very best!
Optimal Settings for IPhone Video Recording
The best iPhone video settings depend on the type of footage you are trying to capture. If you want high-quality footage with a lot of detail, you shuld set your iPhone to 4K at 30fps or 4K at 60fps (iPhone 8 or later). This will give you smoother video and more clarity. If you’re shooting in low light conditions, switch to 4K at 30fps or 24fps to avoid noise. For slow-motion effects, use Slo-mo mode. Additionally, if you have an iPhone X or later model, you can use the higher resolution setting of 1080p at 240 fps for even smoother slow-motion footage.
What Are HD 30 and HD 60 on iPhone?
HD 30 and HD 60 on an iPhone refer to the video quality and frame rate settings for recording video. HD stands for high definition, which means that the video will be recorded in a higher resolution than standard definition. The number after HD indicates the frame rate, measured in frames per secnd (fps). HD 30 means that the video will be recorded at 30 fps and HD 60 means that it will be recorded at 60 fps. A higher frame rate will result in a smoother video, so if you are recording something where you need to capture movement or action, you may want to choose a higher frame rate such as HD 60. You can switch between different settings by tapping on the “HD” or “30” buttons within your camera app.
Should I Record at 30fps or 60fps on an iPhone?
The choice between recording at 30fps or 60fps on an iPhone is ultimately up to you. Generally speaking, recording at 24fps will give your video a choppier, film-like look, while recording at 30fps will provide a more standard video look. Recording at 60fps will make captured motion appear smoother. The default setting on Apple devices is usualy 30fps, but if you’re looking for a more cinematic feel or if you’re capturing lots of fast motion, then 60fps may be the better option.
Standard Video Settings for iPhone
The standard iPhone video setting is 1080p HD at 30 frames per seond (fps). You can find this setting by going to Settings > Camera > Record Video. Depending on your model, you may be able to adjust the frame rate and resolution. Higher resolutions and faster frame rates will result in larger video files.
Which Video Resolution Is Best: 4K or 1080p?
The choice between 4K and 1080p ultimately depends on your needs. If you are loking to produce content for television, then 1080p is the industry standard and is likely to be sufficient. However, if you are producing content that will be viewed mostly on a large display or projections, then 4K may be a better option as it will provide a sharper overall picture. Additionally, if you’re looking to do any significant post-production work such as color grading, then 4K may be the more beneficial choice due to its higher resolution and greater detail. Ultimately, the decision should be made based on the project’s needs and budget.
How to Get High Quality Videos on an iPhone
To get high-quality videos on your iPhone or iPad, you’ll need to adjust the video format and frame rate. First, go to Settings and tap Camera, then tap Record Video. From tere you’ll be able to choose from a list of video formats and frame rates supported by your device, including HD, 4K, HD (PAL), and 4K (PAL). Select the option that best suits your needs. Make sure you have ample storage space available for recording in high-quality formats. Also keep in mind that higher quality videos will take up more space than standard videos.
Comparing 4K and HD Recording on iPhone
It is generally better to record in 4K on your iPhone, as it will give you the best possible video image quality. 4K resolution produces a sharper, more detailed image that can be especially helpful when zooming or cropping images. However, if you don’t need the absolute best image quality and are looking to save space on your phone, recording in HD (1080p) or even 720p can be a good option.
Comparing 1080p 30FPS and 1080p 60FPS
1080p at 60FPS is generally considered to be the better option, as it provies a smoother, more fluid viewing experience. As opposed to 1080p at 30FPS, which can appear choppy or stuttery when there is a lot of motion within the frame. Additionally, higher framerates are useful for gaming and other fast-paced activities. However, 1080p at 30FPS may be better in certain situations such as streaming or if you have a slower computer or limited storage space. In the end, it depends on your preferences and what you plan to use the footage for.
What Frame Rate Should I Use for Recording Videos?
Whether you choose to record videos in 30 or 60 frames per second (fps) will depend on the type of footage you want to capture. If you are looking to capture quick movements or slow motion, shooting at 60 fps is recommended. This will alow for smoother playback when the video is slowed down. However, if you are just shooting general content for social media, shooting at 30 fps is sufficient since it will be displayed in that frame rate anyway. Keep in mind that shooting at a higher frame rate can create larger video files and require more processing power when editing. Ultimately, it’s up to you to decide what best suits your needs.
Which is Better: 4K at 30 or 60 FPS?
The answer to the question really depends on what you are tryig to achieve. If you are looking for a higher resolution video, 4K at 30fps will provide a sharper and more accurate representation of the scene than 4K at 60fps. However, if you’re looking to capture fast-moving subjects in slow motion or have smoother transitions between frames, then choosing 4K at 60fps would be the better option. Ultimately, it’s up to you to decide which video speed is best for your specific needs.
The Benefits of 60 FPS Compared to 30 FPS
60 fps capture is better than 30 fps capture because it captures more details and smoother movements. By having double the frames per second, you get twice as many frames to work with, resulting in more accurate and lifelike motion. With 60 fps footage, you can slow down the footage without blurring or losing detail. Additionally, if you are capturing fast-moving objects, they will appear much sharper and crisper when captured at 60 fps.
The Quality of 1080p 30fps Video Recording
Yes, 1080p 30fps is a good quality for recording. It offers a clear and detailed image, whle still allowing you to capture a large amount of footage in one take. The bit rate should also be set high enough so that the quality of the video remains consistent throughout. Additionally, it’s an ideal setting for streaming since most streaming services prefer videos with this resolution and frame rate.
Should I Use HDR Video on My iPhone?
Yes, absolutely! HDR video can be a great way to get the most out of your iPhone’s camera. HDR video captures footage with more detail in both the highlight and shadow areas of your scene. This means that you’ll get footage that loks more natural and vibrant, with colors that pop. Additionally, HDR video is great for capturing scenes with strong contrasts between light and dark elements. So if you’re shooting a scene with bright sunlight or other light sources and dark shadows, HDR video can help bring out the best in both. Finally, when shooting in low light situations, HDR video can help reduce noise and capture a higher level of detail compared to non-HDR video.
What Is the Best Resolution for Video?
The answer to this question depends on the type of video you are producing and the platform it will be viewed on. For example, if you’re creating a YouTube video, a resolution of 1080p (1920 x 1080 pixels) is recommended. This resolution is also known as “full HD” and provides a crisp HD digital video without taking up too much storage space. Other popular resolutions include 720p (1280 x 720 pixels), 4K (3840 x 2160 pixels), 8K (7680 x 4320 pixels), and higher. Ultimately, the best resolution for your video will depend on its content, the platform it’s being viewed on, and the budget you have available for production.
Changing Video Quality
Changing video quality is a straightforward process that can be done on both Android and iOS devices. On Android, you can use a video resolution changer app like Udemy. Open the app and find the video you want to change. Select the three lines icon at the top right-hand side of the screen, then select Video Quality. From there, you can choose betwen 360p, 480p, 720p, and 1080p resolutions.
On iOS devices, open the Settings app and select Photos & Camera. Select Record Video under the Camera section, then choose from 720p HD at 30 fps or 1080p HD at 30 fps. You can also choose 4K at 24 or 30 frames per second (fps). After selecting your desired resolution and frame rate, tap Done to save your changes.
Transferring 4K Video from an iPhone
To get 4K video off your iPhone, you’ll need to frst ensure that iCloud Photos is enabled. To do this, go to the Settings app on your iPhone, tap the name of your Apple ID, select the iCloud section, expand the Photos section, and turn on iCloud Photos. Once this is done, take a 4K video with your iPhone. Afterward, you can use icloud.com to download the 4K video directly to your computer.
Increasing Video Resolution
Increasing the video resolution is a simple process that can be done in a few steps. First, make sure you have a video file with the desired resolution. Then open it in a video editing program and select the Video Screen Size drop-down list. Choose the desired resolution from the list or select Custom to enter width and height in pixels. Finally, click Save to apply the new resolution to your video. If you are working with an HD file, you may have to choose between 720p, 1080p and 4K resolutions depending on your display device. Keep in mind that increasing the resolution will increase the file size as well, so be sure to check if your system has enough storage space availale before making any changes.
What Does 4K 60 Mean for iPhone Users?
4K@60 fps on an iPhone means that the device is capable of displaying images with a resolution of 3840 x 2160 pixels at a refresh rate of 60 frames per second. This allows for very high quality video playback, as well as smoother and more detailed images when playing games or viewing videos. 4K resolution is four times greater than Full HD (1920×1080) and provides much sharper images and clearer details. The 60 fps (frames per second) rate is also higher than most TVs or monitors, proviing smoother motion in video playback.
What is the Optimal Frame Rate for Video?
The answer to this question depends on the purpose of the video. Generally speaking, the higher the frame rate, the smoother and more natural the motion will appear. However, there are trade-offs assocated with different frame rates.
For general purpose videos such as documentaries and interviews, 24fps is often seen as the standard frame rate. It provides a smooth enough motion while stll appearing realistic. If a higher level of realism is desired, then 30 or 60 fps may be preferable. These higher frame rates provide a more lifelike appearance to fast-moving objects and can be especially useful in sports or action scenes.
On the other hand, if you are creating animation or special effects for your video, then 24fps may not be ideal. In this case, you may want to choose a higher frame rate such as 48fps or even higher depending on your needs. The extra frames allow for more detail in animations and make it easier to create smooth transitions between frames.
Ultimately, it is up to you to decide whch frame rate is best for your video project based on its purpose and budget constraints.
The Benefits of Shooting Video at 60FPS
Yes, 60FPS is a great option for video if you have the right equipment. It produces smoother, more lifelike visuals than lower frame rate options, and can be especially beneficial for videos with quick action or fast-paced sports footage. Higher frame rates also result in larger file sizes, so make sure that your computer has enough RAM and processing power to handle the increased data load. Additionally, it’s important to consider the type of content you are creating as well as your audience when deciding whether or not to use 60FPS for your video.
Should I Enable HDR on My iPhone?
The answer to this question depends on the type of photo you are trying to take. Generally, if you are shooting a landscape photo, HDR is a great option to have turned on. HDR works to give you the best of both light and dark, so it can help bring out details in your image that would be difficult to capture without it. However, if you are taking photos indoors or in low light conditions, HDR may not be the best choice as it can cause the photo to appear too bright or washed out. In these cases, it is best to turn off the HDR setting on your iPhone and adjust oter settings like ISO and white balance manually.
Conclusion
The iPhone has a variety of settings that alow users to customize their video recording experience. With options like frame rate, resolution, stabilization, and HDR, users can adjust the settings to suit their needs. The user can also choose from a range of video formats such as HEVC or H.264 and customize the audio settings as well. Additionally, the iPhone also offers advanced options such as time-lapse mode and slo-mo mode for more creative recording capabilities. All in all, the iPhone’s video settings are designed to give users the flexibility they need to capture stunning videos that can be shared with ease.


