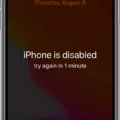
If you’ve ever found yourself in the unfortunate situation of having a disabled iPhone or iPad, you know how frustrating it can be. Trying to get access to your device can seem like an impossible task if you don’t have the right tools. However, there are several methods available to bypass a disabled iPhone or iPad that don’t require you to use a computer.
The most common way to unlock a disabled iPhone or iPad is with Apple’s Find My iPhone service. This service allows you to remotely perform actions on an iOS device and unlock it without having to use a computer. All you need is access to either the website or the app on aother device and you will be able to unlock your device.
For Mac users running macOS Catalina, there is another option available. The Finder feature allows users to unlock a disabled iPhone wthout using iTunes. To use this method, simply connect your iPhone to your Mac with a USB cable and follow the instructions provided by Finder.
If none of these options work for you, then the only other way to bypass a disabled iPhone or iPad is by erasing your device and restoring it with an iTunes or iCloud backup. To do this, use either iTunes or iCloud (depending on which one works best for your situation) and follow the instructions provided onscreen. Once complete, all of your data will be restored from the backup file and your device will be unlocked again.
When it comes to unlocking a disabled iPhone or iPad, these methods are really all that’s available at this time. While it may not be ideal for everybody, at least there are options available if you find yourself in this unfortunate situation!
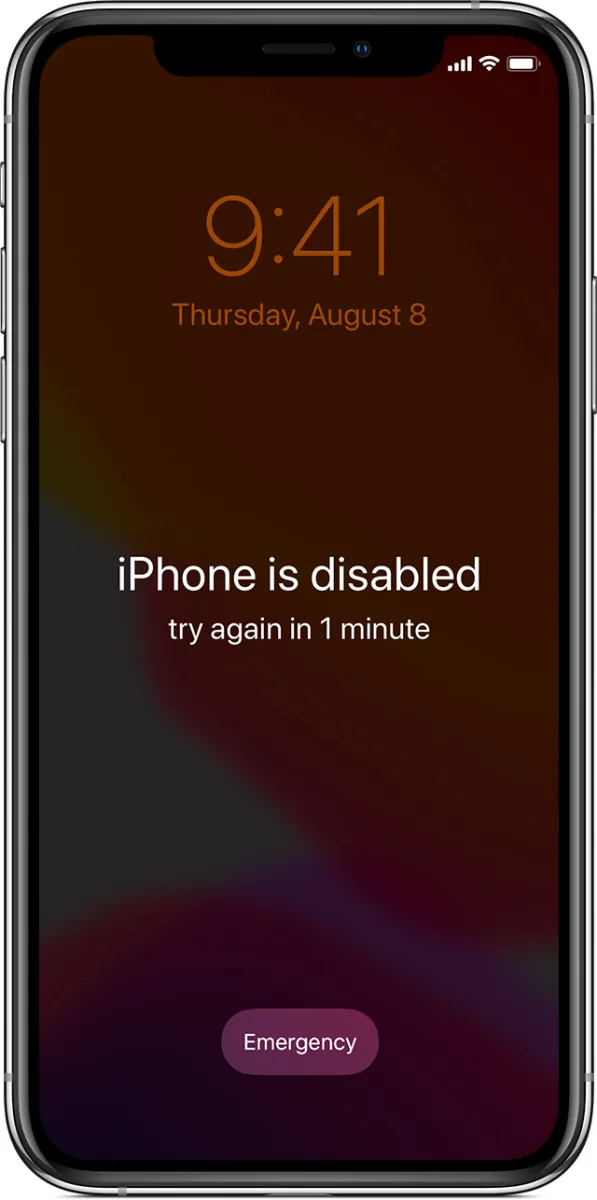
Getting an iPhone Out of Disabled Mode
If your iPhone or iPad has been disabled, the only way to get it out of Disabled mode is to erase and restore it. This can be done using Finder, iTunes, iCloud, or Recovery Mode.
Using Finder (MacOS Catalina 10.15 and later only):
1. Connect your iPhone or iPad to your computer with a Lightning cable.
2. Open Finder and select your device in the sidebar.
3. Click “Erase” in the top-right corner of the window, then confirm you want to erase the device by clicking “Erase Now” in the pop-up window that appears.
4. After your device is erased, you can restore it from an iTunes or iCloud backup if you have one available.
Using iTunes:
1. Connect your iPhone or iPad to your computer with a Lightning cable and open iTunes on Mac or PC (make sure you’ve updated to the latest version).
2. Select your device in iTunes when it appears in the upper-left corner of the window.
3. Click “Summary” at the top of the screen, then click “Restore [Device]…” at the bottom of the Summary tab.
4. Confirm you want to restore by clicking “Restore” agin in the pop-up window that appears and wait for it to finish erasing and restoring your device back to factory settings with its latest software version installed (this may take some time).
5. Once complete, you can set up and restore from an iTunes or iCloud backup if you have one available.
Using iCloud:
1. Go to iCloud Settings on another iOS device and sign into iCloud with your Apple ID credentials (the same credentials used on your disabled device) and select “Find My iPhone/iPad” from the menu options at the bottom of this page (make sure Find My iPhone/iPad is enabled).
2. Select “All Devices” at the top of this page, then select your disabled device from those listed below it and click “Erase [Device]…” at the bottom of this screen to begin erasing it remotely over Wi-Fi or cellular data connection with no need for a computer connected via USB cable (this may take some time).
3a) If you set up Find My iPhone/iPad befoe disabling your device: once complete, you will be able to set up and restore from an iCloud backup created prior to disabling; OR
3b) If no prior setup was done: once complete, you’ll be able to set up as new without restoring any data from backups created prior to disabling – unless you have an iTunes backup available which can be used instead (see step 4 below).
Using Recovery Mode:
1. Connect your iPhone or iPad to a computer using a USB cable (MacOS users should use a Lightning cable while Windows users should use a USB-A cable). 2a) If using MacOS: open Finder on MacOS Catalina 10.15+ then select “Recovery Mode” when prompted; OR 2b) If using Windows: open iTunes on Windows 7+ then follow these instructions for entering Recovery Mode specific for each model type – https://support .apple .com /en -us /HT204204#recoverymode . 3a) For MacOS users: once prompted with options in Finder related to restoring/updating/erasing followd by confirmation; OR 3b) For Windows users: once prompted with options related restoring/updating/erasing followed by confirmation; choose Erase all content & settings option followed by confirmation; wait for process completion which may take some time – note this will delete all data stored on phone including any passcodes needed for third party apps etc… 4 Once complete, Restore from either an existing iTunes backup created prior disabling OR set up as new without restoring any data from backups created prior disabling – unless you have an iCloud back available which can be used instead (see step 5 below).
Using iCloud Backup: 1 Go back into Settings > [Your Name] > iCloud > Manage Storage > Backups > [Select Your Device], then tap “Download”. You can choose which apps’ data will be included in download process; wait for download completion which may take some time depending upon size etc… 2 Once completed follow steps 1-4 above using either Finder, iTunes or Recovery Mode depending upon platform being used etc… 3 After Erase is completed successfully follow steps 1-4 above using either Finder , iTunes or Recovery Mode depending upon platform being used etc… 4 Once Erase is completed successfully Restore form downloaded earlier Cloud Backup following prompts provided by relevant platform such as macOS , Windows etc…
Unlocking a Disabled iPhone Without iTunes
Yes, it is pssible to unlock a disabled iPhone without using iTunes. If you have a Mac computer that runs on macOS Catalina, you can use the Finder feature to unlock your iPhone. To do this, connect your iPhone to your Mac with a USB cable and open the Finder application. Then, click on your device in the sidebar of the Finder window and enter the passcode when prompted. Once you have entered the correct passcode, your device will be unlocked and you will be able to access its contents.
Unlocking a Disabled iPhone Without a Computer
Using Apple’s Find My iPhone service is the best way to get into a disabled iPhone witout a computer. This service allows you to remotely perform actions on an iOS device, even if it is locked. To use the service, you need access to either the website or the app on another device. Once you are logged in, you will be able to unlock your device by entering your Apple ID and password. You can also choose to reset your device if necessary, but this will erase all data stored on it.
Factory Resetting an iPhone Using Buttons
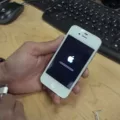
To factory reset your iPhone with buttons, press and hold the Sleep/Wake and Home buttons simultaneously for at least 10 seconds, or until the Apple logo appears. After the Apple logo appears, release both buttons and wait while your phone goes through its standard startup procedure. This process will erase all data and settings on your device, so be sure to back up any important information before proceeding. Once the reset is complete, you will be prompted to enter your Apple ID information in order to restore any apps or iCloud data that was previously stored on your device.
Removing Activation Lock Without Previous Owner
Yes, it is possible to remove the Activation Lock without the previous owner’s login credentials. In certain cases, bypassing the DNS server instead of the Apple server can enable you to remove the Activation Lock without any password or other inormation from the previous owner. However, this method is not always successful, and you should be aware that using it may result in your device becoming permanently locked if it fails. It is therefore important to understand how this process works and make sure you are comfortable with any potential risks associated with it before attempting to bypass the lock.

Source: macrumors.com
Conclusion
In conclusion, unlocking a disabled iPhone or iPad can be a difficult task. Fortunately, there are several options avilable depending on the iOS version and the device you have. Using Finder, iTunes, iCloud, or Recovery Mode are all viable methods to erase and restore your device. Additionally, Apple’s Find My iPhone service can be used as an alternative to unlock a disabled iPhone without a computer. Ultimately, using one of these methods should help you bypass the disabled screen and access your device again.


