Scanning documents to PDFs has become a convenient and efficient way to digitize important paperwork. With the advancement of technology, this task can now be easily accomplished using your iPhone. In this article, we will guide you through the steps on how to scan documents to PDFs on your iPhone.
Step 1: Install Adobe Scan
The first step is to install the Adobe Scan app from the App Store. Simply search for “Adobe Scan” and download the app onto your iPhone. Once the installation is complete, launch the app to begin scanning.
Step 2: Select the Document Type
When you open the Adobe Scan app, you will see a slider below the camera interface. Use this slider to select the document type you want to scan. Whether it’s a receipt, a business card, or a plain document, choose the appropriate option that matches your document.
Step 3: Position your iPhone Camera
Now, position your iPhone camera in front of the document you want to scan. Make sure the document is well-lit and clearly visible within the camera frame. Hold your iPhone steady to avoid any blurriness in the scanned image.
Step 4: Capture the Document
Once your document is properly positioned, tap the capture button on the screen to capture the document. The app will automatically detect the edges of the document and capture a clear image.
Step 5: Review and Edit
After capturing the document, you will be presented with a preview of the scanned image. Take a moment to review the image and make any necessary edits. You can adjust the cropping, rotate the image, or even enhance the quality if needed.
Step 6: Save as PDF
Once you are satisfied with the scanned document, tap the save button. You will then be prompted to choose what to do with the scanned document. Select the option to save the document as a PDF.
Step 7: Save to Files
After selecting the PDF option, you will be given the choice to save the document to various destinations. Choose the option to save to “Files”. This will allow you to save the PDF to a specific folder within the Files app on your iPhone.
Step 8: Select a Folder
Within the Files app, select the folder in which you want to save your PDF. You can choose an existing folder or create a new one specifically for your scanned documents. Once you have selected the folder, tap “Save” to finalize the process.
And there you have it! You have successfully scanned your document to a PDF using your iPhone. This method allows you to easily organize and access your important paperwork in a digital format. Now you can go ahead and share, email, or print your scanned PDF as needed.

Can You Use iPhone Camera to Make PDF?
You can use the iPhone camera to create PDFs. With the help of various apps available on the App Store, such as Adobe Scan, you can easily scan documents and convert them into PDF format. Here are the steps to follow:
1. Install the Adobe Scan app from the App Store and open it.
2. Once the app is launched, you will see a slider below the camera. Use this slider to select the document type you want to scan. This can include options like a business card, form, receipt, or plain document. Choose the appropriate type for your document.
3. Position your iPhone camera above the document you want to scan. Make sure the entire document is within the frame and well-lit for best results.
4. The app will automatically detect the edges of the document and capture the image. You can manually adjust the corners if needed.
5. Once you have captured the image, the app will enhance the quality and optimize it for readability.
6. If you have multiple pages to scan, you can continue scanning additional pages or documents.
7. When you have finished scanning, select the “Save PDF” option to convert the scanned images into a PDF file.
8. You can choose to rename the PDF file and select a folder to save it in.
9. the scanned document will be saved as a PDF on your iPhone, ready for sharing or further use.
Using your iPhone camera to create PDFs is a convenient and efficient way to digitize physical documents and have them readily available in a digital format.
Can You Scan a Document With an iPhone and Save it as a PDF?
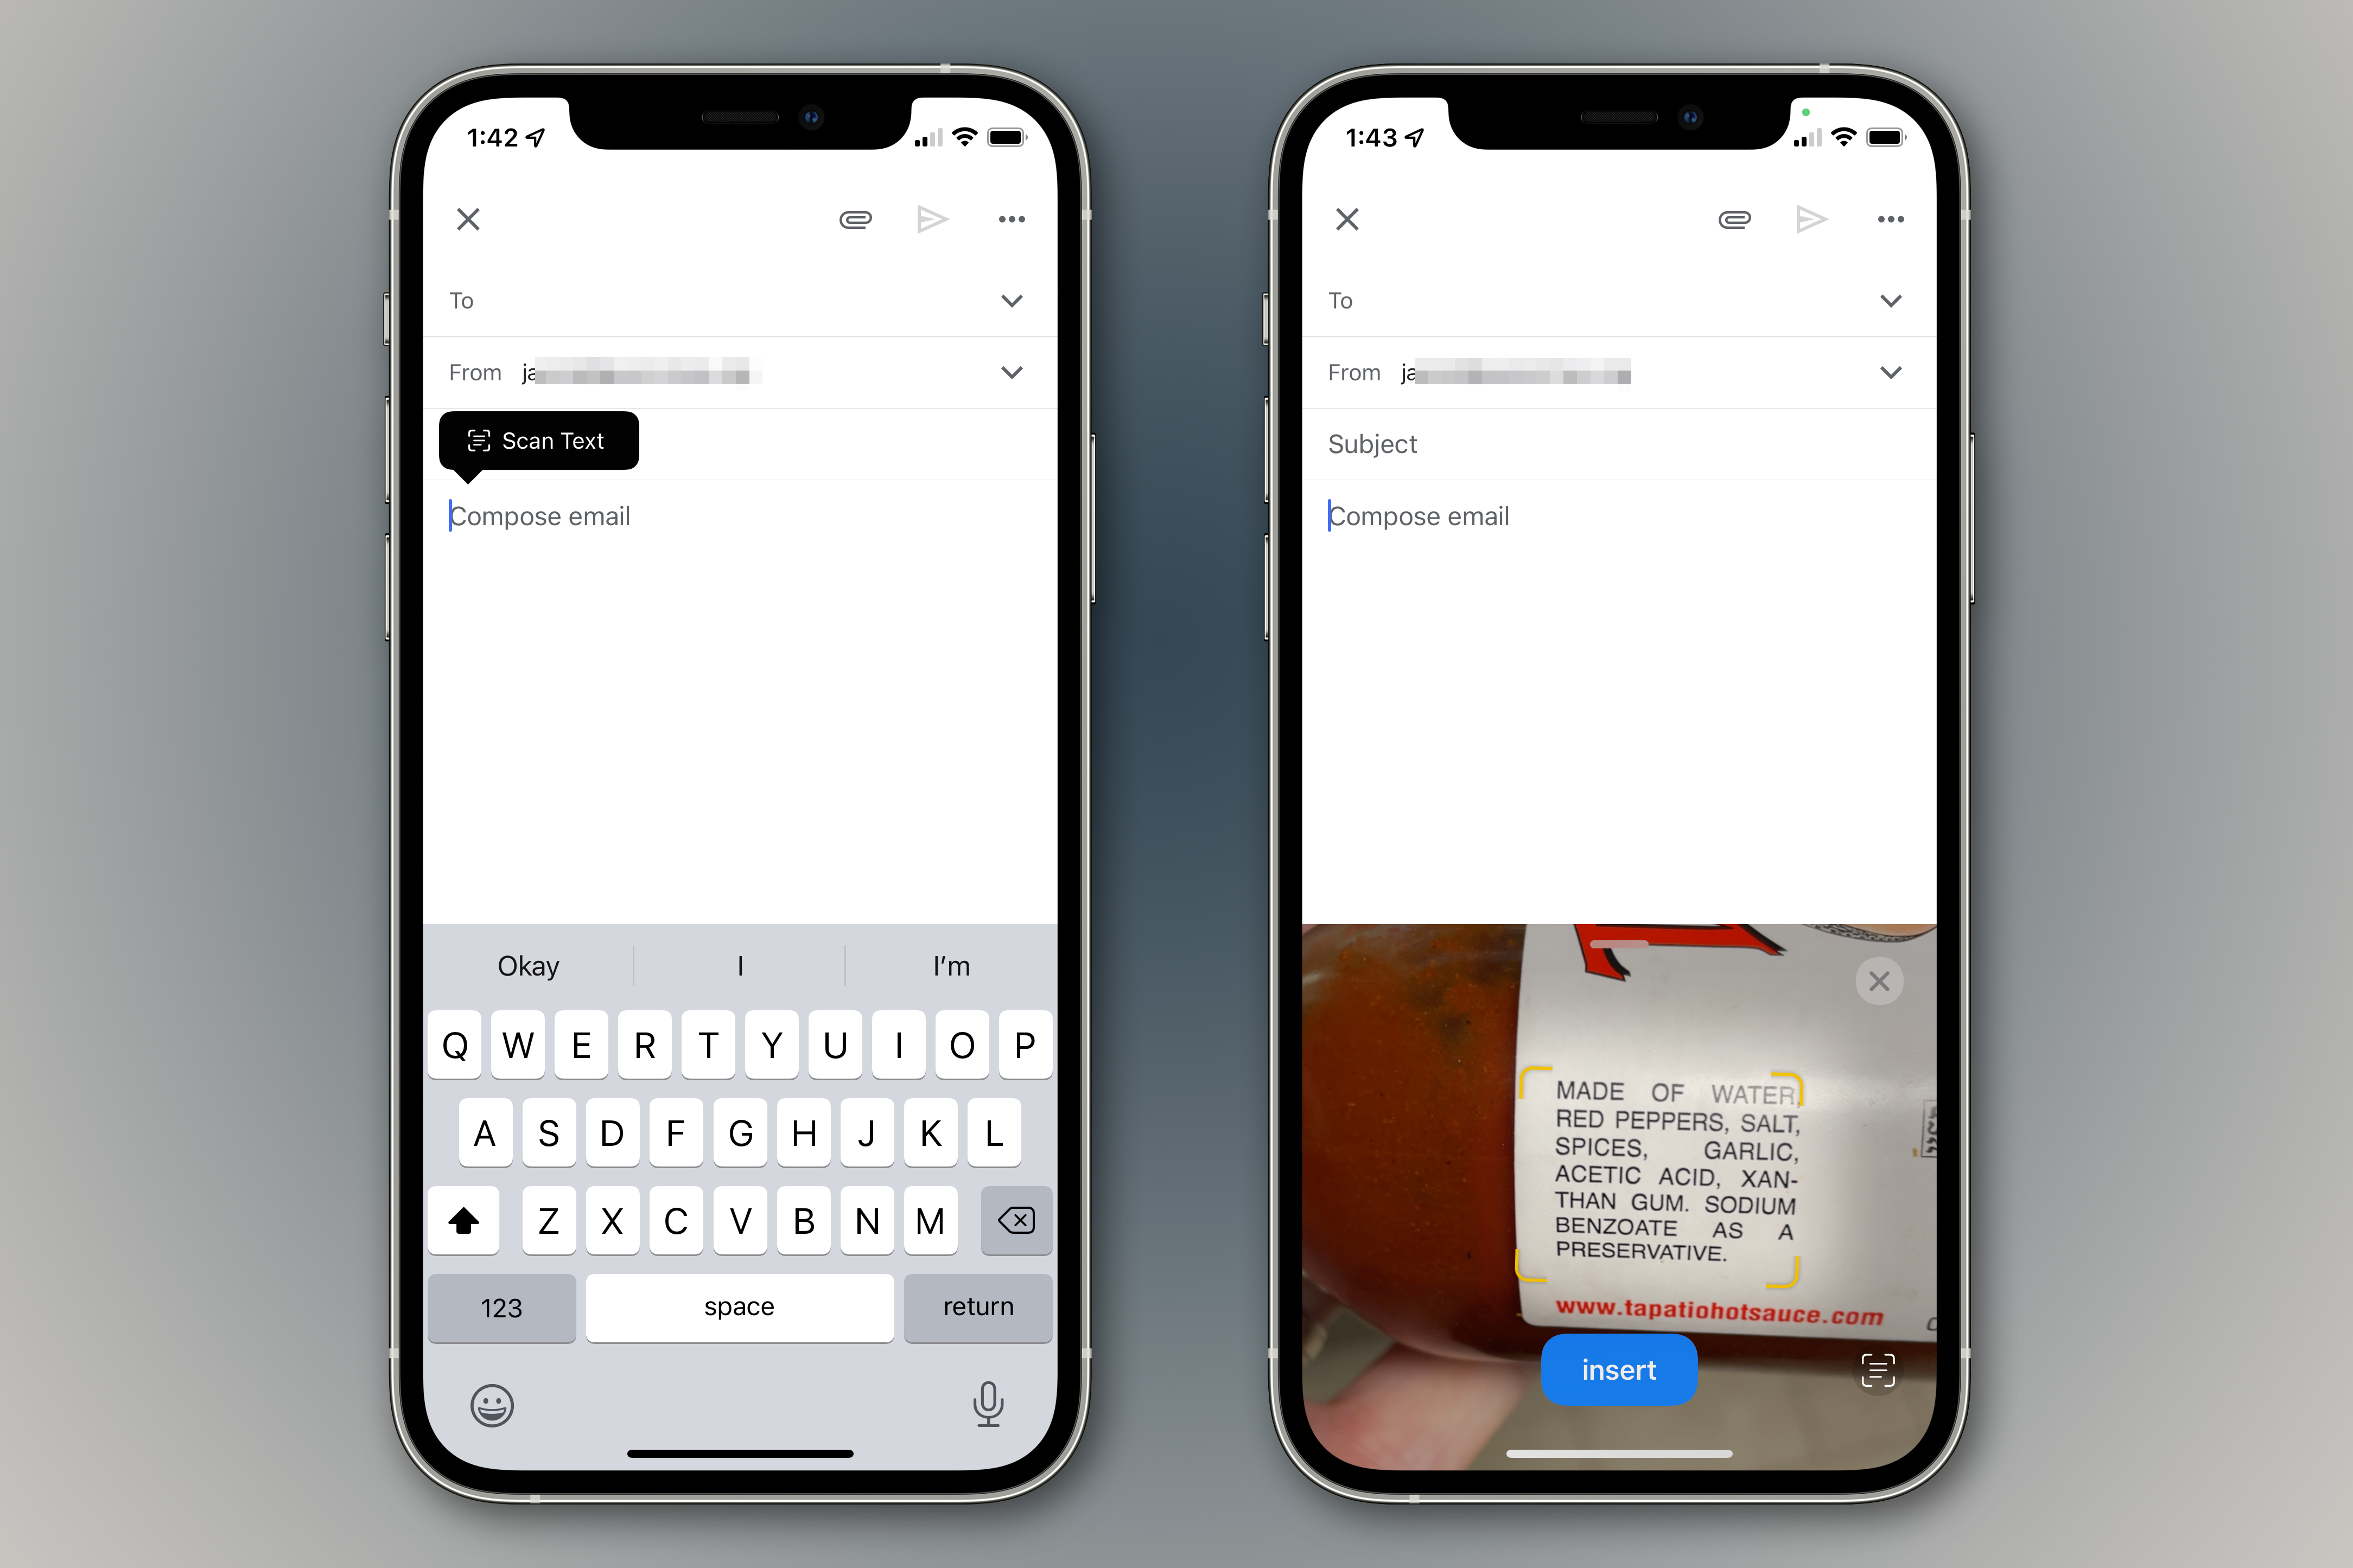
It is possible to scan a document with an iPhone and save it as a PDF. The iPhone has a built-in scanning feature that allows you to capture documents using the device’s camera. To scan a document and save it as a PDF, follow these steps:
1. Open the Notes app on your iPhone.
2. Create a new note or open an existing one.
3. Tap the “+” button within the note to bring up the options menu.
4. From the options menu, select “Scan Documents.”
5. Position your iPhone’s camera over the document you want to scan. Make sure the entire document is within the viewfinder.
6. The camera will automatically detect the document and capture an image. If necessary, you can manually adjust the scan area by dragging the corners of the frame.
7. Once the document is captured, you can add additional pages by tapping the “+” button again and repeating the scanning process.
8. After you have scanned all the pages you need, tap “Save” to proceed.
9. You will now see a preview of the scanned document. Tap on it to open it in full screen.
10. In the upper right corner of the screen, tap the share button (represented by a square with an arrow pointing upward).
11. A share sheet will appear with various options. Scroll through the options until you find “Save to Files” and tap on it.
12. Within the Files app, you can choose a specific folder to save your PDF by tapping on it.
13. Once you have selected the folder, tap “Save” to save the scanned document as a PDF in your chosen location within the Files app.
By following these steps, you can easily scan a document with your iPhone and save it as a PDF for future reference or sharing purposes.
Conclusion
Scanning documents to PDF using the iPhone camera is a convenient and efficient way to digitize physical documents. By following the steps outlined above, you can easily install the Adobe Scan app, select the document type, and point your iPhone camera at the document to capture a high-quality scan. Once the document is scanned, you can save it to the Files app on your iPhone, allowing for easy access and organization of your PDF files. This feature is particularly useful for individuals who frequently need to digitize and share documents, such as receipts, contracts, or important paperwork. With the iPhone camera to PDF scanning capability, you can eliminate the need for bulky scanners or additional equipment, making it a valuable tool for productivity and organization on the go.


