Are you having trouble connecting your iPad to your Mac via USB? Don’t worry, it’s a common problem and one that can be easily fixed. In this blog post, we’ll go over the steps you need to take in order to get your iPad connected to your Mac via USB.
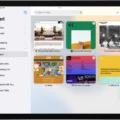
The first step is making sure that CDs, DVDs, and iOS Devices are set up correctly in the Finder on your Mac. To do this, open Finder and select Settings. Then click on Sidebar. Under Locations, make sure the checkbox for CDs, DVDs, and iOS Devices is checked. After that, check the sidebar again to make sure your device is showing.
Next, you’ll need to connect your iPad to the USB port on your computer using the charging cable for your iPad. Once you have done this if it’s the first time connecting these two devices together make sure you select “Trust” when asked whether to trust this computer on iPad.
Once connected with a USB cable or adapter, you can sync files from your Mac to your iPhone, iPad, or iPod touch by connecting it directly with a USB port on your computer. In order to do this: Select your device in the Finder sidebar; click Files in the button bar; then drag a file or selection of files from a Finder window onto an app name in the list of apps that appear below it. This will start syncing files from Mac to iPhone/iPad/iPod touch instantly.
We hope these steps help you connect your iPad to your Mac via USB successfully! If not, please feel free to contact us at any time so we can help further troubleshoot any issues you might be having.
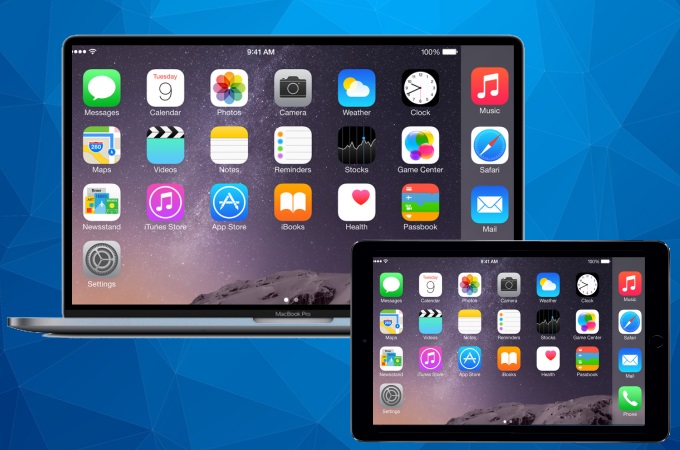
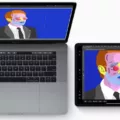
Connecting a Mac to an iPad
In order to get your Mac to recognize your iPad, you’ll need to enable the “CDs, DVDs, and iOS Devices” option in the Finder Settings. To do this, open up the Finder on your Mac and choose Finder > Settings. Click on Sidebar and make sure that the checkbox for “CDs, DVDs, and iOS Devices” is selected. After that, check the sidebar again to see if your device is showing up. If it is, that means that your Mac has successfully recognized your iPad and you’re ready to go!
Connecting an iPad to a Macbook Pro via USB
To connect your iPad to your Macbook Pro via USB, you’ll need a USB cable or adapter. First, plug the USB connector of the cable into the Lightning port on your iPad. Then, plug the other end of the cable into one of the USB ports on your Macbook Pro. Once both devices are connected, you will be asked on your iPad if you trust this computer – select ‘trust’ to continue. Finally, open iTunes or Finder (depending on what version of macOS you’re running) and follow any further instructions that appear. And that’s it – you should now be able to access and transfer files between your iPad and Macbook Pro!
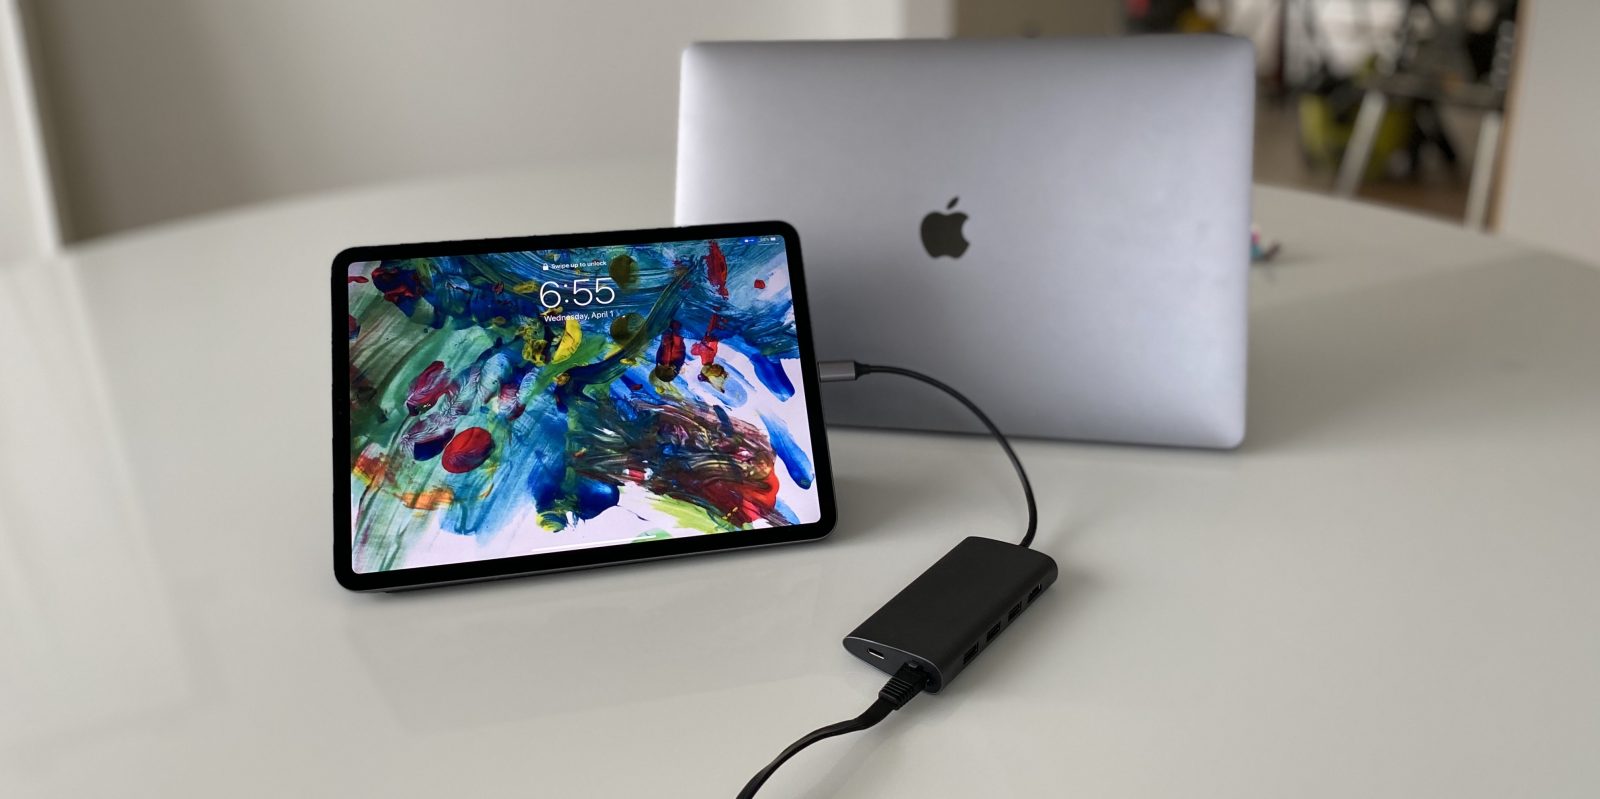
Transferring Files From Mac to iPad Via USB
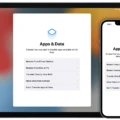
Transferring files from your Mac to an iPad via USB is a simple process. First, connect the iPad to your Mac using a Lightning or 30-pin cable. If you don’t have either of these cables available, you can also use AirDrop to transfer files from your Mac to the iPad without any cables. Once the device is connected, open iTunes and select the device in the dropdown menu on the top left corner of the window. From here, you can select what type of file you would like to transfer over. You can choose from music, movies, photos, and more. Select the type of file that you would like to transfer and then drag and drop it into iTunes on your Mac. After that, click Sync at the bottom right corner of iTunes and wait for the files to be transferred over before disconnecting your iPad from your Mac.
Transferring Files from Mac to iPad Without iCloud
To transfer files from your Mac to your iPad without using iCloud, you can connect your device using a USB cable or set up Wi-Fi syncing.
If you use a USB cable, simply connect the two devices with the appropriate cables and open iTunes on your Mac. Select your iPad from the list of devices in the top left corner and then select the “File Sharing” tab. From here, you can select which files you would like to transfer over to your iPad.
If you’d prefer to use Wi-Fi syncing, macOS 10.15 or later is required. On your Mac, go to System Preferences > General > Enable Wi-Fi Syncing and make sure that “Connect via Network” is checked. Then on your iPad, go to Settings > General > iTunes Wi-Fi Sync and make sure that “Sync with this iPad over Wi-Fi” is enabled. Once connected, you should now be able to transfer files between the two devices without having to use iCloud.
Conclusion
In conclusion, an iPad is a great device for those who want to stay connected and browse the web, watch videos, play games, and communicate with friends and family. It offers an intuitive user interface and access to a large selection of apps from the App Store. It can also be connected to your Mac or Windows PC with a USB cable or adapter for syncing files and charging. Additionally, you can connect it to other Apple devices or AirPlay-enabled devices for wirelessly streaming audio and video. With all these features, an iPad is truly a versatile device that can meet all your needs.

