Rosetta 2 is a software developed by Apple that allows Macs with Apple Silicon processors to run apps that were designed for Intel-based Macs. This is particularly useful if you have any x86 Intel apps that you want to use on your new Apple Silicon Mac. In this article, we will guide you through the process of installing Rosetta 2 via the Terminal app.
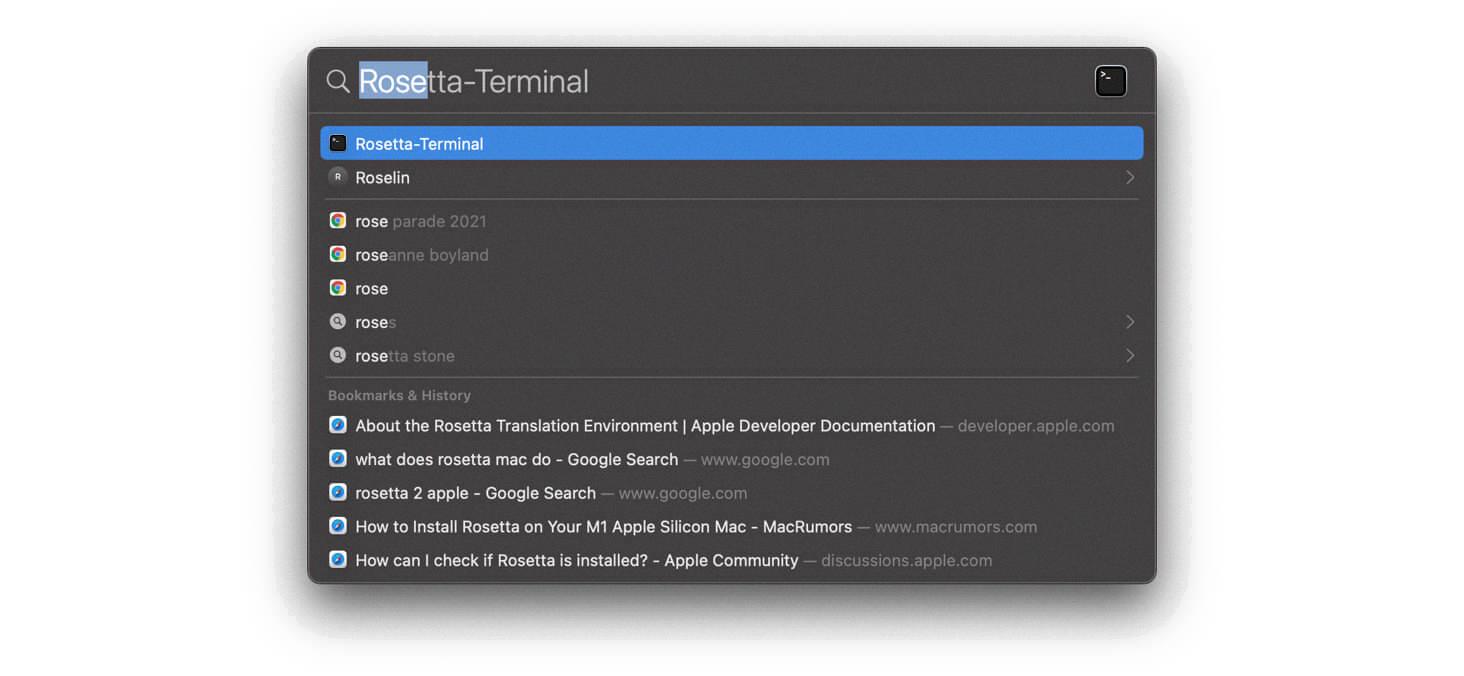
To begin, open Spotlight by pressing Command + Space bar and type in “Terminal” before hitting the Return key. This will open the Terminal app on your Mac.
Once the Terminal app is open, you will need to copy and paste the following line of code into the Terminal window:
`softwareupdate –install-rosetta`
After pasting the code, hit Return on your keyboard. You may be prompted to enter your password or provide confirmation. Follow the on-screen instructions to proceed with the installation.
It’s important to note that the installation process may take a few minutes, depending on your internet connection and the size of the Rosetta 2 package. It’s best to be patient and let the installation complete without interruption.
After the installation is finished, you can verify whether Rosetta 2 has been successfully installed on your Mac by launching any x86 Intel app. When you try to open an Intel app for the first time, a prompt will appear asking if you want to install Rosetta. Click on the “Install” button to proceed.
If you want to enable Rosetta for the Terminal app specifically, you can do so by following these steps:
1. Locate the Terminal app in the Finder.
2. Right-click on the Terminal app and select “Get Info” from the context menu.
3. In the General tab of the Terminal Info window, you will see an option called “Open using Rosetta.” Check the checkbox next to it.
4. Close the Terminal Info window.
Now, when you quit the Terminal app and open it again, it will run using Rosetta, allowing you to use any x86 Intel-based command line tools or scripts without any issues.
Installing Rosetta 2 via the Terminal app is a straightforward process that allows you to run Intel-based apps on your Apple Silicon Mac. Whether you want to install Rosetta system-wide or enable it specifically for the Terminal app, following the steps outlined in this article will help you get up and running quickly. Enjoy the versatility of your new Mac and make the most out of both Apple Silicon and Intel-based apps!
Steps to Install Rosetta 2 On Mac Terminal
To install Rosetta 2 on Mac using the Terminal, follow these steps:
1. Open the Terminal app on your Mac. You can find it in the “Utilities” folder within the “Applications” folder, or you can use Spotlight search to find it.
2. In the Terminal window, type the following command and press Enter:
Softwareupdate –install-rosetta
3. The command will start the installation process for Rosetta 2. The Terminal will display the progress of the installation.
4. Once the installation is complete, you can close the Terminal window.
That’s it! Rosetta 2 is now installed on your Mac, and you can run x86 Intel apps without any issues.
How Do You Enable Rosetta 2 On Mac M1 Terminal?
To enable Rosetta 2 on the Mac M1 terminal, follow these steps:
1. Open the Finder on your Mac.
2. Locate the Terminal app in the Applications folder.
3. Right-click on the Terminal app and select “Get Info” from the context menu.
4. In the Terminal Info window, check the box next to “Open using Rosetta”.
5. Close the Terminal Info window by clicking the “X” button.
6. Quit the Terminal app if it is currently open.
7. Open the Terminal app again, and Rosetta 2 will now be enabled.
By enabling Rosetta 2, you are allowing the Terminal app to run on your Mac M1 using the Rosetta translation layer, which allows it to run software that is designed for Intel-based Macs. This can be useful if you encounter compatibility issues with certain applications that have not yet been optimized for the M1 architecture.
Enabling Rosetta 2 should help ensure that the Terminal app functions properly and can run any necessary Intel-based software or scripts.
How to Install Rosetta 2 On Intel Mac?
To install Rosetta 2 on your Intel Mac, you can follow these steps:
1. Open Spotlight by pressing Command + Space bar.
2. Type in Terminal and hit Return to open the Terminal app.
3. In the Terminal app, copy and paste the following line of code:
Softwareupdate –install-rosetta
4. Press Return to execute the command.
5. The Terminal will prompt you to agree to the terms and conditions. Type “A” and hit Return to agree.
6. Rosetta 2 will then be downloaded and installed on your Intel Mac.
7. Once the installation is complete, you can now run apps that are designed for Apple Silicon on your Intel Mac using Rosetta 2.
It is important to note that Rosetta 2 is a translation layer that allows Intel-based apps to run on Apple Silicon Macs. This is useful when transitioning from an Intel-based Mac to a new Apple Silicon Mac, as it ensures compatibility for older apps until they are updated to run natively on the new architecture.
Conclusion
Installing Rosetta 2 via Terminal on your M1 Mac is a straightforward process that allows you to run x86 Intel apps seamlessly. By enabling Rosetta for the Terminal app, you ensure compatibility with any Intel-based programs you may need to use. Simply follow the steps of opening Spotlight, typing in Terminal, and copying and pasting the provided code into the Terminal app. By agreeing to the terms and conditions and hitting return, you initiate the installation process. This process ensures that your Mac is equipped with the necessary software to run Intel apps smoothly. With Rosetta 2 installed, you can enjoy the benefits of using your favorite x86 Intel apps on your Apple Silicon Mac without any compatibility issues.


