Are you looking to install a Logitech webcam on your computer? Installing a Logitech webcam is surprisingly simple, and can be completed in just a few easy steps. Here’s what you need to know about installing a Logitech webcam.
First, plug the Logitech webcam into your computer via a USB port. Your computer should automatically detect the Logitech webcam and install the appropriate device drivers if they’re not already present. Untie the USB cable, plug the cable into your computer, and balance the camera on your monitor. This is a plug-and-play device, so no additional software should be needed.
Once your computer has detected the Logitech webcam, Windows 10 will have a pop-up that says “Setting up a device”. After that, a pop-up will say that the device is installed and configured. If you are using an older version of Windows, you may need to download and install drivers from Logitech’s website before proceeding with the installation.
Next, open up your preferred video chat program or streaming service and select “Add Webcam” or “Connect Webcam” from the menu options. Then follow any instructions on the screen to complete the installation of your new Logitech webcam. Once installation is complete you should be able to see yourself in the video feed – congratulations! You have now successfully installed your new Logitech Webcam!
If you have any issues during installation or while using your new Logitech webcam, make sure to check out their online support center for help troubleshooting any problems you may encounter along the way. With these easy steps, installing a Logitech Webcam should be no problem at all!
Getting a Computer to Recognize Logitech Camera
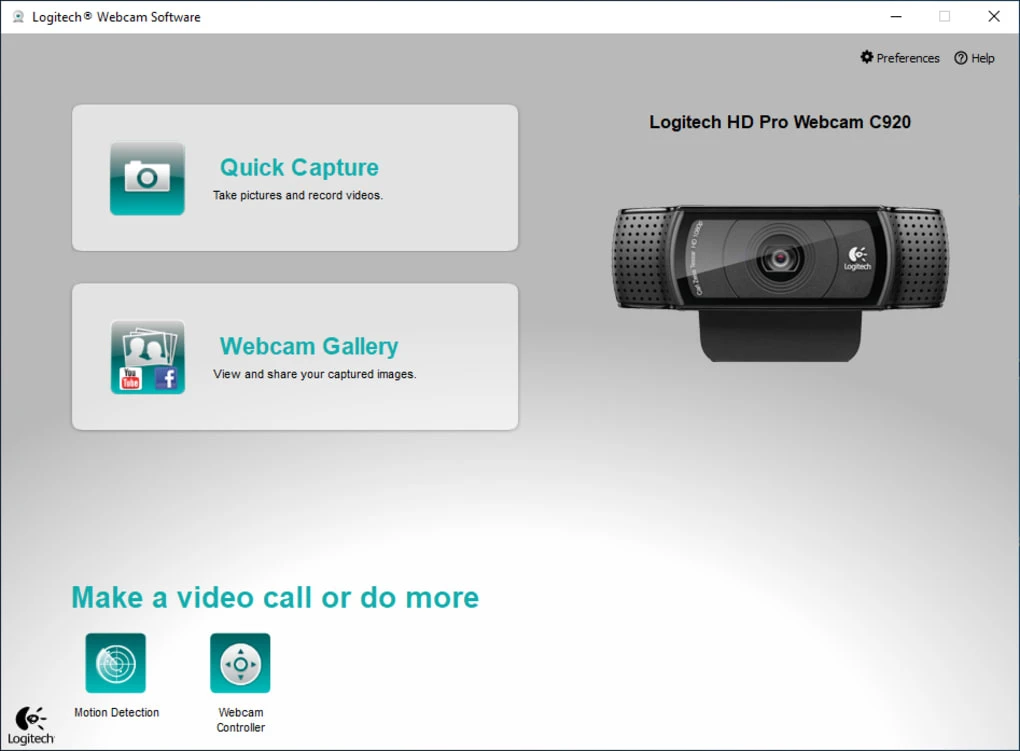
To get your computer to recognize your Logitech camera, you’ll need to plug it into a USB port on your computer. Once the camera is plugged in, your computer should detect it automatically and install the necessary device drivers. Depending on the model of your Logitech camera, you may need to install additional software or drivers from the manufacturer’s website in order for it to work properly. Once these steps are completed, your computer should be able to recognize and use the Logitech camera.
Connecting a Logitech Webcam to Windows 10
To connect your Logitech webcam to Windows 10, first, plug the USB cable into an available port on your computer. Once you plug in the cable, a pop-up will appear that says “Setting up a device”. Wait for this to finish and then another pop-up will appear that confirms that the device is installed and configured. Finally, balance the camera on your monitor or other preferred surface and you’re ready to go!
Connecting a Logitech External Webcam to a Laptop
To connect your Logitech external webcam to your laptop, you first need to determine whether your laptop has a built-in webcam or not. If it does, then you will need to disable the built-in webcam in your laptop’s settings in order to use the external webcam. If it does not have a built-in webcam, then you can skip this step and proceed with connecting the external one.
Once you have verified that you can use an external webcam, plug the USB cable that came with the Logitech camera into a USB port on your laptop. Wait for the device to be recognized by your computer, and then follow any onscreen instructions to install any necessary drivers for the device. Once complete, open up whichever software or application you want to use for video chat and select the Logitech camera as your default video source. You should now be able to start chatting with friends and family using your Logitech external webcam!
Downloading Logitech Webcam Drivers
Downloading Logitech webcam drivers is a simple process. First, visit Logitech’s official website (https://support.logi.com/hc/en-us) and search for the specific model of your webcam. Once you find the appropriate driver, click on the ‘Downloads’ tab and select the download link for your operating system. Depending on what kind of operating system you have, the download link may be different. Once you have selected the correct link, a .exe or .zip file will be downloaded onto your computer.
Once the file has been downloaded, double-click on it to begin the installation. Follow the instructions given by the installer and accept any prompts about installing additional software or updates that may pop up during installation. Once installation is complete, your Logitech webcam should be ready to use!
Activating a Webcam in Windows 10
In order to activate your webcam in Windows 10, you will first need to open up the Camera app. To do this, select the Start button, then select All apps, and then select Camera in the list of apps. Once the Camera app is opened, your webcam should be activated and ready to use. If you have multiple cameras connected to your computer, you can switch between them by selecting Change Camera at the top right. You should now be able to use your webcam!
Is There an App for Logitech Webcams?
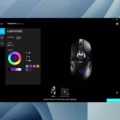
Yes, there is an app for Logitech webcams. The LogiTune app is the current best option for Windows or Mac users. This app allows you to easily adjust camera settings, customize your video capture experience, and access helpful tutorials and tips. You can also use LogiTune to keep your webcam up to date with the latest drivers and firmware. With LogiTune, you can take advantage of features such as picture-in-picture mode, color adjustments, digital zoom, face tracking, and much more.
Troubleshooting USB Webcam Connection Issues
It is possible that your USB webcam is not compatible with your computer, or that the driver software is not installed properly. First, make sure you have the correct driver software installed for your USB webcam. Then, check the USB port itself to make sure it’s not dusty or dirty. If it is, clean it out with a can of compressed air. Additionally, try attaching the USB webcam to another port on your computer. Also, check the device manager in Windows to see if there are any conflicts or errors that may be preventing it from connecting. Finally, try connecting the webcam to a different computer to see if you can get it working there.
Troubleshooting a Laptop Not Detecting a Webcam
There are several possible reasons why your laptop is not detecting your webcam. First, make sure the webcam is securely plugged into the laptop’s USB port. If it is, then try unplugging and replugging the webcam in a different USB port. It’s also possible that the webcam driver needs to be updated or reinstalled. You can check for available driver updates by going to the manufacturer’s website. Finally, if none of these steps work, it’s possible that there may be an issue with the laptop itself, such as a faulty USB port or other hardware malfunction.
Installing Webcam Software on a Laptop
Installing webcam software on your laptop is easy and straightforward. First, make sure your laptop is powered on and the operating system is loaded. Next, plug the USB cable connected to the webcam into an available USB port on your laptop. The operating system should recognize the webcam as connected and begin installing any necessary drivers. Once this process is complete, you will need to install the webcam software provided by the manufacturer. This can usually be found on a CD or disc that came with your device, or you can download it from their website. Once installed, you should be able to access the software from within your computer’s Start menu or Settings menu. Now you are ready to start using your new webcam!
Installing a Webcam Driver
Installing a webcam driver is a relatively straightforward process. First, you’ll need to identify the make and model of your webcam. To do this, open Device Manager, look under “Image Devices,” right-click on your camera driver, select Properties, go to Details, and look at the Hardware ID. Compare the Hardware ID and the Vendor ID to find out who manufactured your camera device.
Once you have identified the make and model of your webcam, you’ll need to locate the correct driver for it. The best way to do this is to visit the website of the manufacturer of your device and search for drivers or downloads. Once you’ve located the appropriate driver for your device, download it and save it somewhere on your computer.
Once you’ve downloaded the driver, you can install it by double-clicking on it and following any on-screen instructions that appear. You may need to restart your computer after installation is complete in order for the changes to take effect. After that’s done, your webcam should be ready to use!
Conclusion
In conclusion, installing a Logitech webcam is a straightforward process. All you need to do is plug the device into your computer’s USB port and wait for the pop-up messages to install the drivers and configure the device. Once that’s done, you can start using your webcam with any compatible software or applications. Make sure to check the documentation of your device before installing it, and don’t hesitate to contact Logitech customer service if you have any questions about setting up or using your webcam.

