If you’re looking to transfer photos from your memory card to your Mac, then you’ve come to the right place. Memory cards are incredibly useful and versatile storage devices, but transferring photos from them can sometimes be a tricky process. In this blog post, we’ll walk you through the steps of transferring photos from your memory card to your Mac.
First, you’ll need to make sure that the memory card is compatible with your Mac. Most memory cards are compatible with both Windows and Mac computers, but some may require special software or drivers in order for them to work properly with your computer. Once you’ve made sure that the card is compatible, it’s time to start transferring the photos.
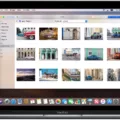
The simplest way of transferring photos from a memory card to a Mac is by using the built-in Photos app on macOS. Just plug in your memory card using an SD Card adapter and open up Photos on your Mac. You should see a prompt asking if you want to import pictures from the card – just click “import” and Photos will automatically transfer all of the pictures stored on the card into its library.
Alternatively, if you don’t want to use Photos or have an older version of macOS, then you can also use Disk Utility or Finder instead. With Disk Utility, just insert your memory card into an SD Card adapter and launch Disk Utility (located in Applications > Utilities). Select the drive representing your memory card and click “Mount” at the top of the window – this will show all contents of the Card within Finder. From there, just select which files/folders you want to copy over and drag them onto any folder on your Mac where they will be stored permanently.
Finally, if none of these methods work for you then there is one other method that can be used – Image Capture! This app is available for free from Apple’s App Store and allows users to quickly import images directly onto their Mac without having to manually copy them over via Finder or Disk Utility. All you need to do is connect your memory card via an SD Card adapter and launch Image Capture – it will automatically detect any photos stored on it and allow users to quickly select which ones they wish to import (or even import them all at once).
Hopefully, this post has helped clarify how easy it can be to transfer photos from a memory card onto a Mac! If you have any further questions or issues then please don’t hesitate to contact us here at Tech Support Solutions – we’ll be more than happy to help!
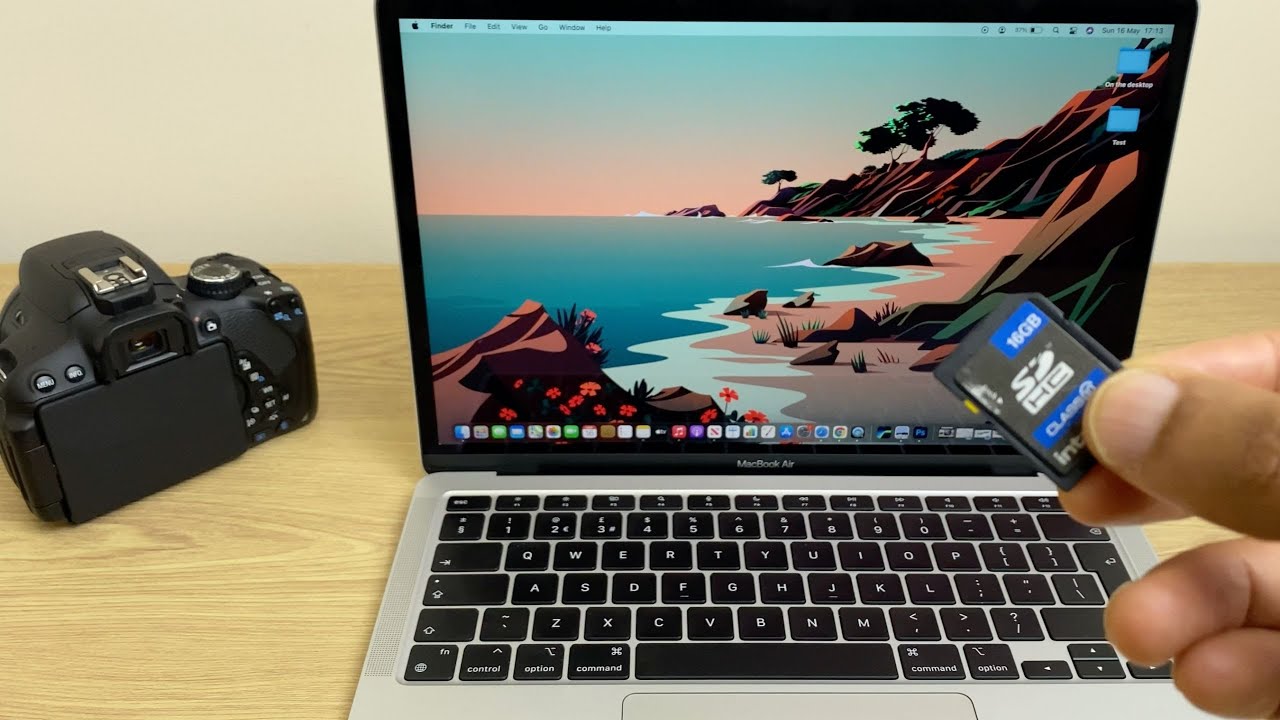
Copying Files from an SD Card to a Mac
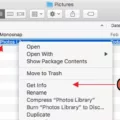
To copy files from an SD card to your Mac, start by inserting the card into your Mac’s SD card reader. Once it is inserted, open the Finder app and look for the SD card in the sidebar. When you find it, select it to view its contents. If you want to copy a single file, right-click on it and select “Copy” from the menu that appears. To copy multiple files, click on them while pressing the Command key. You can then right-click on one of them and choose “Copy” or use the Edit menu at the top of the screen and select “Copy” from there.
Next, navigate to where you want to save your files on your Mac — such as a folder in your Documents folder — and right-click on an empty space in that location. Select “Paste Item” from the menu that appears to transfer all of those files over to your Mac. You can now eject your SD card when finished.
Transferring Photos From SD Card to Computer
Transferring photos from an SD card to a computer is a relatively simple process. First, you will need to insert the SD card into the appropriate card reader slot on your computer. Once the card is securely inserted, your computer will recognize it as an external storage device and you can open the folder that contains your photos. You can then select which photos you want to transfer, right-click on them and select Copy. Next, choose the location on your computer where you would like to save the photos and click Paste. After doing this, the photos should be successfully transferred to your computer.
Troubleshooting Issues When Importing Photos From SD Card to Computer
The most common reason behind the issue of not being able to import photos from an SD card to your computer is that there might be a bad connection between the SD card, the SD card adapter, and/or the USB drive. Another possible cause could be an incompatibility of image format between what your computer can read and what’s been stored on the SD card. In some cases, your SD card may have become corrupted, which can also prevent you from seeing or importing photos. To resolve this issue, try using a different USB port and/or disconnecting and reconnecting the SD card adapter. You can also try using a different file viewer to open the photos on your computer. If all else fails, you may need to reformat your SD card and transfer your photos again.
Troubleshooting Issues with Mac Not Recognizing SD Card
If your Mac is not picking up your SD card, it could be due to a few different issues. First, make sure that the card is properly inserted into the slot. If the card is inserted correctly and still isn’t being picked up, try restarting your Mac or resetting the System Management Controller (SMC). If that doesn’t work, you may need to reformat your SD card so that it’s compatible with your Mac. Additionally, if you’re using an SD adapter, make sure it’s properly connected to your Mac. Finally, check for any software updates that might be necessary for the SD card to work with your Mac.
Transferring Data from SD Card to Computer
Transferring data from an SD card to your computer is a straightforward process. First, locate the files you want to move from the SD card folder. Then, use the “Cut” or “Copy” command to select the desired file(s) and then paste it/them into a folder of your choice on your computer. Alternatively, you can also use the drag-and-drop function to move your file(s). It may be helpful to create a folder on your computer specifically for transferring data from an SD card. Once you’ve transferred all desired files, make sure to eject or safely remove the SD card from your computer before unplugging it.

