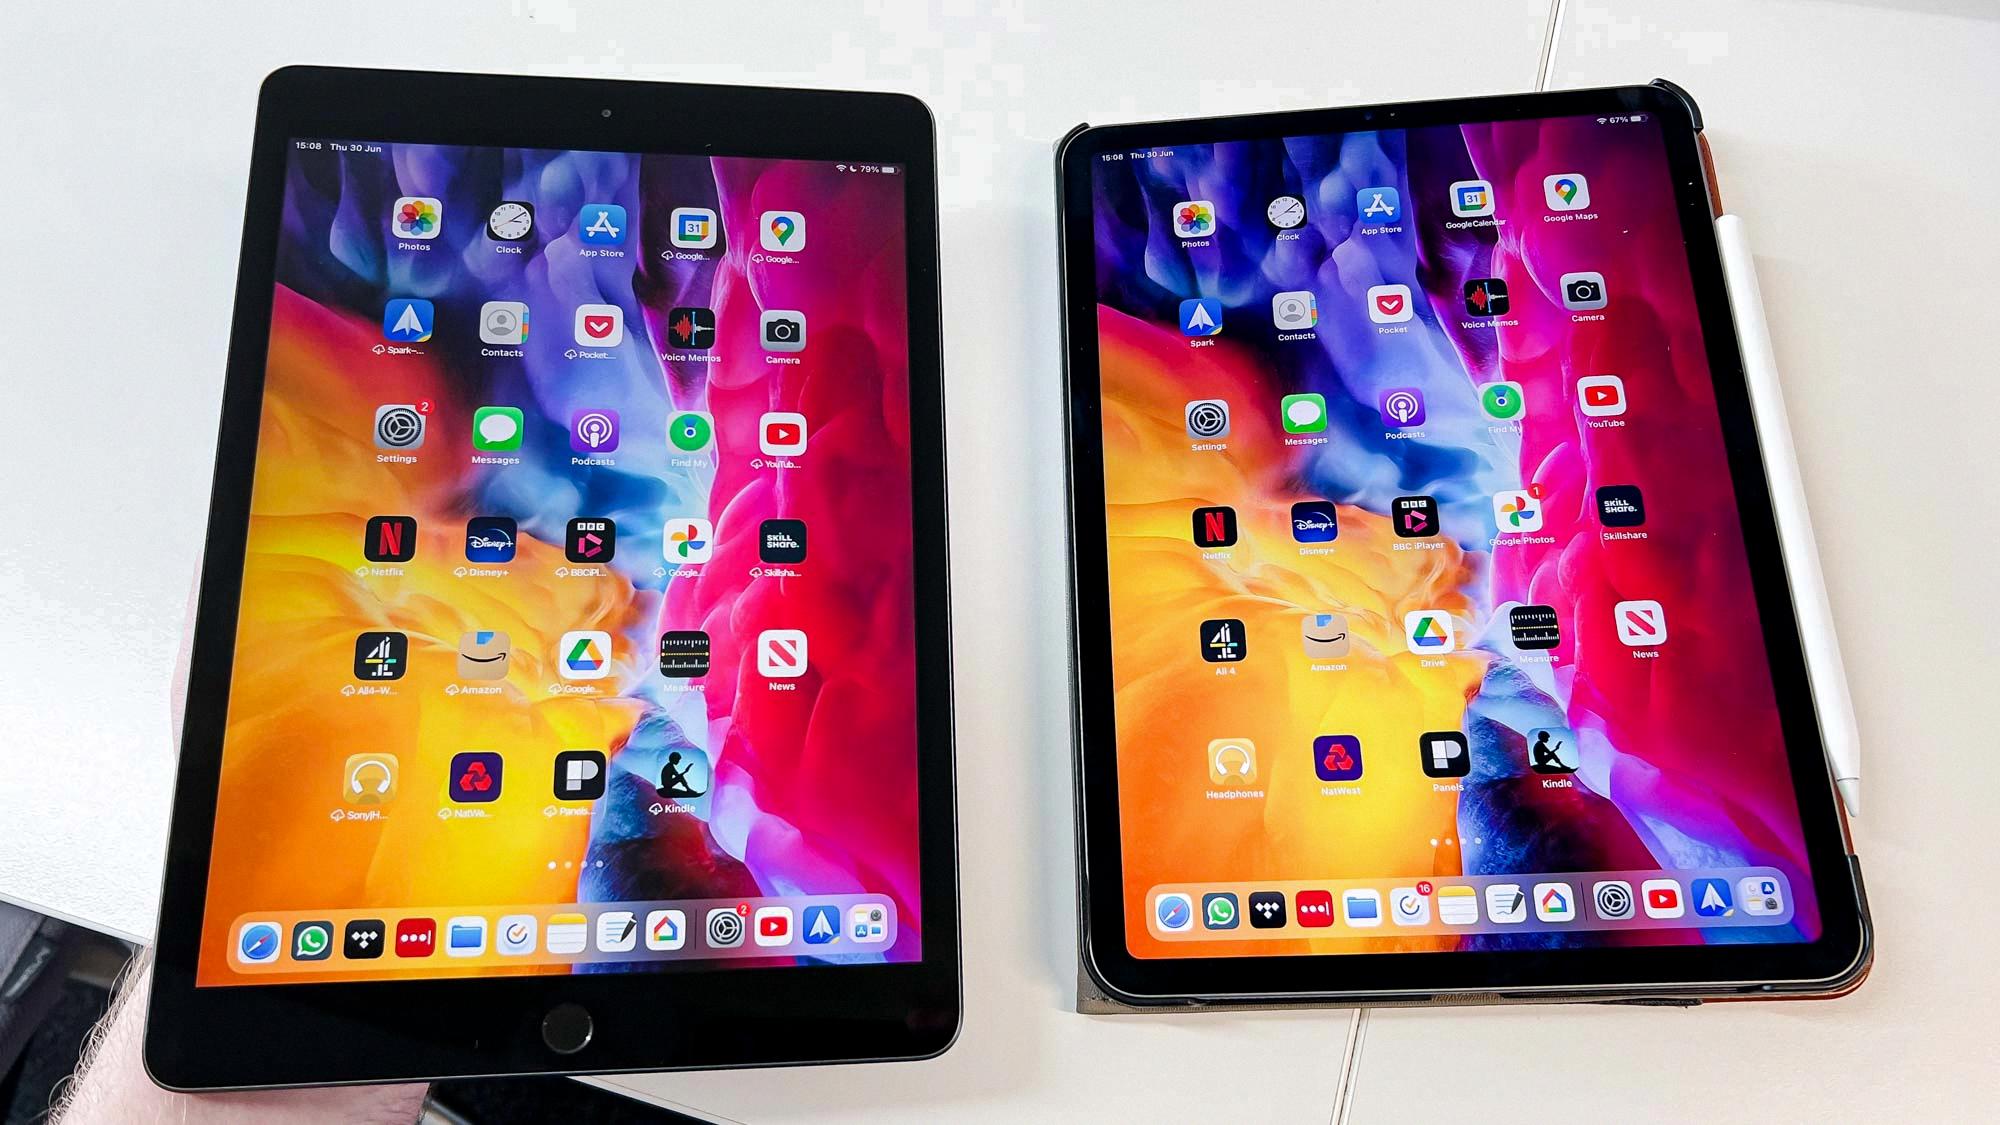
The iPad has revolutionized the way we capture and store memories with its high-quality camera and ample storage space. However, sometimes we want to transfer those precious photos and videos from one iPad to another. Luckily, there are a few methods to easily accomplish this. In this article, we will guide you through the process of transferring photos and videos from your iPad to another iPad.
Method 1: Using the ‘Photo Transfer’ App
One of the easiest ways to transfer photos and videos between iPads is by using the ‘Photo Transfer’ app. Here’s how you can do it:
1. Ensure that both iPads are connected to the same Wi-Fi network.
2. On the iPad from which you want to transfer the photos and videos, open the ‘Photo Transfer’ app and tap on the “SEND” button.
3. Next, tap on the “OTHER Device” button on the app.
4. Now, on the iPad to which you want to transfer the photos and videos, open the ‘Photo Transfer’ app and tap on the “RECEIVE” button.
5. The two iPads should now be connected. On the sending iPad, tap on the “SELECT” button to choose the photos and videos you want to transfer.
6. Once you’ve selected the desired media, tap on the “SEND” button. The transfer process will begin, and you’ll be able to see the progress on both iPads.
7. After the transfer is complete, the photos and videos will be available on the receiving iPad for you to view and organize.
Method 2: Using the Photos App and a Mac
If you have a Mac and prefer using the Photos app for managing your media, you can transfer photos and videos from your iPad to another iPad using a USB cable. Here are the steps:
1. Connect your iPad, from which you want to transfer the photos and videos, to your Mac using a USB cable.
2. Open the Photos app on your computer. It should automatically detect the connected iPad and display an Import screen.
3. If the Import screen doesn’t appear automatically, click on the iPad’s name in the Photos sidebar.
4. The Import screen will show all the photos and videos that are on your connected iPad. Select the ones you want to transfer by clicking on them or using the “Select All” option.
5. Once you’ve made your selection, click on the “Import Selected” or “Import All New Items” button to start the transfer process.
6. After the transfer is complete, disconnect the first iPad and connect the second iPad to your Mac using the same USB cable.
7. Repeat steps 2-5 to import the transferred photos and videos from your Mac to the second iPad.
By following these simple methods, you can easily transfer photos and videos from one iPad to another. Whether you choose to use the ‘Photo Transfer’ app or the Photos app on your Mac, the process is straightforward and ensures that your memories are safely transferred to your desired device. So go ahead and share those special moments with your loved ones on their iPads!

How Do You Transfer Photos From iPad to New iPad?
To transfer photos from your iPad to a new iPad, follow these steps:
1. Ensure that both iPads are connected to the same Wi-Fi network.
2. On your old iPad, open the “Photos” app.
3. Tap on the “Select” button located at the top right corner of the screen.
4. Choose the photos you want to transfer by tapping on them. Selected photos will have a blue checkmark on them.
5. Once you have selected all the desired photos, tap on the share button, which looks like a square with an arrow pointing upward. It is usually located at the bottom left or bottom right corner of the screen.
6. From the sharing options that appear, select the option that says “AirDrop.”
7. On your new iPad, ensure that AirDrop is enabled. You can do this by swiping down from the top right corner of the screen to open the Control Center. Then, press and hold on the network settings card, which should display your Wi-Fi and Bluetooth icons. This will open the expanded network settings menu, where you can enable AirDrop by tapping on the AirDrop icon and selecting either “Contacts Only” or “Everyone.”
8. Once AirDrop is enabled on your new iPad, you should see the name of your old iPad in the AirDrop section of the sharing options on your old iPad.
9. Tap on the name of your new iPad in the AirDrop section. A prompt will appear on your new iPad asking if you want to accept the photos being sent from your old iPad.
10. On your new iPad, tap on the “Accept” button to start the transfer process.
11. The selected photos will be transferred from your old iPad to your new iPad. The progress of the transfer will be displayed on both devices.
12. Once the transfer is complete, you can find the transferred photos in the “Photos” app on your new iPad.
By following these steps, you should be able to easily transfer photos from your old iPad to your new iPad using the AirDrop feature.
Can You Transfer Everything From One iPad to Another?
You can transfer everything from one iPad to another using the Quick Start feature. Quick Start is a built-in feature in iOS that allows you to easily set up a new iOS device by automatically transferring your settings, preferences, and data from your old device.
To transfer everything from one iPad to another using Quick Start, here are the steps you need to follow:
1. Make sure both devices are running iOS 11 or later and have Bluetooth and Wi-Fi turned on.
2. Place the two devices close to each other.
3. Turn on the new iPad and follow the on-screen instructions until you reach the “Apps & Data” screen.
4. On your old iPad, unlock it and place it next to the new iPad. A message will appear on the old iPad asking if you want to use Quick Start to set up your new device. Tap “Continue” to proceed.
5. Use your old iPad to scan the animation that appears on the new iPad’s screen. Alternatively, you can enter your old iPad’s passcode on the new iPad.
6. Follow the on-screen instructions to complete the setup process. This may include signing in with your Apple ID, setting up Face ID or Touch ID, and choosing your preferences.
During the Quick Start process, your old iPad will transfer all your settings, preferences, and data to the new iPad. This includes your home screen layout, app data, photos, videos, messages, and more. The time it takes to transfer everything will depend on the amount of data you have on your old iPad.
Once the transfer is complete, you can continue using your new iPad with all your data and settings intact. It’s important to note that Quick Start will not transfer any content that is not associated with your Apple ID, such as music, movies, or books that were not purchased from the iTunes Store.
Transferring everything from one iPad to another is made easy with the Quick Start feature. Just follow the on-screen instructions and let your devices do the work for you.
Conclusion
The iPad is a versatile and powerful device that offers a wide range of features and capabilities. It is not only a great tool for productivity, with its ability to run various apps and multitask, but also a fantastic device for entertainment, with its high-quality display and immersive audio. The iPad’s portability and long battery life make it ideal for on-the-go use, whether for work or leisure.
One of the standout features of the iPad is its camera capabilities, allowing users to capture stunning photos and videos. With the Photo Transfer app, it is easy to transfer these media files to another iDevice, ensuring that you can share your memories with friends and family effortlessly.
Additionally, if you are setting up a new iOS device, the Quick Start feature allows for a seamless transfer of data and settings from your existing iPhone or iPad. This ensures that you can get up and running with your new device quickly and easily.
The iPad is a reliable and user-friendly device that offers a wide range of functionality and convenience. Whether you are a professional looking for a productivity tool or an individual seeking entertainment on the go, the iPad is sure to meet your needs and exceed your expectations.


