If you’re a photographer using a Canon camera, transferring your photos from your Canon camera to your Macbook can be an essential part of the workflow. Whether you’re shooting for personal projects or professional client work, it’s important to know how to transfer photos from your Canon camera to your Macbook quickly and easily.
Fortunately, transferring photos from a Canon camera to a Macbook is relatively straightforward. All you need is the appropriate USB or USB-C cable for your camera and a compatible Macbook computer. Once you have those two components, you’ll be ready to start transferring photos from your Canon camera to your Macbook.
Here’s how you do it: First, make sure the USB or USB-C cable is properly connected to both your camera and the computer. If there are multiple USB ports on your computer, try plugging the cable into another port. Then check that your camera is turned on and set to the correct mode for importing photos (consult the instructions provided with your camera).
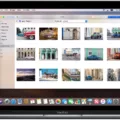
Next, open up the Preview app on your Mac and choose File > Import from [camera name]. If more than one camera is connected to your Mac, select File > Import from Camera > [camera or device name]. A window will appear with thumbnail images of all the photos stored on that device.
Finally, launch the EOS Utility application on your Mac and click “Connect to Camera” in order to connect it with the device containing all of those gorgeous shots you just took. From there, simply select which images you want to be imported onto a folder on your desktop and click “Import” — now they’re safely saved in their new home!
And there you have it — that’s all it takes to transfer photos from a Canon camera onto a Macbook! With this simple process at hand, photographers can rest assured that their images will always be just where they need them: safely stored away in their digital library ready for editing or sharing whenever necessary!
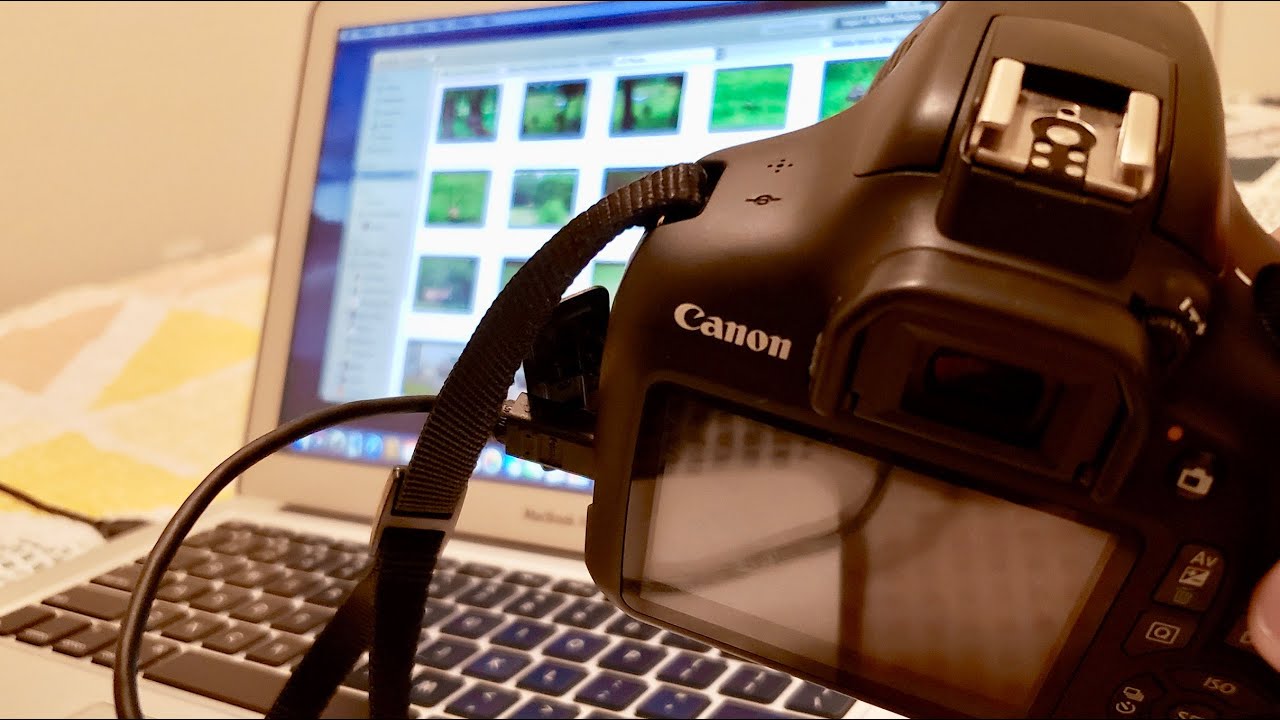
Connecting a Canon Camera to a MacBook
To get your MacBook to recognize your Canon camera, you’ll need to make sure the USB or USB-C cable is securely connected to both the camera and the computer. If your computer has another USB port, try plugging the cable into it. Then, check that your camera is turned on and that it’s set to the correct mode for importing photos (check the instructions provided with your camera). Once everything is connected and set up correctly, you should be able to access your photos directly from the computer. If this doesn’t work, try restarting both your computer and camera.
Importing Photos From Camera to Mac
To import photos from your camera to your Mac, open the Preview app on your Mac and select File > Import from [camera name]. If you have multiple cameras connected to your Mac, choose File > Import from Camera > [camera or device name] instead. This will open a window with thumbnail images of all the photos on your camera. You can then select which photos you want to import and click “Import” to save them onto your Mac. You can also customize where the photos will be saved by clicking “Options” before importing.
Transferring Photos From Canon T7 to MacBook
Start by connecting your camera to your MacBook via the USB cable provided. Next, launch the EOS Utility application on your Mac. Once the application is open, click “Connect to Camera” and select your camera from the list of available devices. Once the connection is established, you will be able to view and select photos from your camera in the Utility application. Finally, click to import the images into a folder on your Mac’s desktop.
If you need further assistance, please refer to Canon’s online support resources or contact their customer service team directly for more detailed instructions.
Transferring Photos from Canon Camera to MacBook Using WiFi
Step 1: On your Canon camera, go to the Menu and select Wireless Communication Settings.
Step 2: Then select Wi-Fi Settings.
Step 3: Select Auto Send Images to Computer and then choose Image Sending Options.
Step 4: Specify the transfer conditions and make sure your camera is off.
Step 5: On your Macbook, open System Preferences and select Network.
Step 6: Choose Wi-Fi from the left pane, then select your Canon camera from the list of available networks.
Step 7: Enter the password for your Canon camera network when prompted and click Join.
Step 8: Once connected, open Image Capture on the Macbook, you should see all of the photos taken with your Canon Camera in the list of photos to import.
Step 9: Select which photos you would like to transfer by checking them off in the box next to each photo.
Step 10: Click Import or Import All to begin transferring photos from your Canon Camera to your Macbook.
Connecting a Camera to a MacBook
To connect your camera to your MacBook, you will need to use a USB cable. Plug one end of the cable into the port on your camera and plug the other end into one of the USB ports on your MacBook Pro. Make sure that you are using a USB cable specifically designed for cameras, as they feature different connectors on each end and only one of them will fit the port on your camera. Once plugged in, you should see an icon appear on your desktop indicating that the device is connected.
Conclusion
Canon is one of the leading brands in cameras and imaging technology. They offer a wide range of products from entry-level points & shoots to professional-grade DSLRs. Canon cameras offer excellent image quality, reliable performance, and intuitive features to help you capture stunning images. With their innovative EOS Utility software, you can easily connect your camera to your Mac computer and transfer photos with just a few clicks. Whether you’re a beginner or an experienced photographer, Canon has something for everyone.

