Are you looking to transfer your GarageBand files to FL Studio? If so, you’ve come to the right place! In this blog post, we’ll be exploring how to transfer GarageBand files to FL Studio, as well as what the differences are between the two programs.
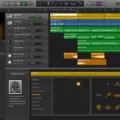
GarageBand is a digital audio workstation developed by Apple and released in 2004. It is designed for music production, allowing users to create music from scratch or record live instruments. It also supports multiple audio formats and has a range of virtual instruments and sound effects.
FL Studio (previously known as FruityLoops) is a digital audio workstation developed by Image-Line and released in 1997. It includes powerful sequencing tools, support for MIDI input, plugins, and VSTs. FL Studio also has an extensive library of samples and sounds.
Now that you know a bit more about both programs, let’s discuss how to transfer GarageBand files to FL Studio. Unfortunately, there is no direct way to do this—you will need to export your file from GarageBand first before importing it into FL Studio. Here are the steps:
1. Open your project in GarageBand and select “Share>Export Song To Disk” from the menu bar at the top of the screen.
2. Enter a name for the exported file in the “Save As” field and choose a location where you want it saved from the “Where” drop-down menu (e.g., Desktop). Select an audio format for exporting (AAC, MP3, AIFF, or WAVE).
3. Click “Save” when finished and open up FL studio on your computer.
4. In FL Studio, click “File > Import > Audio File…” from the menu bar at the top of the screen or press Ctrl+I (Windows) or Command+I (Mac). This will open up a new window where you can browse your exported file from GarageBand using its filename or location path (e.g., Desktop).
5. Once found, double-click on it or press Enter/Return key to import it into the FL Studio project file that’s currently open on your computer screen
6. Finally press OK once all settings are confirmed if necessary then wait until the import process is completed. That’s it! Your exported song from GarageBand will now be ready for use in your existing or new project file in FL Studio!
So there you have it—an easy guide on how to transfer GarageBand files into FL Studio! We hope this tutorial has been helpful as you embark on your music production journey!
Transferring a GarageBand File
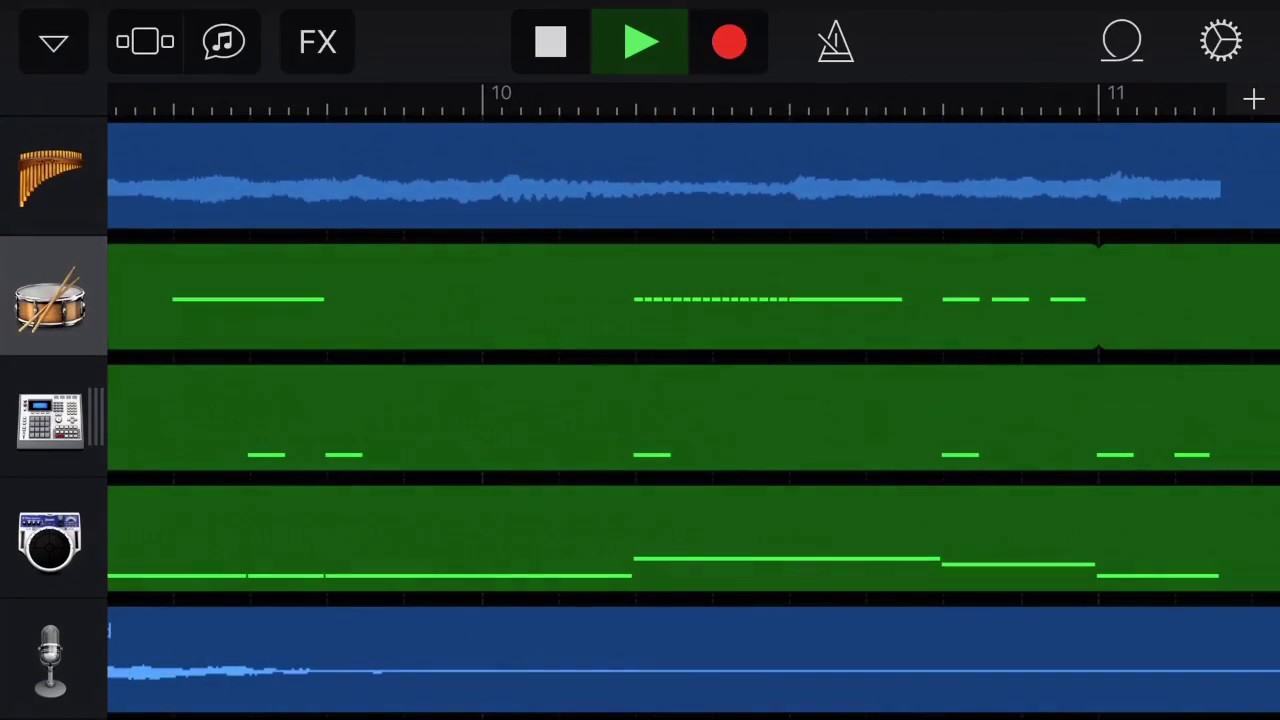
To transfer a GarageBand file, you will need to use the GarageBand File Transfer folder. First, open GarageBand on your iPad and select the song you want to transfer. Then tap the Share button, tap Save to Files, locate and tap the GarageBand File Transfer folder, and then tap Save. Next, connect your iPad to your Mac computer with a USB cable or use AirDrop to create a secure connection. Once connected, you will be able to access the GarageBand File Transfer folder on your Mac computer and drag the file over into any other folder or application of your choosing.
Connecting GarageBand to FL Studio
Yes, you can connect GarageBand to FL Studio. It is possible to open projects from GarageBand in FL Studio and vice versa. However, since the two programs are very different, some features may not be available when transferring between them. For example, certain instruments and effects may not be compatible with both programs. To ensure that the project is successfully transferred between both programs it is best to use a MIDI or audio export format like WAV or AIFF. Additionally, some settings need to be adjusted in order for both programs to work together seamlessly.
Exporting GarageBand Files
Yes, you can export GarageBand files. In GarageBand on Mac, choose Share > Export Song to Disk. This will open a dialog window where you can choose the file format (AAC, MP3, AIFF, or WAVE) and rename the file. You’ll also be able to select a location to save the exported file from the Where pop-up menu. Once you’ve made your selections, click Save. Your GarageBand file will then be exported and saved to the location of your choosing.
Where Are GarageBand Files Stored?
The files used in GarageBand are stored in a few different places on your Mac computer. The main location for these files is the Music folder inside Home. To locate this folder, click on the Finder icon on your home screen, then click ‘Go’ in the toolbar at the top of the screen and select ‘Home’. This will bring up a list of folders and you should see one called ‘Music’. Inside this folder is where you will find the audio files that GarageBand has saved. You may also find them in other locations such as iTunes, Audio Music Apps, and iCloud Drive if you have set up any of those services.
Exporting Music from GarageBand: Best Quality Options
The best quality to export from GarageBand is AIFF (Audio Interchange File Format). AIFF is a lossless audio format, meaning that the exported file will be an exact replica of the original recording from GarageBand. AIFF files have a high bit depth and sample rate, which ensures that you’re getting the highest quality audio available. Additionally, AIFF files are compatible with most professional audio software, making them ideal for further editing or mastering other programs.
Importing Songs Into FL Studio
Yes, you can easily import songs into FL Studio. To do so, first, click the “Add” button in the top bar and then select “Audio Clip” from the Misc section. In the Audio Clip settings window, click the folder icon and locate the audio file you want to import. Finally, click “Open” and your song will be imported into FL Studio.
Conclusion
In conclusion, GarageBand is a powerful and user-friendly music-making application that is ideal for musicians of all levels. It is easy to use and offers a wide variety of instruments and effects, allowing users to create professional quality recordings with minimal effort. It also allows users to export songs to disk for further editing or sharing with others. With its intuitive interface and robust features, GarageBand is the perfect tool for anyone looking to take their music production skills to the next level.

