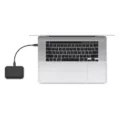
If you’re looking for a reliable way to back up your Mac data and/or transfer files to a WD Passport, you’ve come to the right place! WD Passport is a popular external hard drive that provides easy storage solutions for both Windows and Mac users. In this article, we’ll provide a detailed guide to help you transfer files from your Mac to your WD Passport.
First, let’s make sure that the file system of your WD Passport is compatible with macOS. Most WD Passports come with the NTFS file system by default, which is not supported by macOS. If that’s the case, you’ll need to install third-party software like Paragon HFS+ or MacDrive in order to read and write to NTFS drives on your Mac.
Once you’ve installed the necessary software (if needed), it’s time to move your files! The easiest way is to simply drag and drop them from one Finder window (your Mac) into another Finder window (your WD Passport). You can also select multiple files at once, hold down the cursor key over the highlighted files, move your cursor over to the finder window of your My Passport drive, and lift off your key in order to transfer them.
It’s important to note that transferring large files may take some time – depending on how much data needs to be moved and how fast your connection is – so be patient. Once the process has finished, simply open up Photos Library in its new location on your external storage device and start enjoying all of its features!
We hope this blog post helped you learn more about how easy it is to transfer files between a Mac computer and a WD Passport drive. It doesn’t matter whether you’re backing up important documents or moving photos from one device to another – this tried-and-true method will do the job quickly and reliably!
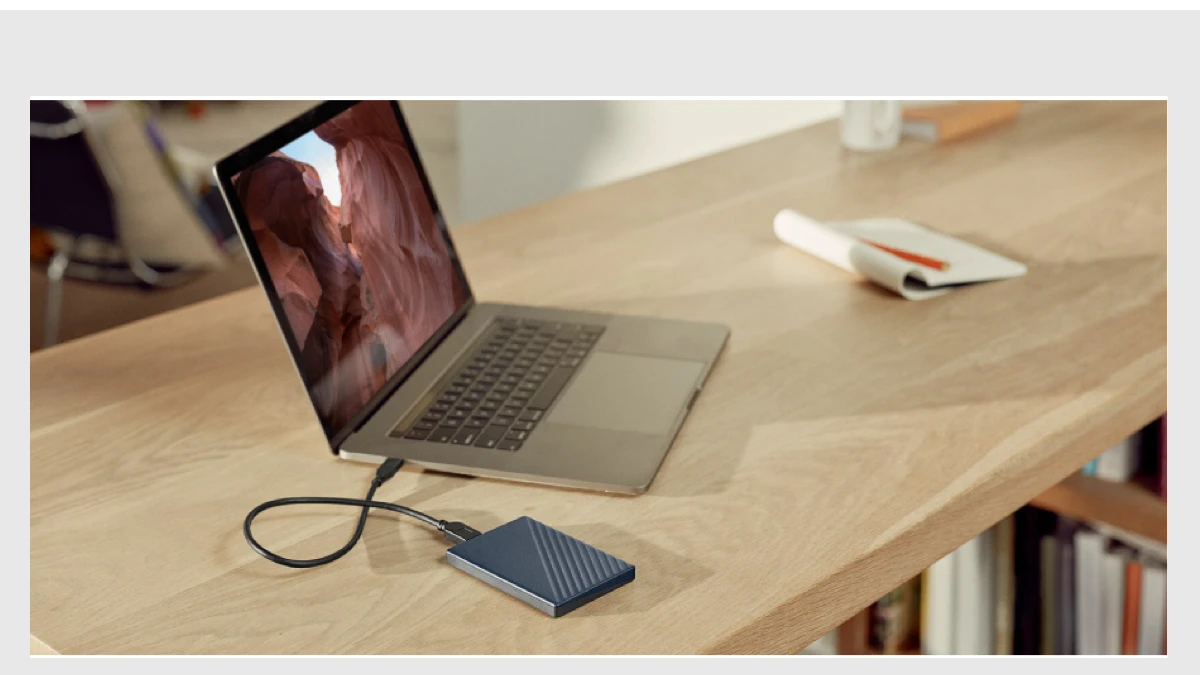
Transferring Photos from Mac to a Western Digital External Hard Drive
Transferring photos from your Mac to a Western Digital external hard drive is a simple process. First, make sure that your hard drive is connected to your computer via a USB cable. Next, quit the Photos application on your Mac if it is open. Then, open Finder and locate the folder that contains your Photos Library. Once you have located the folder, drag it onto the external hard drive in its new location. This will begin the transfer process. Once the transfer is complete, double-click Photos Library in its new location to open it on the external hard drive.
Transferring Files to a WD Passport
Transferring files to your WD Passport is easy and convenient. To begin, plug your WD Passport into an available USB port on your computer. Once connected, a pop-up window will appear asking you what you would like to do with the device. Select “Open folder to view files”, and a new window will appear.
Now, open a second window by clicking the Start menu or Finder icon on your desktop, depending on what type of computer you have. From here, you can locate the files that you wish to transfer to your WD Passport. Click and hold down the cursor key over the highlighted files while keeping it over the finder window of your My Passport drive. Lift off your cursor key to drop – transfer – them to your My Passport drive.
You can also drag and drop files into the WD Passport folder from any other folder or window on your computer making it easier for you to move multiple large files at once. Once all desired files have been transferred, safely eject your WD Passport drive before unplugging it from your computer.
Transferring Data From Mac to External Hard Drive
Transferring everything from your Mac to an external hard drive is an easy process. Here are the steps you can take to complete the transfer:
1) Connect your external hard drive to your Mac via a USB cable.
2) Open a Finder window and select the files or folders you want to transfer from your Mac to the external hard drive.
3) Drag the selected files or folders from your Mac onto the external hard drive icon, listed under Locations in the Finder sidebar.
4) If a dialog box appears asking if you want to replace existing files, click Replace.
5) Once all of your files have been transferred, click Eject next to the external hard drive’s icon in Finder. This will safely disconnect it from your Mac without damaging any data on either device.
Copying Files From Mac to External Hard Drive
It is possible that the permissions settings on your Mac, the external hard drive, or both are preventing you from copying files. To check the permissions settings, select the file on your Mac and choose File > Get Info or press Command-I. Then, check the Sharing & Permissions section at the bottom of the window. If you don’t have access to change permissions for either item, contact your system administrator for assistance.
Compatibility of WD Passport With Mac
Yes, WD Passport is compatible with Mac. The My Passport for Mac drive is specially designed for macOS and Time Machine compatibility. With just a few easy steps, you can seamlessly plug-and-play your My Passport without the need to reformat. Once connected, you’ll be able to store and back up your important files quickly and easily. You can also work across both Mac and PC with the universal compatibility of USB 3.0, USB 2.0, and USB-C™.
Transferring Files to an External Hard Drive
Transferring everything to your external hard drive is easy and convenient. To begin, plug the device into your computer’s USB port. Once it’s connected, you can open up File Explorer by pressing the Windows key + E on your keyboard. From here, you can select all of the files and folders that you want to transfer over. To do this, hold down CTRL as you select multiple items, then click on Organize > Copy to in the Home tab of File Explorer. Finally, choose the name of your external storage device from the list of options and hit OK – this will transfer everything you’ve selected to the external hard drive!
Transferring Files From Laptop to WD Hard Drive
Transferring files from your laptop to a WD hard drive is a simple process that just requires a few steps. Firstly, you need to connect your laptop and WD hard drive with a USB cable. Once the connection is established, you can then open File Explorer on your laptop and locate the files you wish to transfer. After selecting the files, you can either copy and paste them onto the WD hard drive or drag and drop them over. When finished transferring, make sure to safely disconnect both devices by clicking on the “Safely Remove Hardware” icon located in the bottom right-hand corner of your taskbar.
Troubleshooting Issues with WD Passport on Mac
There are a few possible reasons why your WD Passport may not be working on your Mac. First, you may need to install the latest WD Drive Unlock application, which is available for download from the WD website. This application is necessary to make sure that your WD Passport is properly recognized by your Mac.
Second, you may need to change the Finder preferences settings. To do this, open Finder and select ‘Preferences’. Then select ‘General’ and make sure that ‘External disks’ and ‘Hard disks’ are both checked in the list of devices shown.
Lastly, you may need to repair your WD Passport with Disk Utility. This is an Apple tool used for verifying and repairing disks. To access it, open Finder then selects Applications > Utilities > Disk Utility. Select your WD Passport in the list of drives shown and click on the “Repair Disk” button if it appears on the right side of the window.
If none of these steps work, then you should contact a qualified technician or contact WD Support for further help with resolving this issue.
Getting Mac to Recognize WD External Hard Drive
To get your Mac to recognize your WD external hard drive, first, go to Finder > Preferences > General and make sure the “External disks” option is ticked. This will make the recognized WD hard drive show up on the Desktop. Then, select the Sidebar tab on the top, and ensure the “External disks” option under Locations is also ticked. Once you’ve done this, your Mac should be able to recognize your WD external hard drive.
Troubleshooting WD Hard Drive Issues on Mac
There could be a few different reasons why your WD hard drive isn’t working on Mac. The most common issue is that the drive is formatted incorrectly or needs to be reformatted for Mac compatibility. To do this, you can use Disk Utility in macOS. Other potential causes might include issues with the power supply, a faulty cable, or a corrupted or broken drive. If none of these seem to be the problem, you may need to contact WD support for further assistance.
Backing Up a Mac to an External Hard Drive Without Time Machine
Backing up your entire Mac to an external hard drive without Time Machine is easy and straightforward. First, you’ll need an external hard drive with enough capacity to store your data. Then, launch the Disk Drill app on your Mac and select “Byte-to-byte Backup” from the left panel. Choose the drive or partition that you want to back up and click the “Create backup” button. Select a target location where the data will be stored and wait for the process to complete. Once it’s done, you’ll have a complete backup of your Mac stored on an external hard drive without using Time Machine.
Conclusion
In conclusion, the WD Passport is a reliable and secure storage device that can store large amounts of data. It supports both Mac and Windows operating systems, making it a great choice for those who use both operating systems. Its easy-to-use interface makes it simple to transfer files between devices or to access stored files. Additionally, with its password protection and AES 256-bit hardware encryption features, your data remains safe and secure on the WD Passport.


