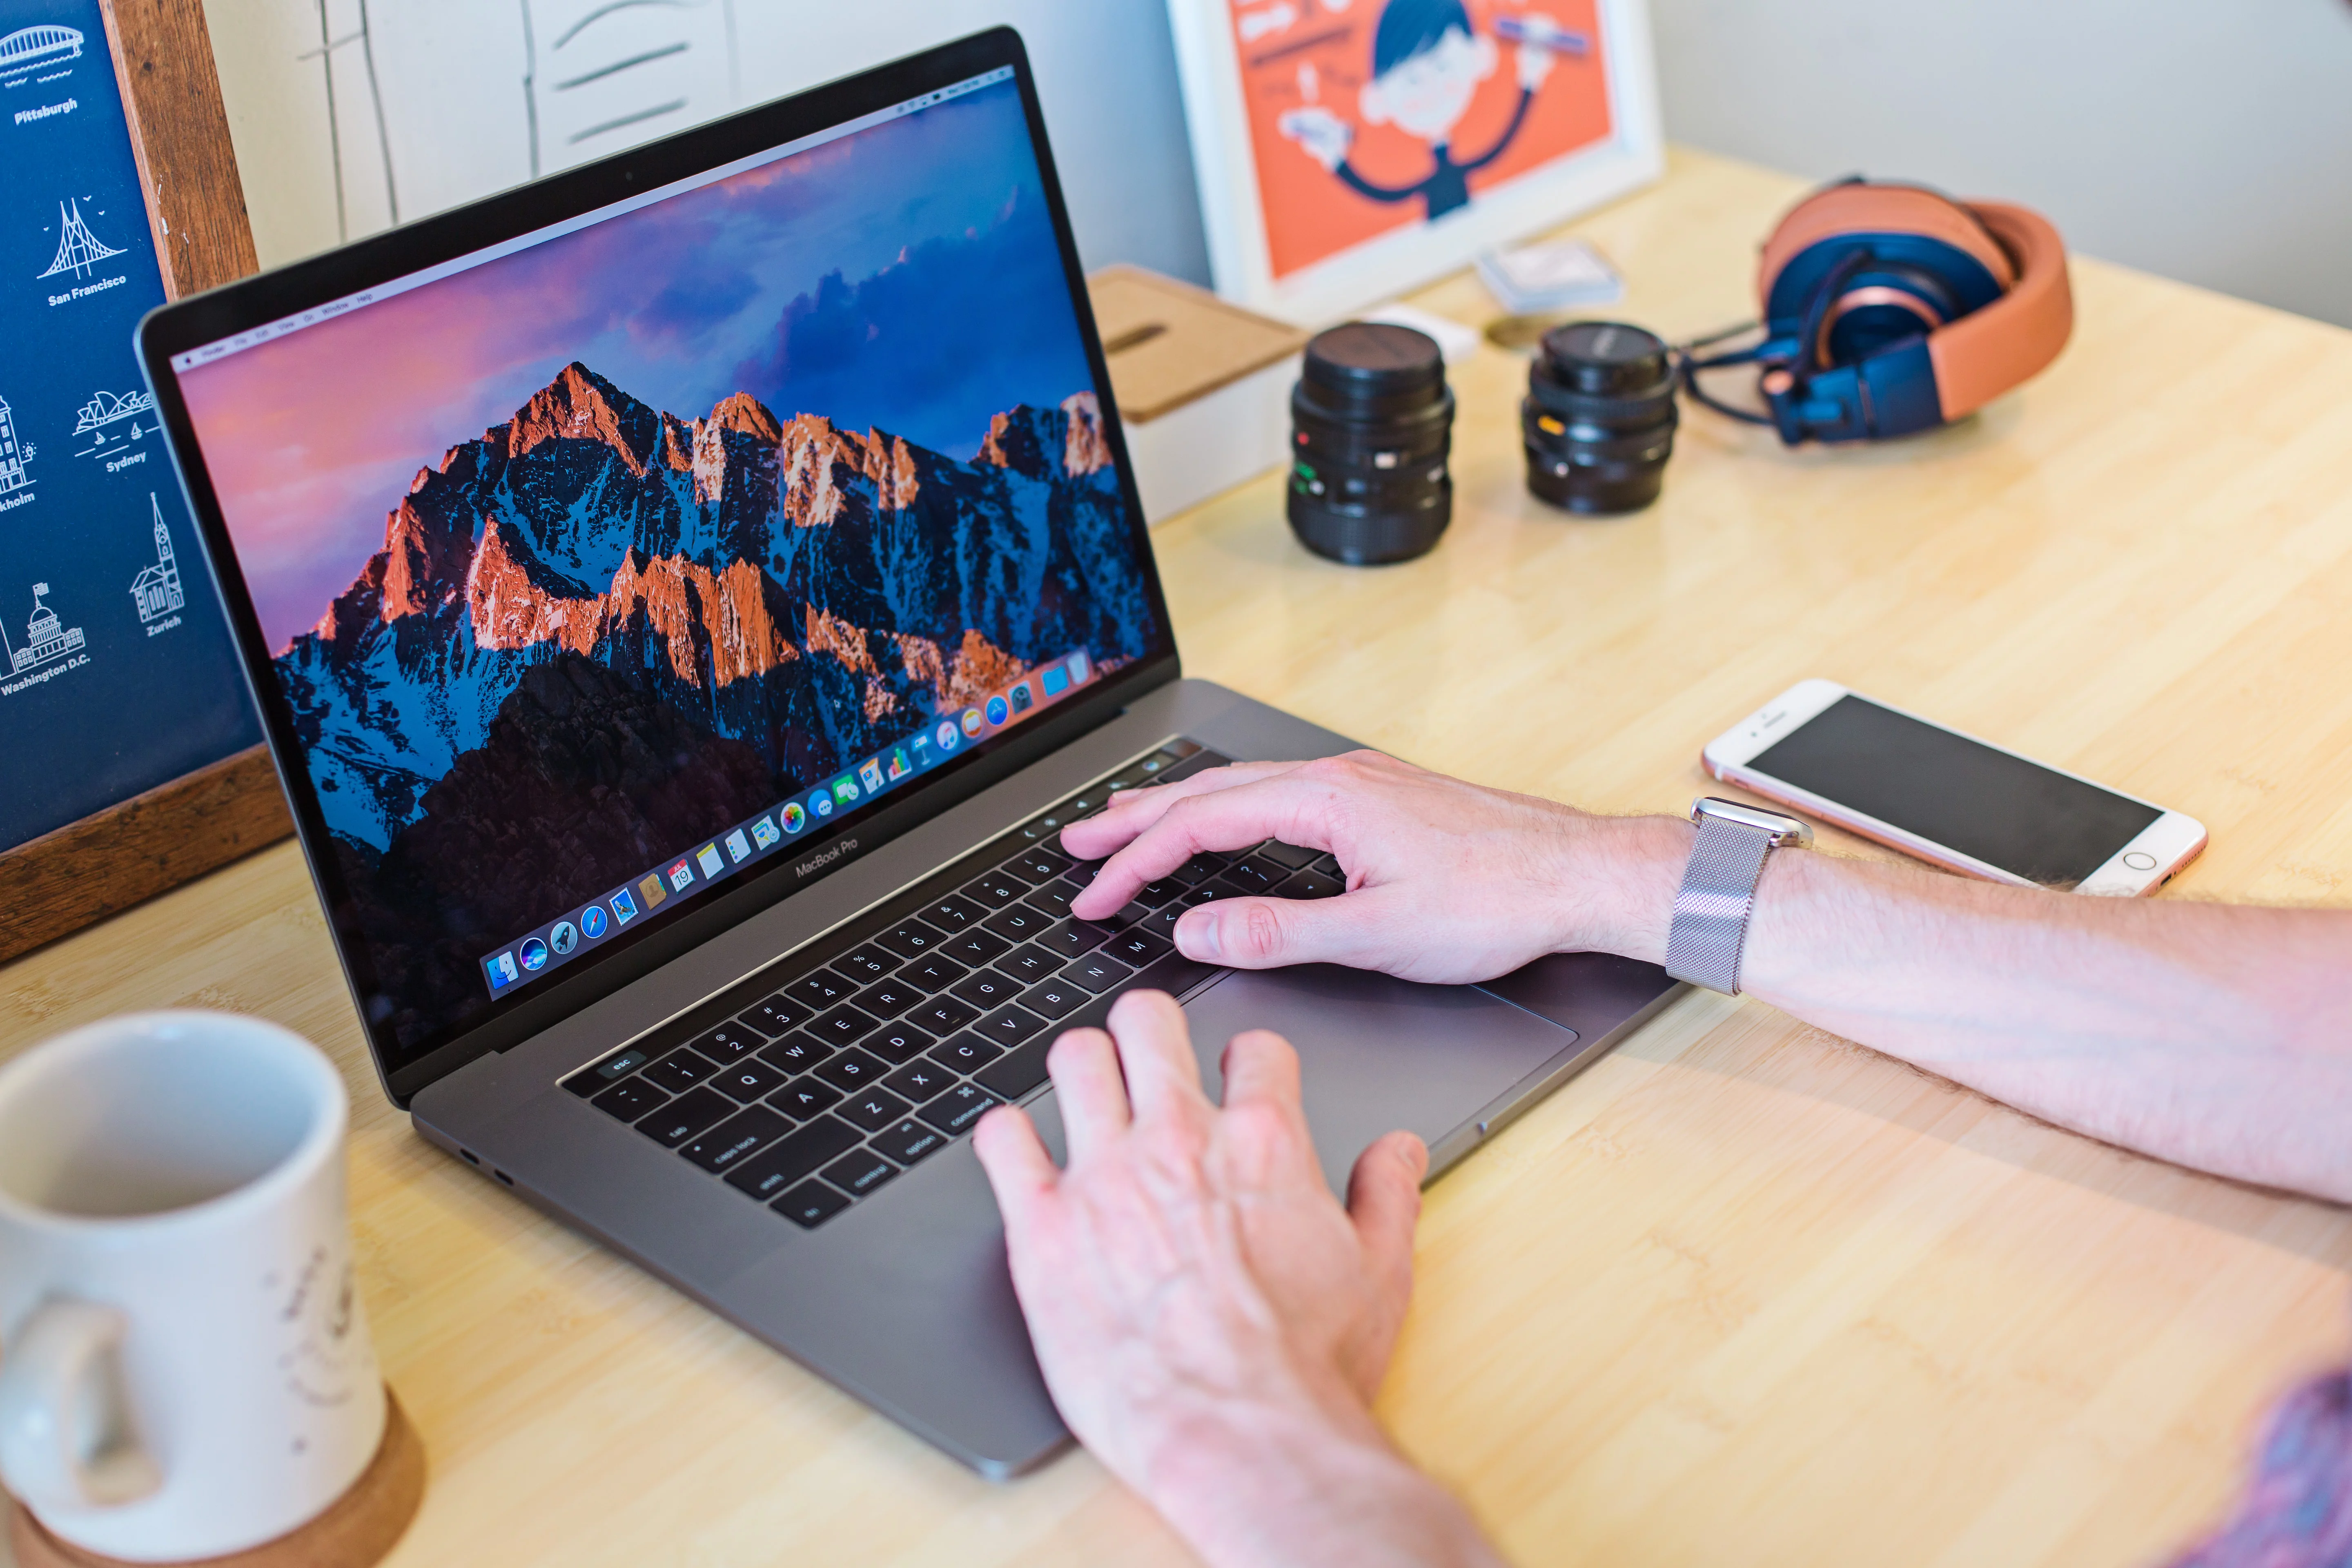
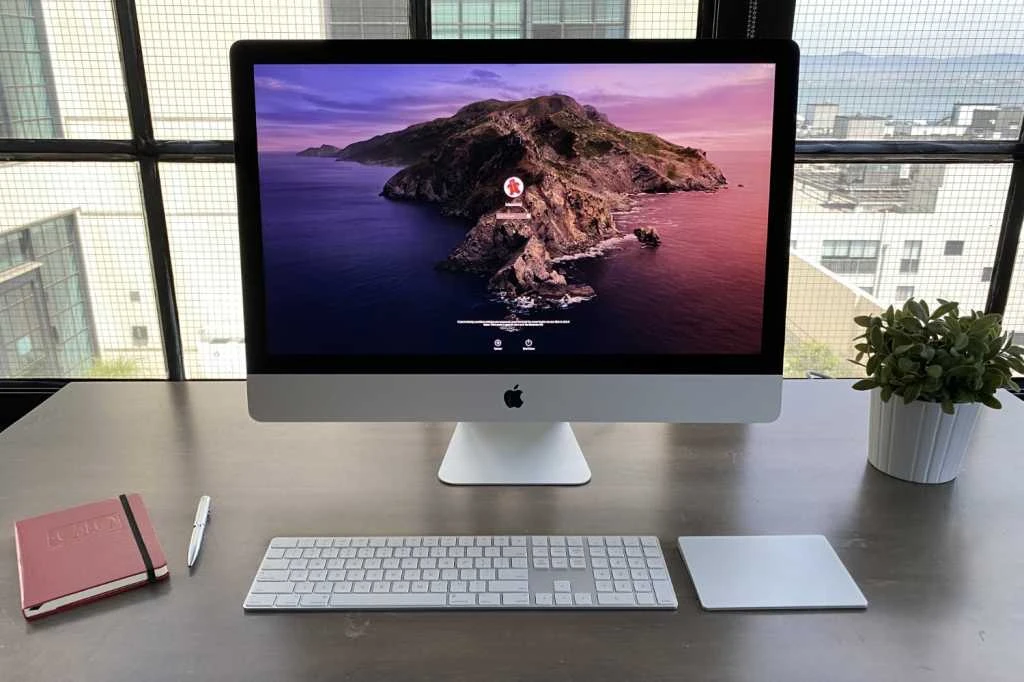
Welcome to your new iMac! Setting up your new iMac with a wireless keyboard is an easy process that will get you up and running in no time.
First, make sure you have the necessary equipment. You will need an iMac, a wireless keyboard and mouse, and a power cord. You may also want to purchase additional USB ports or a wireless adapter if needed.
Once you have all of your items, start by plugging in the power cord. Turn on your iMac and follow the on-screen instructions to complete the setup process. During this process, you may be asked to enter an Apple ID or create one if needed.
Once your iMac is set up, it’s time to connect your wireless keyboard and mouse. First, turn on both devices by pressing their power buttons. Then open System Preferences from the Apple menu at the top left of your screen. Select “Bluetooth” from the list of options under “Hardware” and then make sure Bluetooth is turned on.
The next step is to pair your keyboard and mouse with the iMac by clicking “Add Device” in the Bluetooth menu and following the on-screen instructions. Once paired, you should see both devices listed in System Preferences as connected devices.
Now that everything is connected, you can begin using your new iMac with its wireless keyboard! Enjoy exploring all of its features and capabilities! If you ever run into any issues during setup or use, don’t hesitate to contact Apple Support for assistance.
Troubleshooting Wireless Keyboard Connection Issues on an iMac
There could be a few reasons why your wireless keyboard won’t connect to your iMac. It might be due to an issue with the Bluetooth connection, the battery of the keyboard being too low, or the keyboard not being compatible with your iMac. To troubleshoot this issue, first, make sure that Bluetooth is turned on and that the keyboard is in range of your iMac. If it still doesn’t connect, try replacing the batteries in the keyboard and then attempting to connect again. If that doesn’t work, try uninstalling any third-party software associated with the keyboard and then reconnecting it. Lastly, if none of these steps work, you may need to purchase a new wireless keyboard that is compatible with your iMac.
Connecting a Keyboard to an iMac for the First Time
To connect a keyboard to your iMac for the first time, open System Preferences by clicking the Apple menu. in the top left corner of your screen. Then, click on Bluetooth. Your keyboard should appear in Bluetooth preferences. Click Connect (or Pair), then enter the passcode on the keyboard you’re setting up and press Return. Once it’s connected, you’ll be able to use the keyboard with your iMac.
Connecting a Wireless Keyboard to a New Computer
To connect your wireless keyboard to a new computer, you’ll need to first make sure your computer has Bluetooth enabled. To do this, select the Start button, then select Settings > Devices > Bluetooth & other devices. Once Bluetooth is enabled, select Add Bluetooth or another device> Bluetooth and look for your Microsoft Bluetooth Keyboard. Select it and then select Done to complete the pairing process. Now your Microsoft Keyboard should be connected to your new computer!
Compatibility of Wireless Keyboards with IMACs
Yes, you can use any wireless keyboard with your iMac. Most keyboards are designed to be compatible with both Windows and Mac computers, so all you need to do is make sure the keyboard is connected to your computer via Bluetooth or USB. For Bluetooth connections, you may need a USB-A–to–USB-C adapter. Once the connection is established, you should be able to start typing right away.
Making a Wireless Keyboard Recognizable on a Mac
To get your Mac to recognize your wireless keyboard, you need to pair it with your Mac. First, make sure that the keyboard is powered on and in Bluetooth discovery mode. Then, on your Mac, open the System Preferences menu and select Bluetooth. In the list of devices, you should see the name of your wireless keyboard; click on it and then click Connect. Once connected, you’ll be able to use your wireless keyboard with your Mac.
Source: amazon.com
Troubleshooting Issues with Wireless Keyboard on Mac
If your wireless keyboard isn’t working with your Mac, it could be due to a few different issues. Firstly, check to make sure the batteries are still good, or if you’re using something like an Apple Magic keyboard, that the battery is charged. If that doesn’t work, try connecting the keyboard to a different USB port on your Mac, or using a different cable if applicable. If that doesn’t solve the issue either, it’s possible that the keyboard itself is faulty and needs to be replaced.
Connecting a Mac to a Wireless Keyboard Without a Mouse
First, ensure that your wireless keyboard is powered on and within range of your Mac. Then open the System Preferences application by clicking on the Apple icon in the top left corner of the screen, and then selecting ‘System Preferences’. In System Preferences, select ‘Keyboard’ from the list of options. Click on the ‘Set Up Bluetooth Keyboard’ button and then select your wireless keyboard from the list. Once you have selected your keyboard, click ‘Continue’ and follow any further instructions as prompted. Your Mac should now be connected to your wireless keyboard without a mouse.
Troubleshooting Computer Recognition of Wireless Keyboard
It is possible that your computer is not recognizing your wireless keyboard because the batteries that you are using are low in power, the receiver is plugged into a port that is not working, or the wireless device is having trouble synchronizing with the receiver. It could also be possible that there may be interference from other wireless devices. To troubleshoot this issue, try replacing the batteries in your wireless keyboard and make sure that the receiver for your wireless keyboard is plugged into a working port on your computer. Additionally, try disconnecting any other wireless devices in your area as they could be causing interference.
Connecting a Wireless Keyboard and Mouse to a Computer
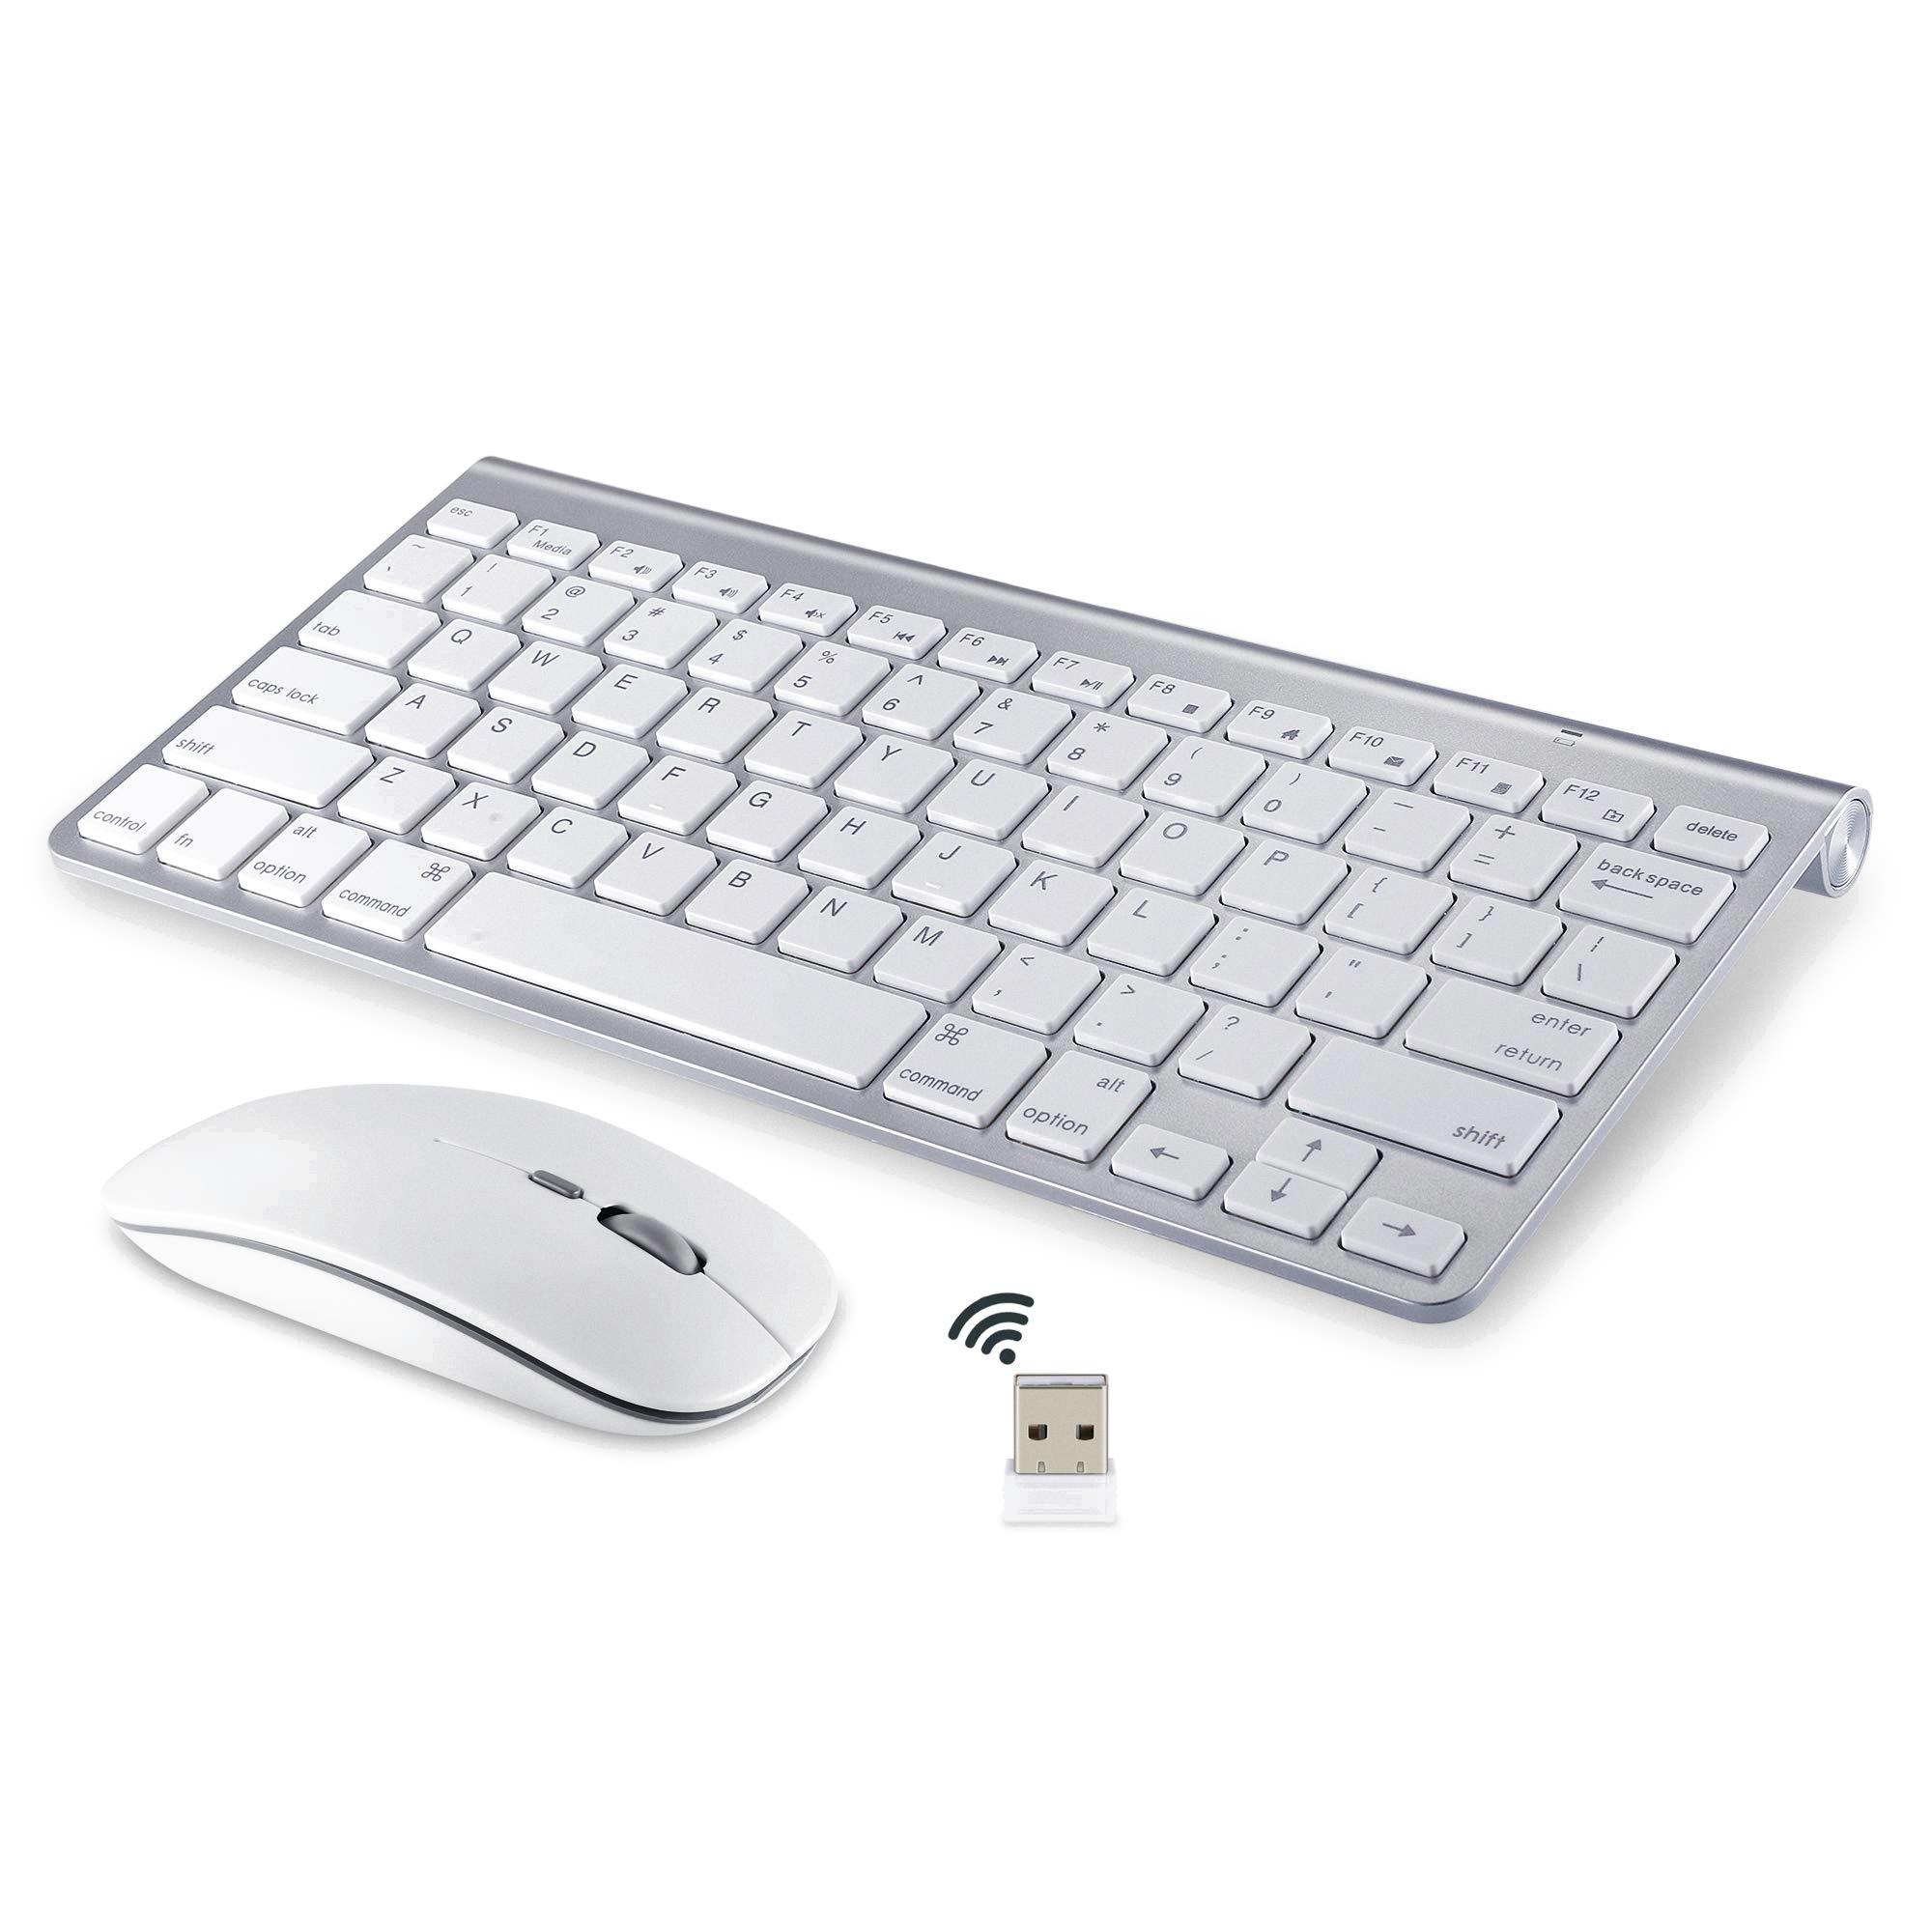
Connecting your wireless keyboard and mouse to your computer is a simple process. First, you’ll need to unbox the components of the wireless keyboard and mouse set, which should include a mouse, a keyboard, and a small USB transmitter. Once you have these items ready, plug the USB transmitter into one of your computer’s USB ports. Next, switch on the power of both the mouse and keyboard by pressing the corresponding power buttons. The device should now be connected to your computer. If you are having trouble connecting the devices, make sure that both the mouse and keyboard are still in active pairing mode by checking their respective lights. Once connected, you’ll be able to use them without any issues!
Troubleshooting Keyboard Connection Issues on a Computer
There could be a few reasons why your computer is not connecting to your keyboard. First, it’s possible that your keyboard is not properly connected to the computer. Make sure the USB cable is firmly plugged into both the keyboard and the computer. Check to see if the USB ports on both devices are working correctly.
Second, it’s possible that your computer is not recognizing the device. Try using a different USB port on your PC or unplugging and plugging in the device again. If you use a USB hub between the device and PC, make sure that it has power. If it still doesn’t work, try removing the USB hub and plugging the device directly into a USB port on the PC.
Third, if you are using a wireless keyboard, check to make sure that it’s connected to your wireless network correctly and that there aren’t any other wireless devices interfering with its signal.
Finally, there could be an issue with your operating system or drivers. Try updating your operating system or reinstalling any necessary drivers for your keyboard.

