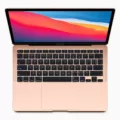
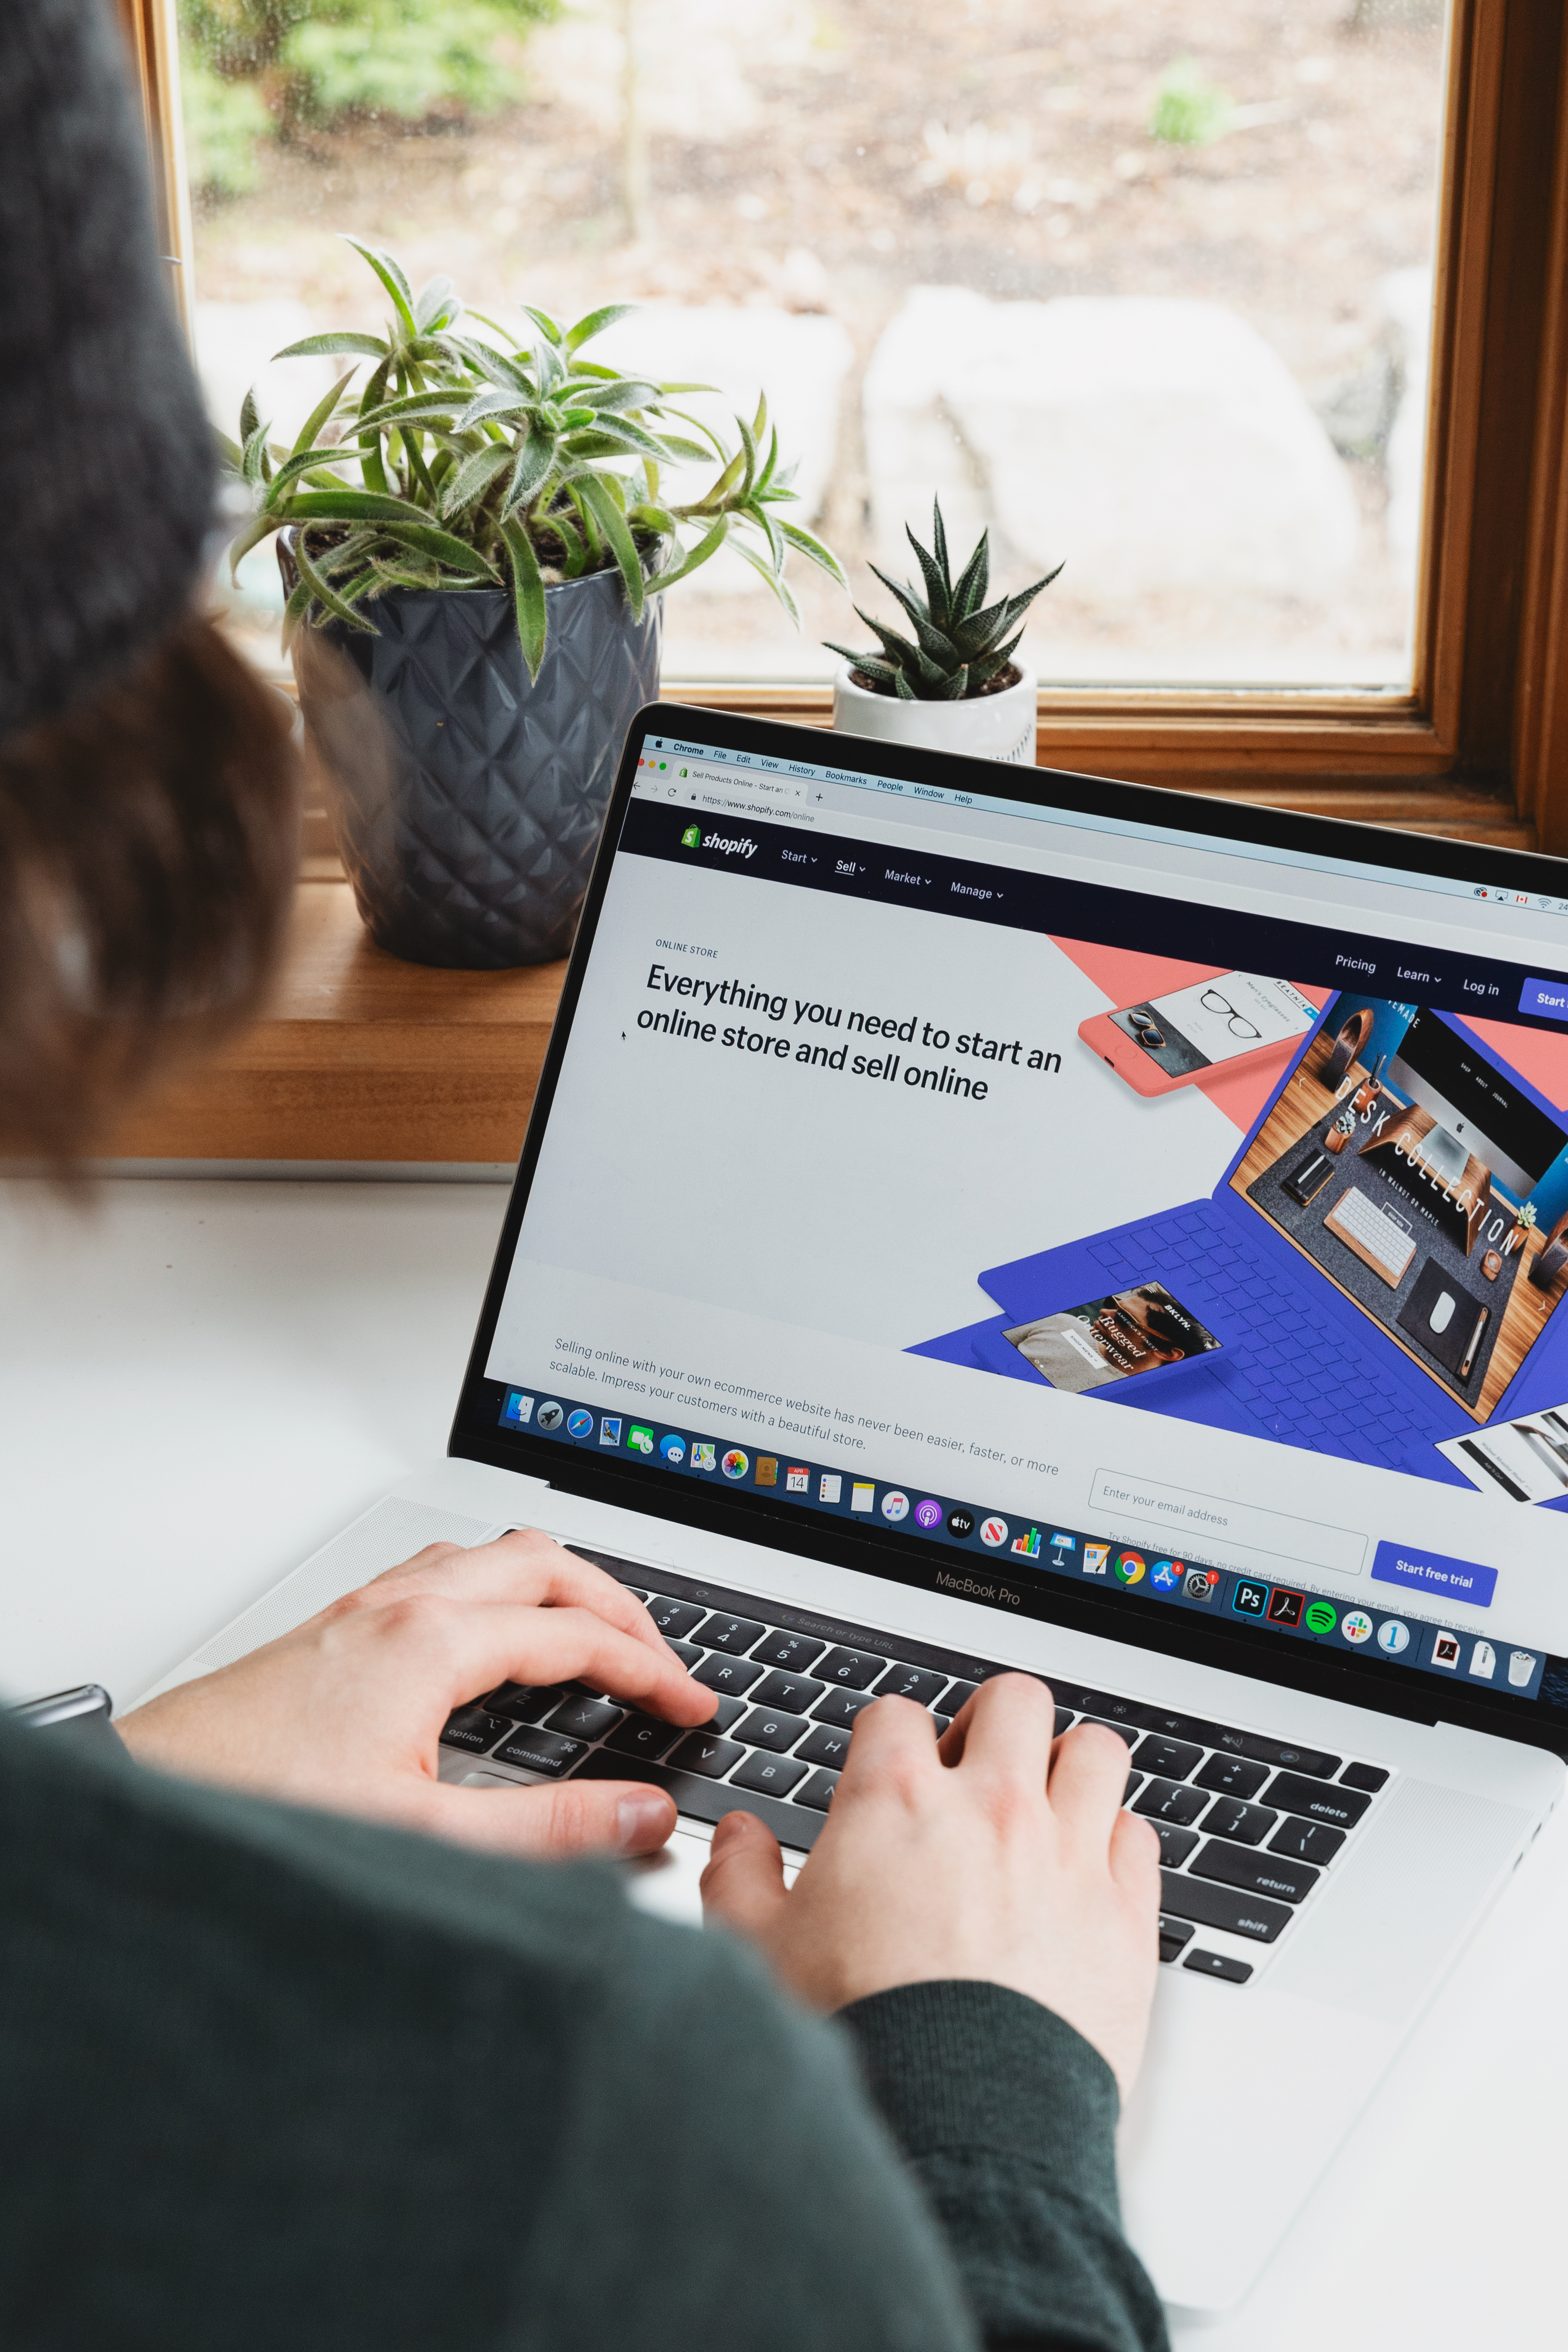
The Macbook is a powerful and popular laptop manufactured by Apple. It has a sleek design and offers many features to enhance your productivity. One of the most useful features on the Macbook is its ability to scroll trough webpages, documents, and other applications quickly and efficiently.
When using your Macbook, you can easily scroll up and down a page with the trackpad or mouse. The two-finger scrolling method is the simplest way to scroll on the Macbook. To do this, place two fingers on the trackpad and move them in opposite directions from each other. This will allow you to quickly move up or down the page.
If you prefer usng a mouse, you can use one-finger scrolling instead. To do this, simply click and hold down the left mouse button while moving your finger up or down on the trackpad or mouse surface. You can also use the arrow keys located at the bottom of your keyboard to move up or down a page if you don’t have access to a mouse or trackpad.
The Macbook also allows users to customize their scrolling settings for an even better experience. To do this, go into System Preferences > Trackpad > Scroll & Zoom tab and select whih type of scrolling action you prefer – either natural direction (which follows your finger movements) or reversed direction (which reverses your finger movements). Additionally, if you’re using a mouse instead of a trackpad, you can adjust how fast it scrolls by going into System Preferences > Mouse > Point & Click tab and adjusting the “scrolling speed” slider bar until it’s set to your liking.
By taking advantage of these features, you can make scrolling on your Macbook smoother than ever before! Whether you’re reading an article online or writing an essay for school, being able to navigate pages quickly will save you time in the long run – so take advantage of these tools today!
Scrolling on a Mac Laptop
To scroll on a Mac laptop, you can use two-finger scrolling. Place two fingers on the trackpad and slide them up or down to scroll through pages, documents, webpages, and more. You can also use pinch-to-zoom to enlarge or reduce photos and other images. Finally, you can swipe left or right with two fingers to navigate quickly between pages.

Troubleshooting Mac Scrolling Issues
If you are unable to scroll on your Mac, it may be because the Scrolling feature is not enabled in your Mouse & Trackpad settings. To enable scrolling, go to System Preferences > Accessibility > Mouse & Trackpad and ensure that the Scrolling box is checked. If the box is already checked, try restarting your Mac to see if that resolves the issue. If scrolling still does not work, try resetting your Mac’s System Management Controller (SMC) and Non-Volatile RAM (NVRAM).
Scrolling with a Mac Keyboard
To scroll on a Mac keyboard, you can use the Page Up and Page Down keys to move up and down a screen at a time. Alternatively, you can also press the Space bar to scroll down a screen, or press Shift-Space bar to scroll up. To quickly scroll to the top-left or bottom-left corner of the page, press Command-Up Arrow or Command-Down Arrow respectively. You can also use two-finger swiping gestures on your laptop trackpad or one finger swiping gestures on your Magic Mouse.
Scrolling Between Pages on a Mac
On a Mac, you can scroll betwen pages in a document or on a web page by using the trackpad or mouse. To scroll down one page at a time, place two fingers on the trackpad and swipe them downwards. To scroll up one page at a time, place two fingers on the trackpad and swipe them upwards. You can also use the Page Up and Page Down keys on your keyboard to move to the next or previous page. If your keyboard doesn’t have these keys, press Fn-Up Arrow or Fn-Down Arrow. Additionally, you can move to a specific page by pressing Control-Command-G, typing the page number, then pressing Return or clicking Go to Page.
Scrolling Down on a Mac Without a Mouse
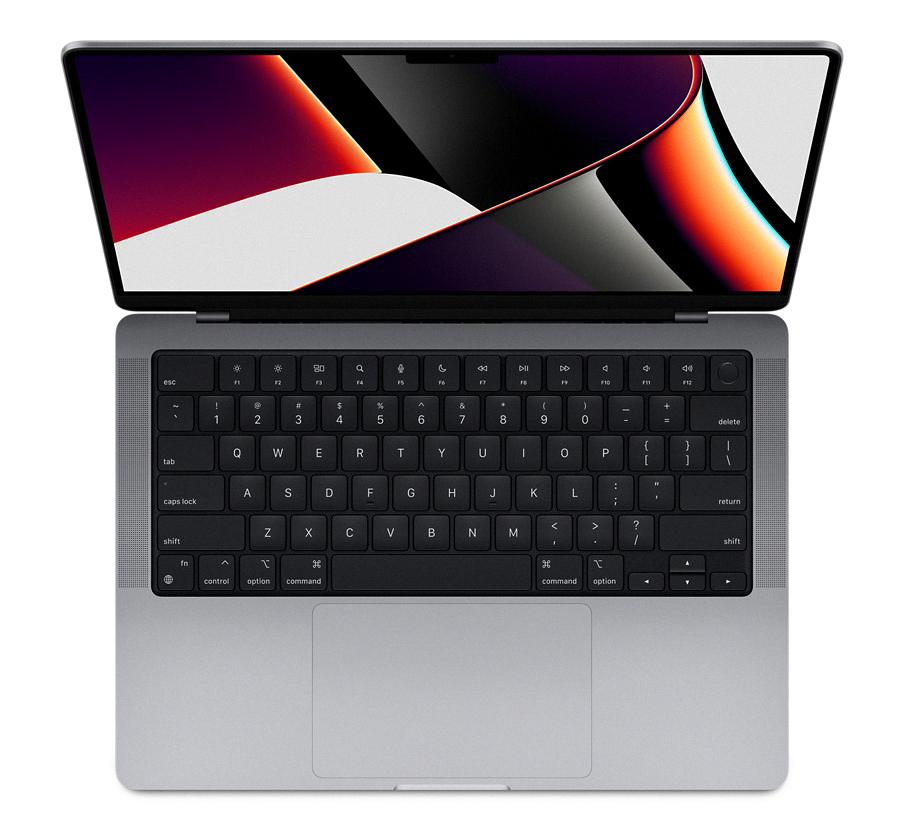
You can scroll down on a Mac without a mouse by using two fingers on the trackpad. Place two fingers on the trackpad and then swipe them downwards in one motion. This will cause the page to scroll down. If you want to scroll up, simply swipe up with two fingers.
Source: apple.com
Scrolling Without a Mouse
If you don’t have a mouse, you can stll scroll by using your keyboard or touchpad. To scroll with your keyboard, use the arrow keys to move up, down and sideways. You can also use the Page Up and Page Down keys to move quickly through a page. To scroll with your touchpad, move your fingers between the top and bottom of the touchpad to scroll up and down, or move your fingers across the touchpad to scroll sideways. Be sure to space your fingers a bit apart so that they look like two separate fingers to your touchpad.
Scrolling With The Keyboard
You can use the keyboard to scroll up and down in a document or web page by pressing the ‘alt’ key in combination with either the ‘up’ or ‘down’ arrow keys. Pressing the ‘alt-ctrl’ combination in addition to ‘up’ or ‘down’ will move your cursor alog with scrolling.
Enabling Scrolling on a Mac Mouse
To get your Mac mouse to scroll, simply slide one finger up or down on the mouse. The motion is detected by the mouse’s sensors and sent to your Mac’s database, which then recognizes it as a scrolling gesture. You can adjust the speed of the scrolling by going to System Preferences > Mouse, and adjusting the scrolling speed. Additionally, you can also adjust other settings such as double-clicking speed and tracking speed in this same menu.
Scrolling on a Laptop
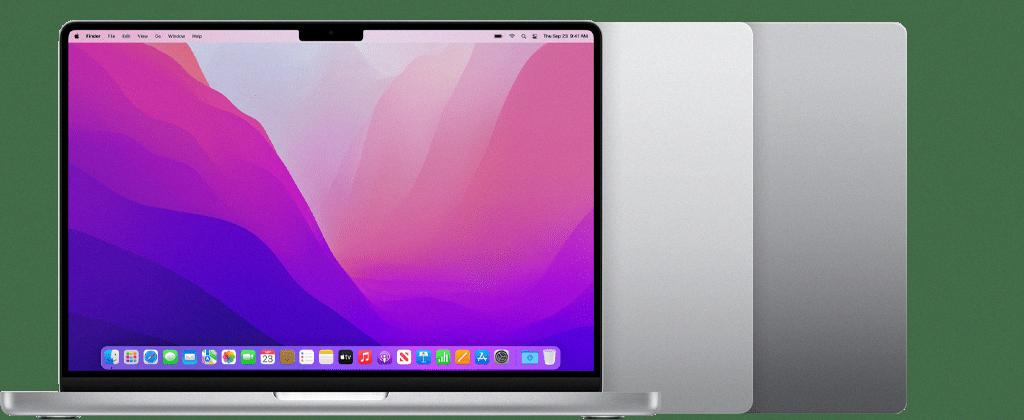
To scroll on your laptop, you can use the touchpad. Simply place two fingers on the touchpad and slide them horizontally or vertically. You can also zoom in or out by placing two fingers on the touchpad and pinching in or stretching out.
Source: support.apple.com
Showing a Scroll Bar on a Mac
To show scroll bars on your Mac, start by going to the Apple Menu in the Menu bar. Then select System Preferences. In the System Preferences window, click General. Under the Show scroll bars heading, select Always. This will make sure that scroll bars appear whenever necessary, including when you’re scrolling through webpages, documents and more.
The Location of the Scroll Lock Key on a Mac
The Scroll Lock key is not availale on a Mac. However, you can use the keyboard shortcut “Fn + Shift + F12” to activate Scroll Lock on a Mac. To deactivate it, press the same combination of keys.
Inability to Swipe Between Pages on Mac
There are a few possible reasons why you may not be able to swipe between pages on your Mac. Firstly, make sure that the gesture is enabled in the System Preferences menu. Additionally, check that you have the correct trackpad or mouse that supports this gesture. Lastly, it’s possible that the gesture may not be supported on your particuar model of Mac. If none of these steps work, it’s best to reach out to Apple Support for further assistance.
Scrolling Without a Touchpad
If you don’t have a touchpad, there are still plenty of ways to scroll. You can use a mouse with a scroll wheel or middle button. Alternatively, some keyboards come with built-in directional buttons that can be used to scroll through documents and webpages. You can also connect a wireless trackball or joystick to your computer and use the buttons to scroll. Additionally, most laptops come with a pointing stick in the middle of the keyboard that you can use to move arond and control scrolling.
Scrolling on a Screen
To scroll on your screen, you can use a finger to swipe up or down, depending on which direction you want to scroll. Make sure to keep your finger on the screen and move it in the desired direction. If there is a horizontal scrollbar, swiping left will scroll rght and swiping right will scroll left.
Scrolling Without an Arrow
If you don’t have an arrow key to scroll down, you can use the mouse or trackpad on your computer. You can either use the scroll wheel on the mouse, or click and drag down on the scroll bar. Another option is to use the Page Down key on your keyboard, which will move the page down a single screen at a time. If you want to move more quickly through a document, you can also turn Scroll Lock on (by pressing the Scroll Lock Key abve the arrow keys, or to the right of the function keys) and then use either your arrow keys or the Page Up and Page Down keys to scroll.
Troubleshooting Scrolling Issues on a Laptop
If you are unable to scroll on your laptop, it could be due to a few different reasons. The first possibility is that your laptop does not have the necessary drivers installed to enable scrolling. You can check if this is the issue by going into the Device Manager and seeing if the appropriate driver is installed. Another possibility is that two-finger scrolling may not be enabled in your touchpad settings. To check this, you can go into the touchpad settings and make sure that the box for Two-Finger Scrolling is checked. Lastly, if none of thee solutions work, it could be possible that your laptop’s touchpad has malfunctioned and needs to be replaced.
Enabling Touchpad Scrolling
To turn on Touchpad scrolling, you’ll need to open the Control Panel. To do this, head to the Start menu, then click on Control Panel. Underneath Hardware and Sound, select Mouse. In the Mouse Properties window, select the Device Settings tab. From there, you’ll be able to click Virtual Scrolling to bring up the Virtual Scrolling Options. You can then choose to enable touchpad scrolling by selecting an appropiate option from the list of available settings. Once selected, simply click Apply and then OK to save your changes. That’s it – now you’ll be able to control your cursor with touchpad scrolling!
Auto-Scrolling Without a Mouse on a Laptop
To enable auto-scrolling on your laptop witout a mouse, open the Activities overview and start typing Mouse & Touchpad. Click on Mouse & Touchpad to open the panel. In the Touchpad section, make sure the Touchpad switch is set to on. Then, switch the Two-finger Scrolling switch to on. Once this feature is enabled, you will be able to auto scroll by placing two fingers on your touchpad and moving them up or down.
Location of the Scroll Bar on a Macbook Air
The scroll bar on a Macbook Air can be found in the System Preferences. To access it, go to the Apple menu and select System Preferences > General > Show Scroll Bars. This will enable the scroll bar that is located at the right-hand side of your screen. You can adjust its settings by clicking on the arrows or dragging the scroll bar handle to quickly navigate up and down a page.
The Disappearance of the Scroll Bar
Your scroll bar is located on the edge of your screen, usually to the riht side. It’s a small bar that moves up and down as you scroll through pages or documents. If you can’t see it, it may be hidden. To make sure your scroll bars don’t disappear, go to the Settings window and click the “Ease of Access” category. On the left side of the Ease of Access screen, click the “Display” option. On the right, turn off the “Automatically Hide Scroll Bars In Windows” toggle to make sure your scrollbars stay visible.
Enabling Scrolling in Safari
In order to enable scrolling in Safari, you will need to open the System Preferences application on your Mac. Once the System Preferences window is open, click on the General icon located in the top row. In the General box, scroll down to the “Show scroll bars” section and select the option for “Always”. This will enable scrolling in Safari and other applications that use a scroll bar.
The Scroll Lock Key
Scroll Lock is a key found on most modern computer keyboards, usually located close to the Pause key. It is used to control the scrolling of text and images within an application or window. When enabled, pressing any of the arrow keys will cause the contents of the screen to scroll in that direction, instead of performing its usual cursor movement action. Scroll Lock can also be enabled by pressing Control-S or Fn-S depending on your keyboard type.
Inability to Scroll Down on Mac Using Arrow Keys
It cold be that you haven’t enabled full keyboard access on your Mac. To do that, go to Apple menu > System Preferences and click Keyboard & Mouse. Then click Keyboard Shortcuts and select the checkbox to turn on full keyboard access. Once you’ve done that, you should be able to scroll down using arrow keys on your Mac.
Enabling Swipe on a Macbook Pro
To enable swipe on your Macbook Pro, you can go to the System Preferences. Click on the Trackpad or Mouse icon, depending on which device you’re using. From there, you can turn on gesture-activated commands and customize the gestures for each command. For example, you could set a three-finger swipe to open Mission Control, or a two-finger swipe to switch btween applications. You can also adjust the sensitivity of each gesture and change other settings such as scrolling speed and double-click speed.
Dragging With Three Fingers
To drag with three fingers on your Mac trackpad, start by placing three fingers on the trackpad. Then click and hold down on the trackpad with one finger, whie moving all three fingers to drag the item. The item should move in unison with your fingers as you drag it. You can also use two or three fingers to scroll and zoom in or out. Be sure to enable three finger drag in System Preferences > Accessibility > Pointer Control before attempting this action.
Conclusion
The Macbook is a high-performance laptop designed for the modern lifestyle. With its sleek, lightweight design and powerful computing capabilities, it is perfect for both home and office use. It offers superior performance for everyday tasks like web browsing, streaming media, and editing photos and videos. The Macbook also features a long battery life with up to 10 hours of usage on a single charge. Additionally, it has advanced security features to protect sensitive data from unauthorized access. With its cutting-edge technology, the Macbook is an ideal choice for those seeking a reliable laptop that can keep up with the demands of teir lifestyle.

