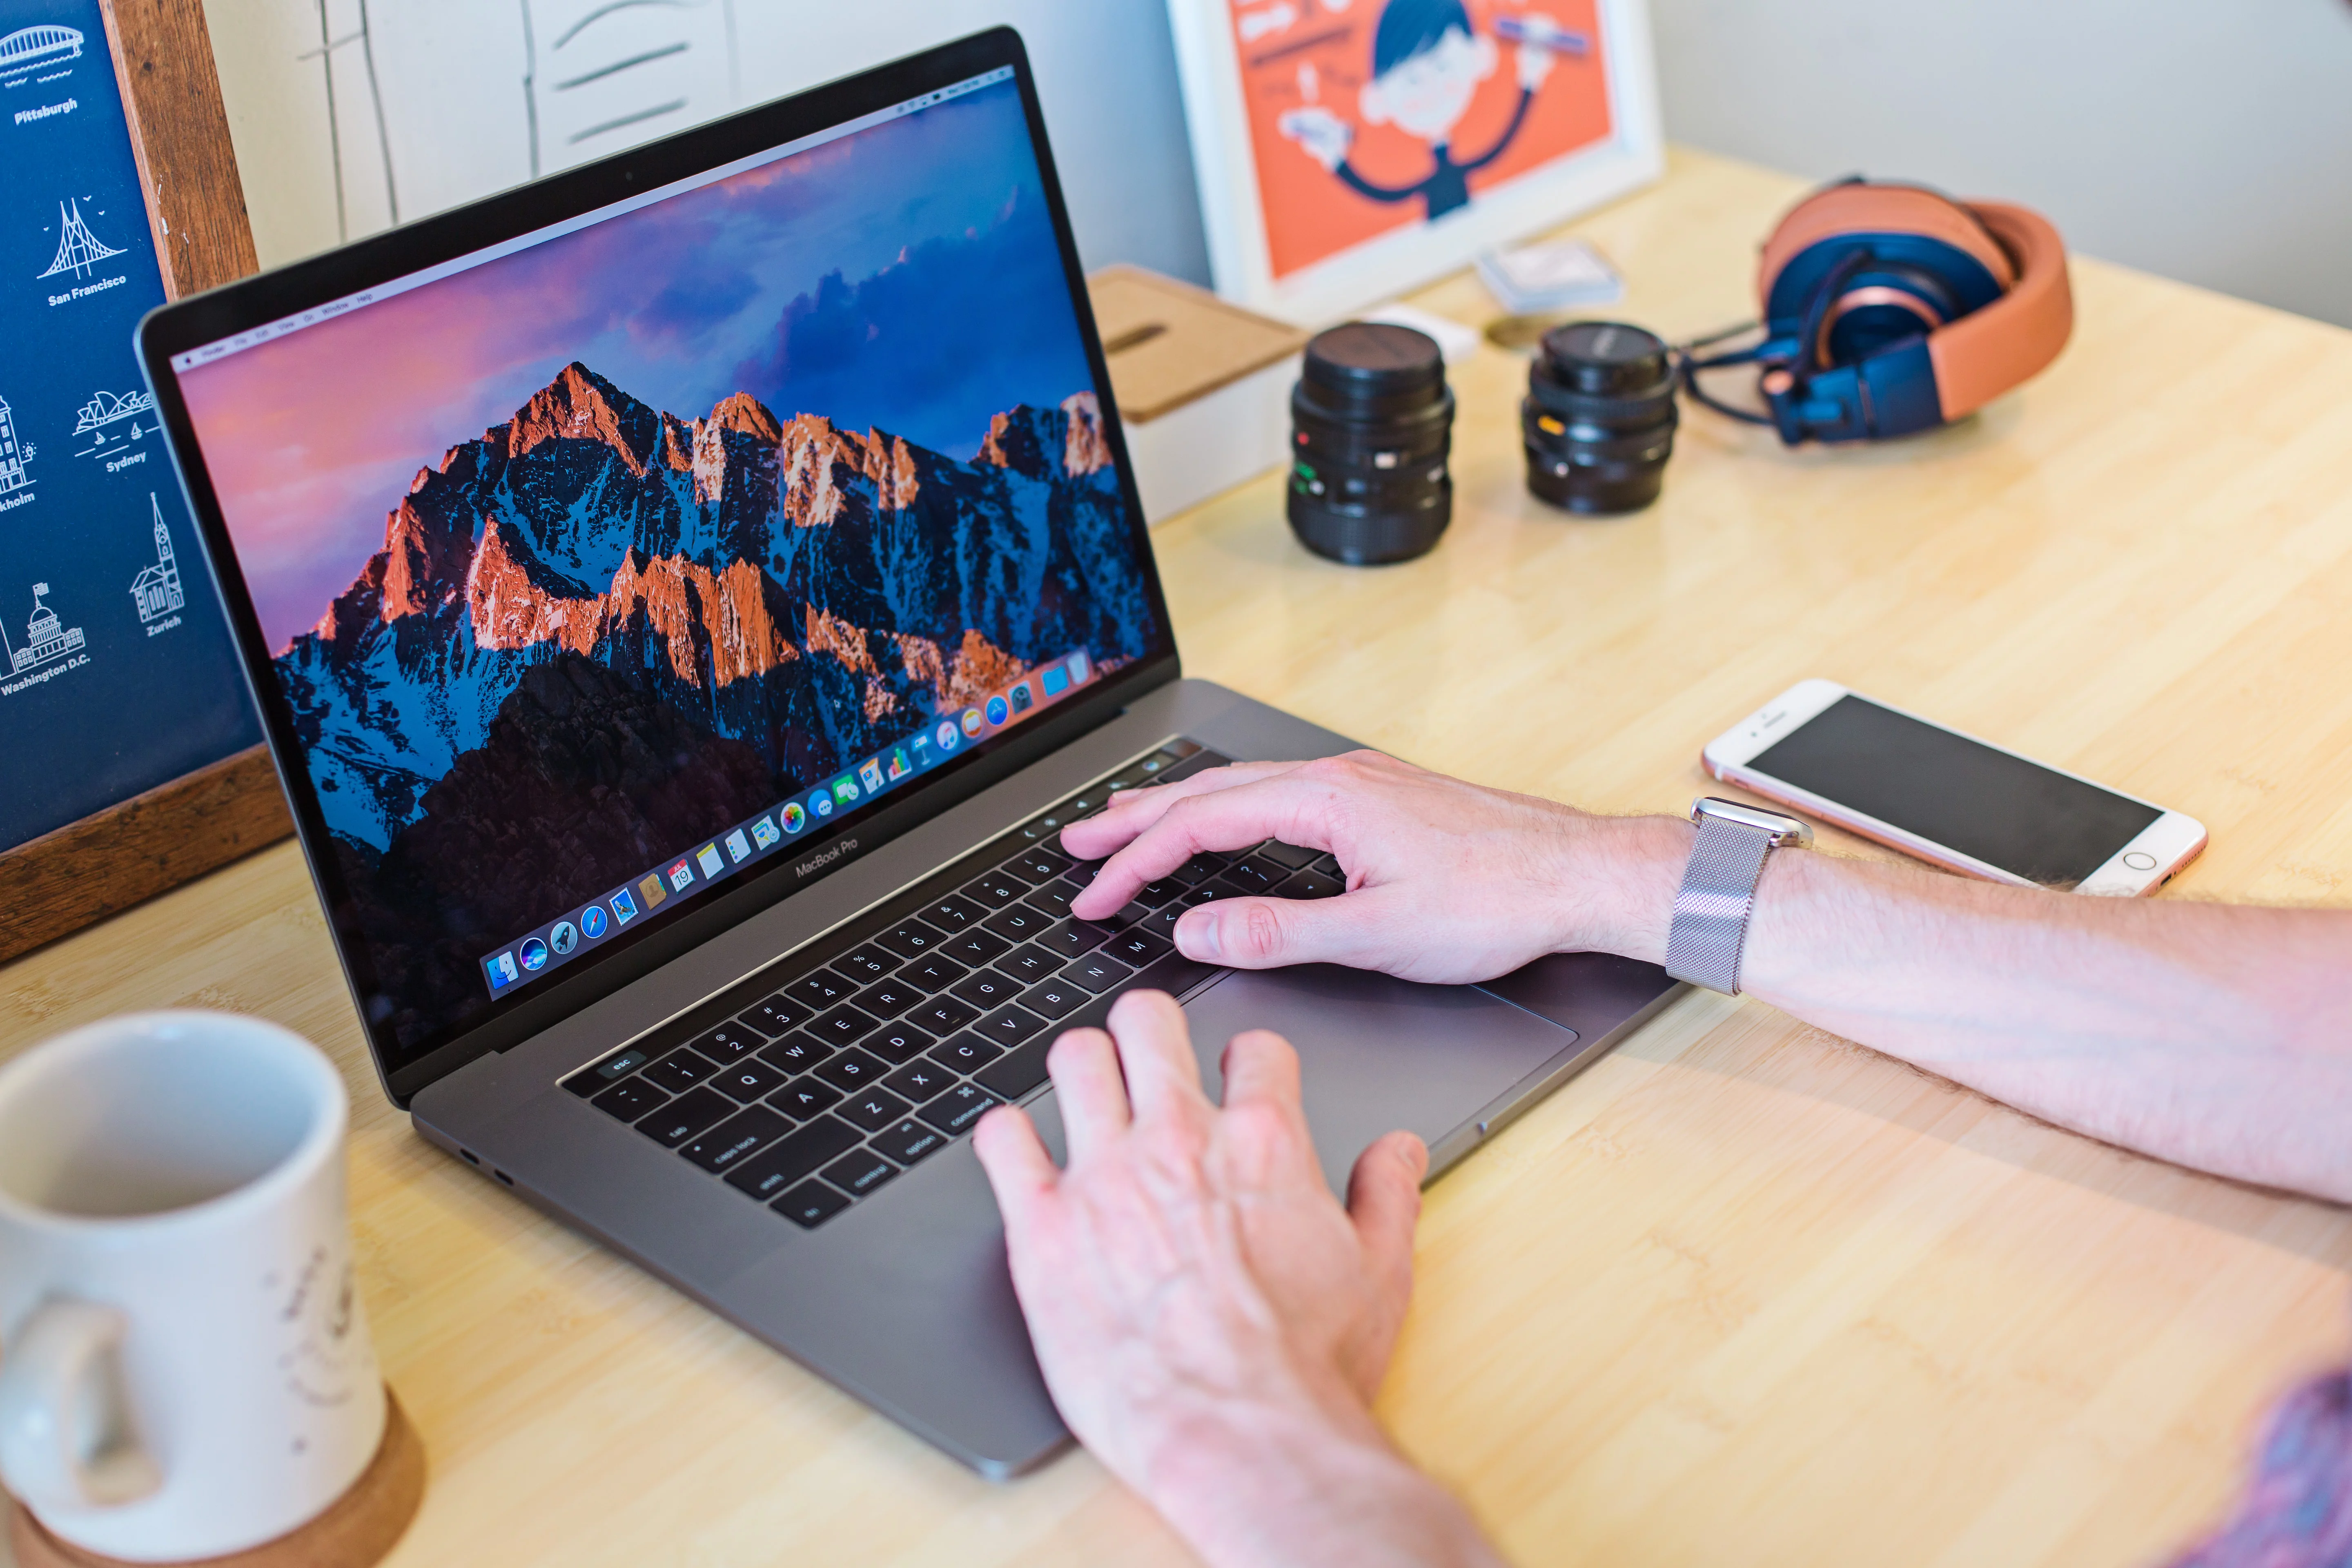
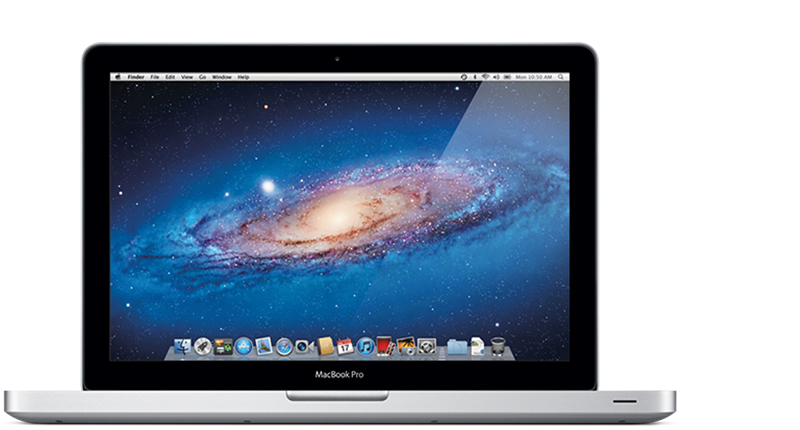
If you’re looking for a reliable and powerful laptop that comes with all the bells and whistles, the MacBook Pro 2011 is an ideal choice. Boasting a lightweight design, superior performance, and a sleek look – it’s no wonder why the MacBook Pro 2011 is still one of the most sought-after laptops on the market today.
Aside from its impressive features, one of the most useful ones is its ability to take screenshots. Screenshots allow you to capture whatever is on your screen at any given moment – which can be incredibly useful for sharing information or creating visuals for presentations. If you have a Macbook Pro 2011, here’s how to take screenshots:
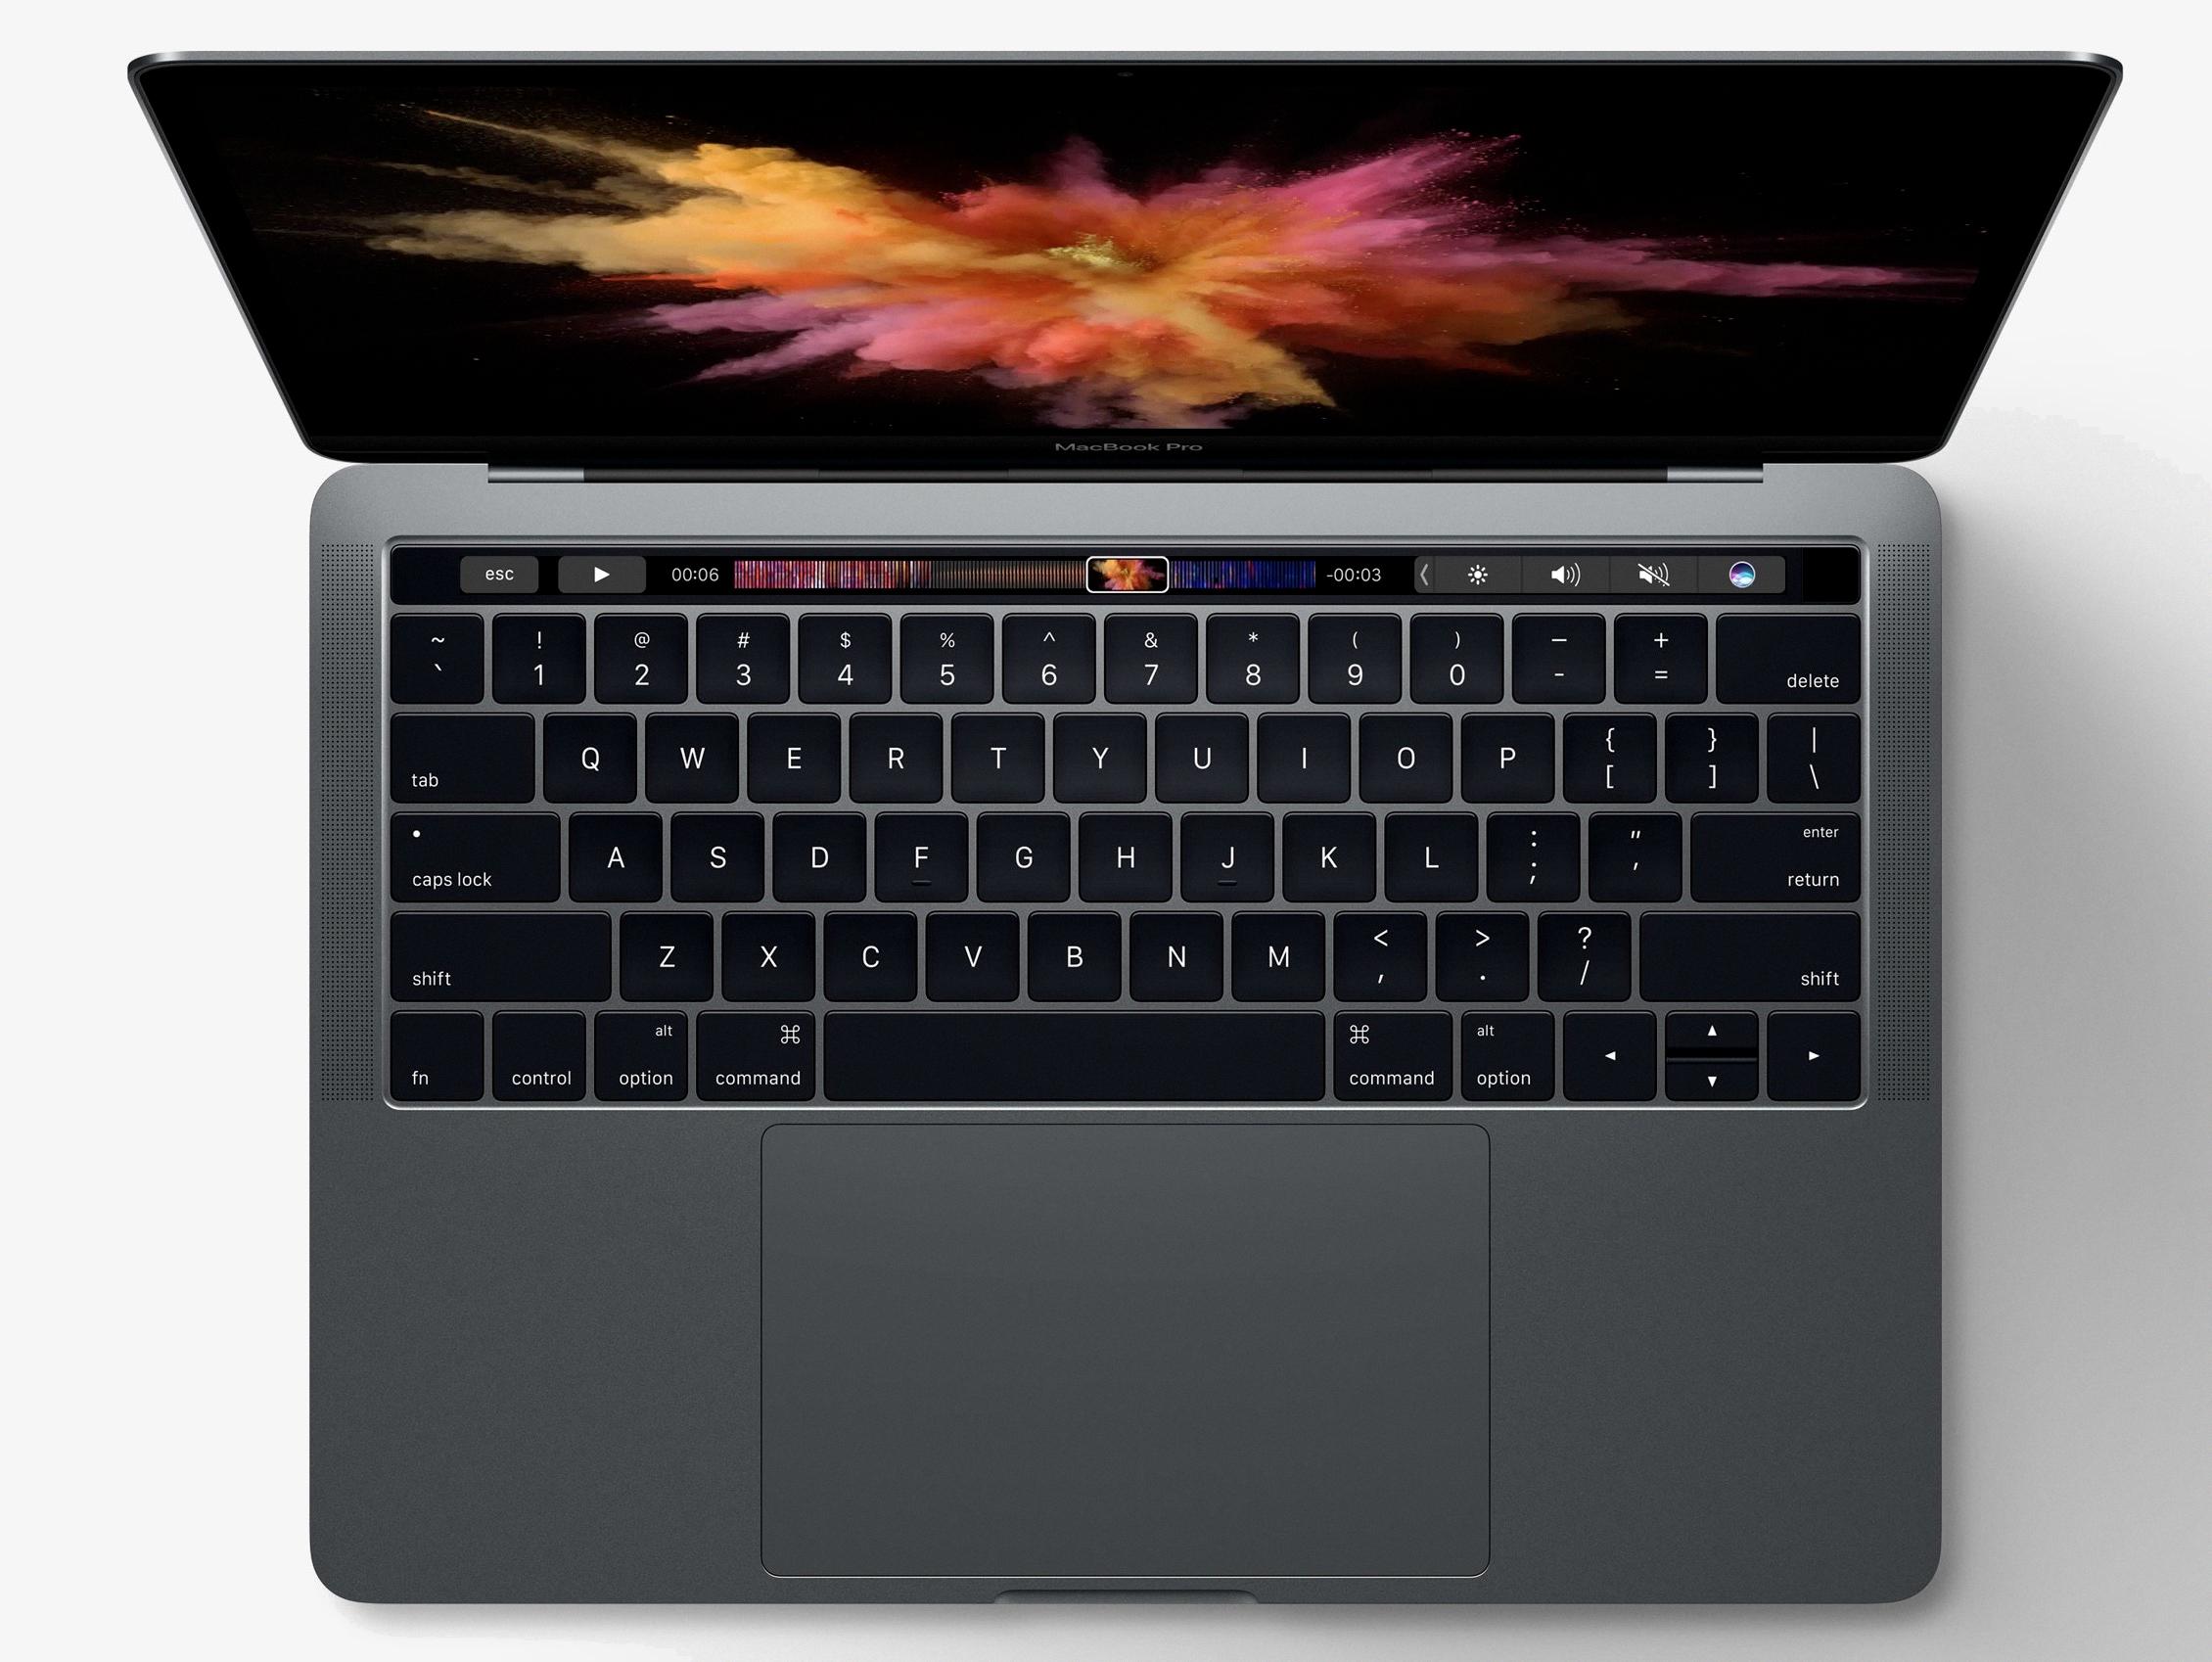
1. Press Shift-Command-4 on your keyboard. This will turn your cursor into a crosshair symbol – which will let you select the area you want to capture in your screenshot.
2. Move your cursor to where you want to start capturing and press down on the mouse or trackpad button and drag over the area you want to capture. Once you release the mouse button, your screenshot will be taken and saved as an image file on your computer.
3. To copy a portion of your screen onto your clipboard instead of saving it as an image file, press Command-Control-Shift-4 instead of Shift-Command-4. This time around, when you click and drag to select an area, it will be copied onto your clipboard instead of being saved as an image file – allowing you to paste it directly into another application without having to save it first.
Whether you need it for work or for play – taking screenshots on your Macbook Pro 2011 is quick and easy! So go ahead and give it a try!
How to Take a Screenshot on a Mac Pro
To take a screenshot on a Mac Pro, you can use the built-in keyboard shortcut Shift-Command-4. Once the crosshair pointer appears, move it to the area of your screen that you want to capture and press the mouse or trackpad button and drag over the area. Once you have selected the desired area, release the mouse or trackpad button to capture it. Alternatively, you can press Shift-Command-4 followed by pressing the Space bar to capture a window or menu directly without having to select an area.
Unable to Take Screenshots on Macbook Pro
There are a few possible reasons why you cannot take a screenshot on your Macbook Pro. First, make sure that the keyboard shortcut for taking screenshots is enabled by going to System Preferences > Keyboard > Shortcuts and checking that all the options in the Screenshots section are active. Secondly, make sure that you are not pressing any other key combination that might interfere with the screenshot command (e.g. Command + Shift + 4). Finally, it could be a hardware issue – try connecting an external keyboard and see if this helps. If none of these suggestions work, you may need to take your Macbook Pro to an Apple Store or get in touch with Apple Support to get further help.
Finding Screenshots on a Mac
If you take a screenshot on your Mac, it will automatically be saved to the Desktop. To locate the screenshot, you can either go directly to your Desktop by clicking the desktop icon in Finder, or by using Finder to open the Desktop folder and look for the image there. Alternatively, you can use Spotlight search (CMD + Spacebar) to find any screenshots that have been taken recently.
Source: idownloadblog.com
Taking a Screenshot on a Mac That Does Not Fit the Screen
Taking a screenshot of something that doesn’t fit the screen on a Mac can be done using the Screenshot Tool. To launch the Screenshot tool, press and hold Shift + Command + 5. You will then see a menu at the bottom of your screen, which allows you to select an area of your screen to capture. Select either ‘Capture Entire Screen’ or ‘Capture Selected Area’. If you choose to capture the selected area, you will be able to drag the edges of the selection box to select whatever portion of your screen doesn’t fit on the screen. Once you have selected an area, click on ‘Capture’ in the menu bar at the bottom of your screen and your screenshot will be taken.
Taking a Computer Screenshot
Taking a screenshot on a computer is very simple. Depending on your operating system, you may have different methods for doing so.
For Windows:
* Press the Windows key and PrtScn (Print Screen) key at the same time. This will take a screenshot of your entire screen and save it in your Pictures > Screenshots folder.
* If you just want to take a shot of an active window, press Alt + PrtScn at the same time. This will capture just the active window and save it in the same folder as above.
For Mac:
* Press Command + Shift + 3 at the same time to take a screenshot of your entire screen, which will be saved to your desktop by default.
* To capture only part of your screen, press Command + Shift+ 4 and then drag the selection box around the area you want to capture. The screenshot will be saved on your desktop by default.
Conclusion
The MacBook Pro 2011 is a powerful and versatile machine that offers a variety of features to meet the needs of users. It has a vibrant display, a fast processor, long-lasting battery life, and other features. With its advanced hardware and software capabilities, it can handle any task with ease. It is also lightweight and portable, making it ideal for travelers. Overall, the MacBook Pro 2011 is an excellent choice for anyone who wants to stay productive on the go.


