Are you looking for an easy way to record your screen on a Macbook Pro? With just a few clicks, you can now screen record on your Macbook Pro!
Screen recording is an invaluable tool for creating tutorials, capturing video calls, and more. Here’s how to get started.
First, open up your Applications folder and locate QuickTime Player. Select File > New Screen Recording from the menu bar. You will then see eithr the onscreen controls or the Screen Recording window. To record your voice or other audio with the screen recording, choose a microphone from the Options menu.
Next, you’ll need to select either the entire screen or just a portion of it. For example, if you want to capture a specific area on your Macbook Pro’s display, drag the red rectangle aroud that area before clicking on the Record button.
Now that you’re ready to begin recording, simply click on the Record button and start talking or showing what you want to capture. When finished, press Command-Control-Esc to stop recording and save your file as desired.
Finally, if you want to add audio while recording your Macbook Pro’s display, make sure that Loopback Audio is selected in the Options menu of QuickTime Player before beginning your screen recording session.
We hope these steps have helped you easily start creating amazing video tutorials and recordings with ease!
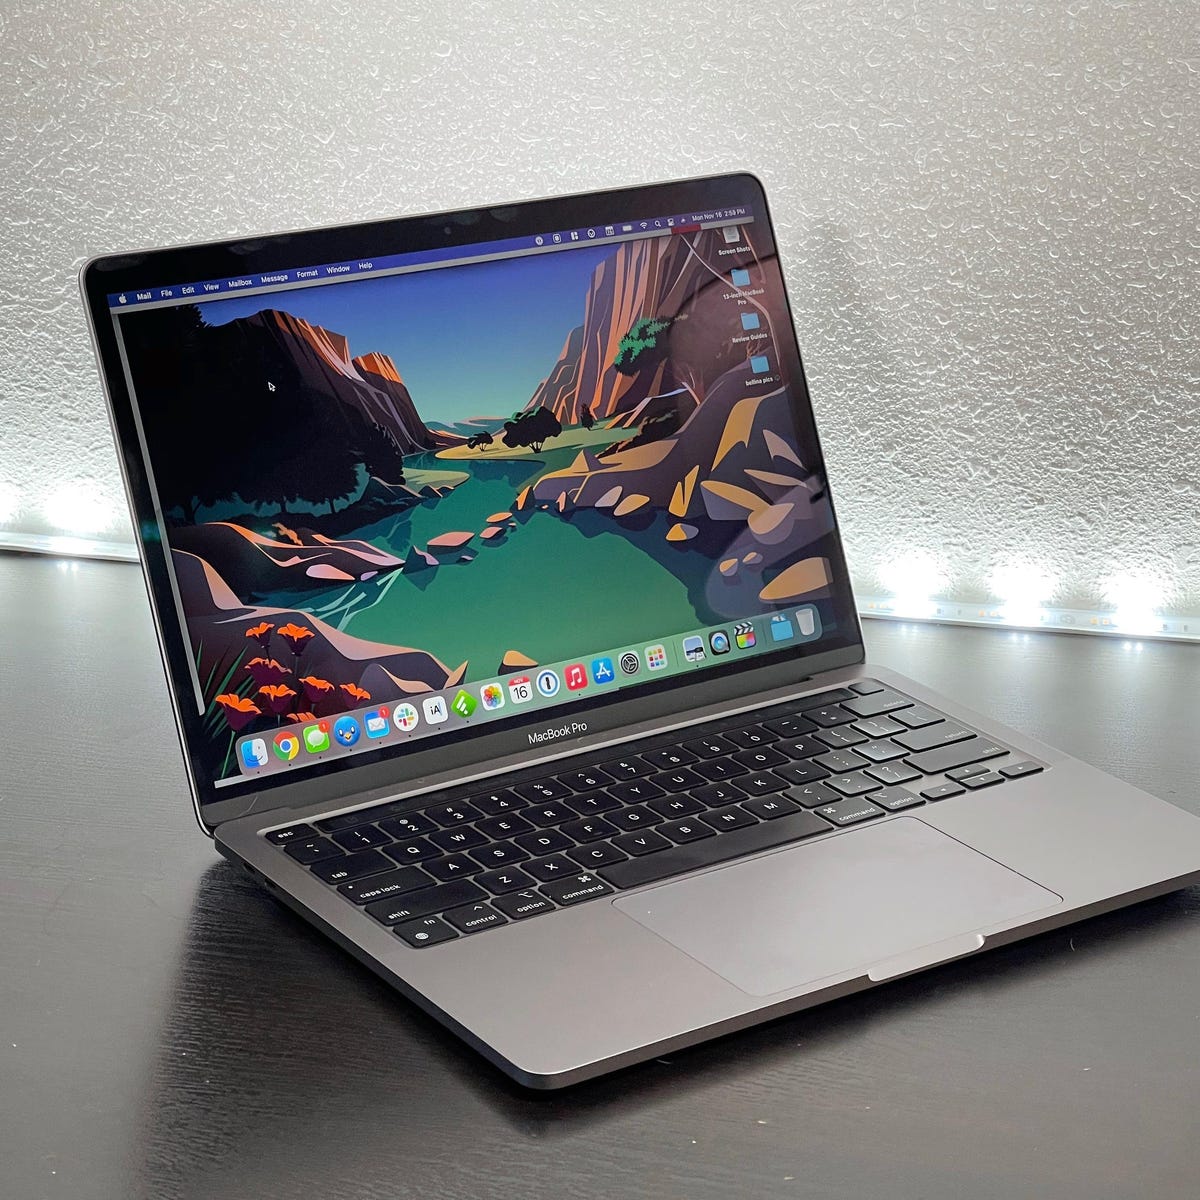
Does the Macbook Pro Have Screen Recording Capabilities?
Yes, Macbook Pro does have screen recording capabilities with the QuickTime Player app. To record your screen, open QuickTime Player from the Applications folder and then choose File > New Screen Recording from the menu bar. You can then use the onscreen controls or the Screen Recording window to select whih part of your screen to record. You can also choose a microphone if you want to record audio with your screen recording.
Recording Screen on Mac with Audio
To record your screen on a Mac with audio, open the QuickTime Player application and select File > New Screen Recording. You can choose to record the entire screen or just a portion of it. Click the Record button then select Options from the menu. Choose your audio source from the drop-down menu, such as Loopback Audio. When you’re ready, click Start Recording and begin speaking into your microphone. When you’re finished, click Stop Recording to save the video with its audio track.
Recording Your Screen on a Mac: Shortcut Guide
The shortcut to record your screen on a Mac is to press Command + Shift + 5 simultaneously. This will open up a window where you can choose to record your entire screen or only a portion of it. If you choose to record only a portion, you’ll be able to resize the recording window by dragging it around with your cursor. Once you’ve made your selection, click the Record button and you’re ready to go!
Recording Your Laptop Screen
To record your laptop screen, you will need to use Microsoft Stream. First, open Microsoft Stream and select Create > Record screen. Your browser will then prompt you to allw Microsoft Stream to use your camera and microphone – if you select Block, your camera and microphone will be disabled. Once that is done, select the Webcam or Microphone icon depending on what type of recording you are doing. Finally, press the Record button to start recording your laptop screen.
Source: tomsguide.com
Conclusion
The Macbook Pro is a powerful laptop computer that offers high-end performance, great portability, and access to the latest MacOS features. Its Retina display offers excellent visuals, while its long battery life and robust hardware make it suitable for a variety of tasks. The MacBook Pro is a great choice for thse looking for a reliable workhorse laptop that can handle activities from everyday computing to graphic design and video editing.


