Are you looking for a fast and efficient way to scan multiple pages on your Macbook Air? If so, then you’ve come to the right place! Here, we’ll provide you with step-by-step instructions on how to do just that.
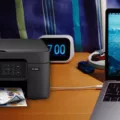
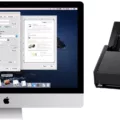
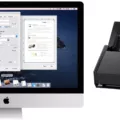
Using a Macbook Air to scan multiple pages is an easy process. All you need is a document-feeding scanner and the Preview app on your Mac. First, place the pages into the document feeder of your scanner. Then open up the Preview app and choose File > Import from Scanner > [scanner]. You will then see a dialog box that displays an overview of what you’re about to scan.
The next step is to set any scanning options you may want, such as resolution or color mode. After that, click “Scan” and if you’re uing the automatic document feeder, all of the pages will be saved in one PDF file.
Once it’s saved, you can use Google Drive or anoter cloud storage platform to quickly combine multiple files into one PDF right from your desktop or Finder window. Simply select all of the files that you want to combine and control click them. Then choose Quick Actions > Create PDF and voila! You now have a combined PDF file ready for viewing or printing.
We hope this guide has helped make scanning multiple pages on your Macbook Air an easy task for you!
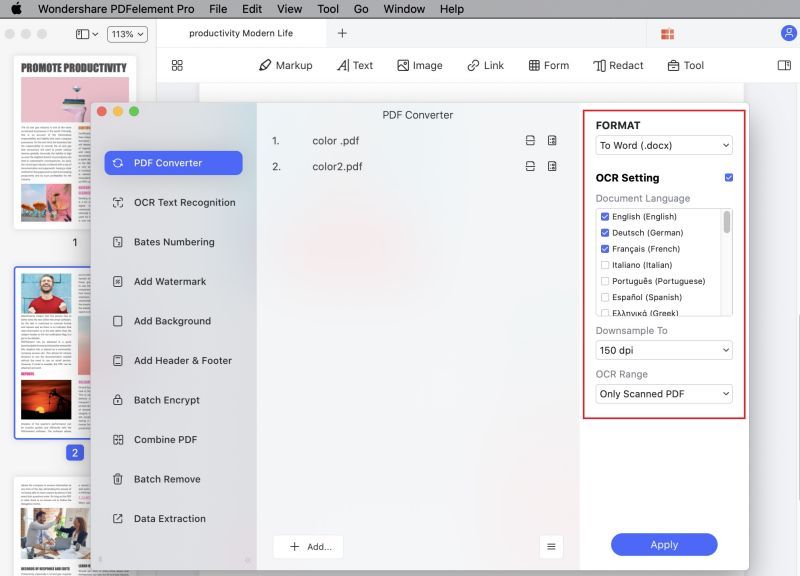
Scanning Multiple Pages Into a Single PDF on Mac
Scanning multiple pages into one PDF on Mac is a straightforward process. First, open the scanning application of your choice. For example, if you’re using Image Capture, open it by clicking its icon in the Applications folder or by selecting it in Spotlight search. Once open, select the scanner you want to use and then click the Scan button.
When prompted, choose whether you’d like to scan multiple pages into a single document or separate documents. If you select “One Document,” all of your scans will be combined into a single PDF file. If you’re scanning from a physical document, make sure that each page is plced face-down on the scanner bed. Afterward, adjust any settings as needed before clicking Scan.
Once all of your pages have been scanned, they will automatically be combined into one PDF document. This document can then be savd to your desired destination folder or sent directly via email for easy sharing with colleagues and friends.
Scanning Multiple Pages at Once
To scan multiple pages at once, you will need a scanner that can automatically feed the pages into the machine. Begin by placing the pages you want to scan in the document feeder of your scanner, then adjusting any settings as needed (such as resolution or file type). When you are ready, press the scan button on your scanner and let it work its magic! The scanner will automatically detect each page and feed them into the machine one-by-one. Once all of the pages have been scanned, you can save them together as one file. If you’re usng Google Drive, click “Preview” to view all of your scanned pages and then click “Add” to add a new page to this PDF. Scan again and repeat until all of your pages have been scanned. Finally, name the file and select a location to save it.
Scanning on a Macbook Air
To scan on a MacBook Air, you can use the Preview app that comes pre-installed with Mac OS. To begin, place the document or image you want to scan into your scanner’s document feeder. Then open Preview and select File > Import from Scanner > [scanner]. This will open the Import dialog, where you will be able to set scanning options such as resolution and file type. Once you have configured these settings, click Scan to begin the process. When the scan is complete, it will be sved as an image or PDF file in your designated folder.
Scanning Multiple Pages Into One PDF
Yes, you can scan multiple pages into one PDF. This can be done using a scanner with an automatic document feeder (ADF). When using the ADF, all of the pages in your document will be combined and saved into one PDF file. Additionally, many scanners have options to save each page as a separate file or combine several pages onto one sheet of paper befre saving as a single PDF.
Combining Multiple Pages into a Single PDF
To put multiple pages into one PDF, firt open Adobe Acrobat and select the ‘Combine Files’ option under the ‘Tools’ tab. You can then add the files you wish to combine by clicking ‘Add Files’. You can then rearrange the files and pages by clicking, dragging, and dropping them in order. You can also double-click on a file to expand and rearrange individual pages. Once you are done, click ‘Combine Files’ and save your new compiled document.
Scanning Many Papers Quickly
For quick scanning of many documents, a production-grade scanner is the best option. These scanners have large Automatic Document Feeders (ADFs) that can hold up to 100 pages at once and scan them quickly—often at speeds of over one page per second. Additionally, many production-grade scanners come with advanced features such as automatic document recognition, image optimization, and barcode detection for even faster bulk scanning. Furthermore, these scanners are typically more durable than consumer-grade scanners and can handle higher volumes more reliably.
Continuous Page Scanning
To scan pages continuously, you’ll need to select Custom for the Document Type in your scanner settings, and then select your desired Scan Size. After that, click Custom Settings to open the Custom Scan Settings dialog where you’ll need to check the Continuous Scanning box, and then click OK. This will allw you to scan multiple pages in a single pass.
Scanning a PDF into Separate Pages
Scanning a PDF into separate pages is a straightforward process. First, you’ll need to open your PDF in the appropriate scanning software. Then, select the “Scan” option and choose the desired file type for your PDF (such as JPG or PNG). You can also select how many pages you want to scan at once and any other settings. Once you click “Scan”, your document will be saved to your computer as separate image files – one for each page of the PDF. Finally, you can use a program like Adobe Acrobat to combine all of thse images back into one PDF file if needed.
Troubleshooting Scanning Issues on a Macbook Air
It’s possible that the scanner is not set up correctly with your Macbook Air. First, make sure the scanner is plugged into an electrical outlet and turned on, and that its cables are securely connected. Then, try deleting the scanner (or multifunction printer) from your Macbook Air and adding it again. If this doesn’t work, you may need to install any accompanying software or drivers for the scanner or printer before it will be recognized by your computer.
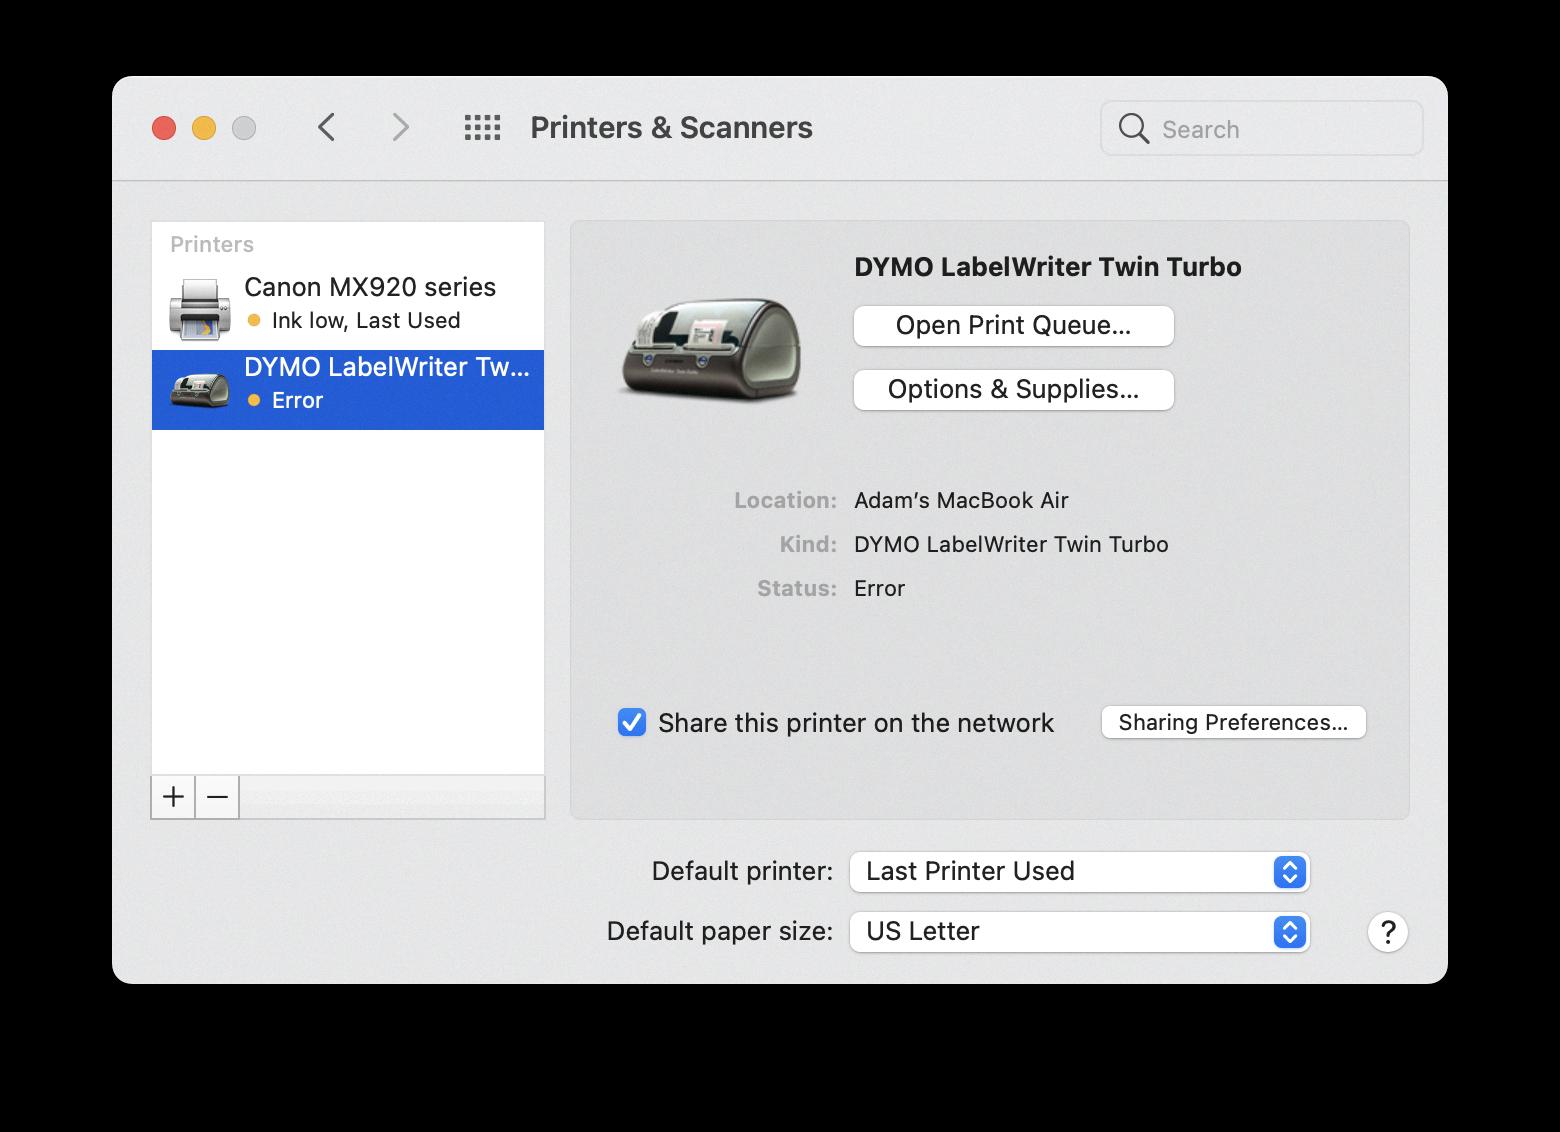
Source: apple.stackexchange.com
Using a Scanner App on a Macbook Air
Yes, there is a scanner app available for Macbook Air. Scanner Pro by Readdle is an easy-to-use scanning solution that allows you to quickly scan paper documents, business cards, receipts, and more usig the built-in camera on your Macbook Air. You can save your scans as either images or PDFs and even use OCR (Optical Character Recognition) to convert documents to text. With Scanner Pro for Mac, you can quickly and easily organize all of your scanned documents into one convenient place.
Scanning and Saving Documents as PDFs on Macs
To scan a document and save it as a PDF on a Mac, you will need to fist open the Home menu. Then, click on “File” and select “Create”, followed by “PDF from Scanner”. This will activate the “Create from Scanner” feature, which allows you to scan your document and save it as a PDF. You may also be asked to choose an available scanner, or enter settings like resolution, color format or paper size. After making these selections, you can select the “Scan” button to begin scanning your document. Once done, you will be prompted to save your PDF file in the desired location on your Mac.
Conclusion
In conclusion, the Macbook Air is an excellent choice for anyone looking for a lightweight and powerful laptop. Its thin and lightweight design makes it highly portable, while its advanced Intel Core processor ensures fast performance. It has a long battery life and comes with a range of features, such as the Touch ID sensor, Retina display and stereo speakers. The Macbook Air is also highly affordable compared to othr laptops in its class. With all these features combined, it’s easy to see why the Macbook Air is one of the top choices for students and professionals alike.


