Are you looking for a quick and easy way to scan documents with your iPhone? Look no further! With the latest iPhones, Apple has made it incredibly easy to scan documents and send them via email in a few simple steps. Here’s how:
1. First, open your Notes app. You can do this by tapping on the Notes icon from your home screen.
2. Once you’re in the app, select “New Note” or tap on an existing note if you want to attach your scanned document to it.
3. Then, tap the camera icon at the bottom right of the screen and select “Scan Documents” from the options that appear.
4. Place your document in front of the camera lens so that it is properly centered. Your device should automatically detect it and begin scanning it into a PDF file. If not, you can use your finger to adjust the corners of the document so that they are properly aligned with the corners of your device’s screen for a better scan result.
5. Once your document is scanned, hit “Save” or “Add Additional Scans” if you need to add additional pages to the same PDF file.
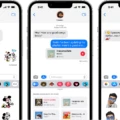
6. Now that your document is saved as a PDF file in Notes, you can easily send it as an attachment via email right from within Notes itself! Simply tap on the share button (looks like an arrow coming out of a box) at the top right corner of your screen, then choose “Mail” from the list of options and compose an email message, as usual, using the Mail app or any other email app installed on your device (such as Gmail).
7. Finally, hit send, and voila! Your scanned document will be sent swiftly across cyberspace directly to its intended recipient!
That’s all there is to it! Thanks to Apple’s ingenious design and technology, scanning documents with iPhone has never been easier! So go ahead – give it a try today!
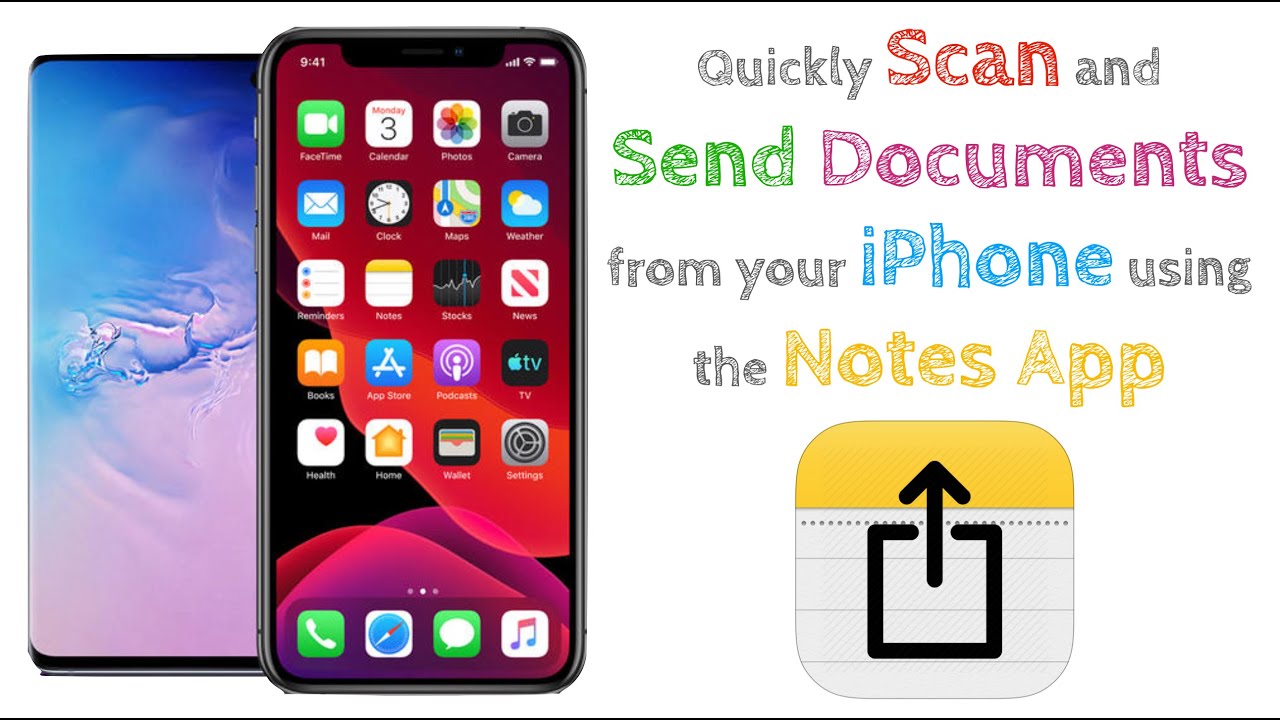
Scanning Documents on an iPhone
Scanning a document on your iPhone is easy! First, open the Notes app and select or create a new note. Then, tap the Camera button and select Scan Documents. Place the document in view of your camera and it will automatically scan if your device is in Auto mode. You can then save or add additional scans to the document. Once you’re finished scanning, you can even edit, rotate, or crop the document if needed.
Scanning a Document and Emailing it as a PDF on iPhone
To scan a document and email it as a PDF on your iPhone, you’ll need to install an app that supports scanning. We recommend Scan, which is available on the App Store. Once you have the app installed, follow these steps:
1. Launch the Scan app and use the slider to select the document type you want to scan.
2. Point your iPhone’s camera at the document and tap Keep Scanning if you need to scan additional pages.
3. Tap Adjust after all of your pages are scanned in order to adjust any page settings or crop out unwanted parts of the document.
4. Tap Save when you’re done making adjustments. This will save all of your scanned documents as PDFs in your photo library or any other app that supports PDFs like Dropbox or Google Drive.
5. Select one or more documents from your library and tap Share to open up iOS’s share sheet – from here, you can select Mail or any other email service like Gmail to send off your documents as PDF attachments!
Sending a Document by Email
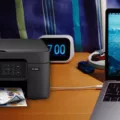
In order to scan and send a document by email, you will need to first have access to a scanner or an all-in-one printer/scanner. Once you have the necessary equipment, follow these steps:
1. Place the document face down on the scanner bed.
2. Open your scanning app or software and select “Scan” from the menu options.
3. Choose your desired settings, such as file type (e.g., JPEG or PDF) and resolution (e.g., low, medium, high).
4. Click “Scan” to start processing the document.
5. When prompted, save the scanned file in a convenient location on your computer or device.
6. Open your email program and compose a new message.
7. Attach the scanned document by clicking “Attach” or “Insert File” located at the bottom of your email window and selecting the file you just saved from your computer or device’s memory storage location (e.g., Documents folder).
8. Enter the recipient’s email addresses in the “To” field and add any relevant subject lines or messages in their respective fields before sending off your scanned document via email!
Why Is It Not Possible To Email A Scan From An iPhone?
It’s possible that you are having trouble emailing a scan from your iPhone because you do not have the Apple Mail app installed or configured correctly. To set up the Mail app on your iPhone, open the Settings app, select Accounts & Passwords, and add your mail account. Once your mail account is set up, you should be able to send scans from Scanner.
If you already have the Mail app installed and configured, it’s possible that your email is stuck in the Outbox. Try opening the Mail app, going to the Outbox folder and manually deleting any emails that are stuck there. After that, try sending a scan again from Scanner.
Inability to Email a Scanned Document
It is possible that you are unable to email a scanned document because the file size of the document exceeds the maximum allowable file size limit assigned to your email account. Many email accounts have restrictions on file sizes and won’t allow you to send a file that exceeds this limit. To check if this is the case, you can try reducing the resolution or size of the scanned document, as well as compressing it into a ZIP or RAR file. You can also try sending multiple smaller parts of the document instead of one large file. If none of these solutions work, then it could be due to other factors such as network or firewall restrictions.
Do iPhones Have Scanners?
Yes, you can use your iPhone as a document scanner. It is tucked away in the Notes app on iPhones and iPads. To access it, open the Notes app and create a new note or tap on an existing one to add the document you wish to scan. Tap the camera icon in the bottom right corner of the screen, then select Scan Documents at the bottom of your screen. Your iPhone will automatically detect the edges of your document and capture it. Once scanned, you can mark it up, convert it to PDF and share it with another app.

