The iPhone has revolutionized the way we communicate and stay connected. With its sleek design and cutting-edge technology, it has become more than just a phone – it’s a multi-functional device that can handle a wide array of tasks. One such task is scanning and emailing documents directly from your iPhone, making it incredibly convenient for those on the go. In this article, we will explore the steps to scan and email documents using your iPhone.
Scanning documents with your iPhone is easier than ever thanks to the built-in Notes app. To begin, open the Notes app on your iPhone and tap on the new note button to create a new note. Once you have the new note open, tap on the camera icon above the keyboard. From there, you can choose the “Scan Documents” option.
To scan a document, hold your iPhone steady over the document and align it within the frame that appears on your screen. The app will automatically detect the document and capture it. If necessary, you can adjust the corners of the document to ensure a clean and accurate scan. Once you are satisfied with the scan, tap on the “Keep Scan” button.
You have now successfully scanned the document using your iPhone. To email the scanned document, tap on the share button at the top right corner of the screen. This will open up a menu of options for sharing the document. Choose the “Mail” option to attach the scanned document to a new email.
In the email composition window, you can enter the recipient’s email address, add a subject line, and include any additional message you want to send along with the scanned document. Once you have filled in the necessary information, tap on the send button to send the email with the attached scanned document.
It is worth noting that you can also save the scanned document to your iPhone or upload it to cloud storage services like iCloud or Google Drive. This provides you with additional options for accessing and sharing the scanned document.
Scanning and emailing documents from your iPhone has never been easier. With the built-in Notes app, you can quickly and effortlessly digitize important documents and send them off via email. This feature is particularly useful for professionals who frequently need to scan and share documents while on the move. So next time you find yourself needing to scan and email a document, remember that your iPhone has you covered.
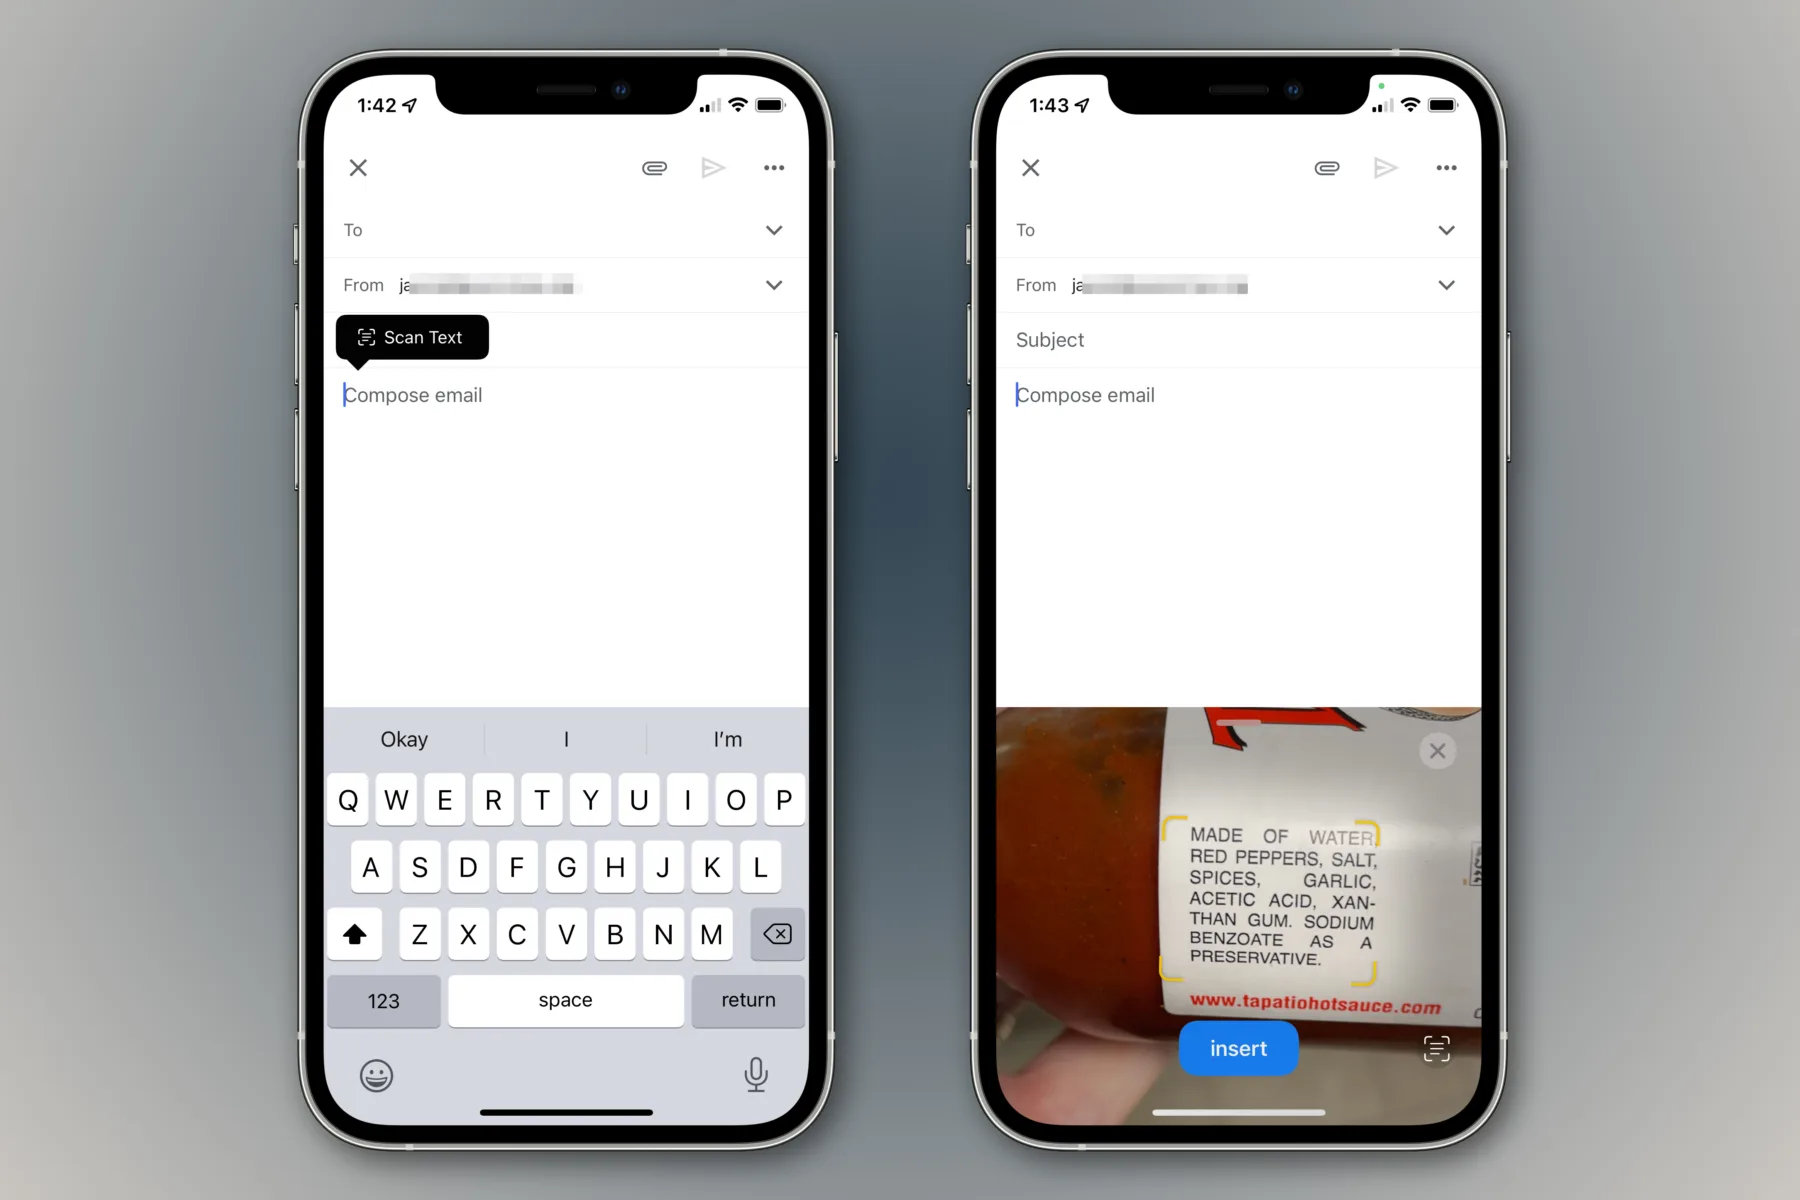
How Do You Scan a Document And Then Send It By Email?
To scan a document and send it by email, you will need access to a scanning device and a computer or mobile device. Follow these steps to complete the process:
1. Scan the document: Place the document face-down on the scanner bed and align it properly. Use the scanning device to scan the document. Ensure that the scan settings are appropriate, such as the resolution and file format.
2. Save the scanned document: Once the scanning process is complete, save the scanned document to your computer or mobile device. Choose a location where you can easily find it later, such as your desktop or a designated folder.
3. Open your Gmail account: Launch your web browser or email application and log in to your Gmail account. If you don’t have a Gmail account, you can create one for free.
4. Compose a new email: Click on the “Compose” button to create a new email. This will open up a blank email message.
5. Attach the scanned document: In the email composition window, look for the “Attach” button, usually represented by a paperclip icon. Click on it, and a file browsing window will appear.
6. Select the scanned document: Navigate to the location where you saved the scanned document on your computer or mobile device. Select the document and click on the “Open” button or equivalent.
7. Confirm attachment: Once you have selected the scanned document, it will be attached to your email. You can verify this by checking the attachment icon or the file name displayed in the email composition window.
8. Send the email: Add the recipient’s email address in the “To” field, provide a subject for your email, and write any additional message if desired. Double-check the email content for accuracy and completeness. When ready, click on the “Send” button to send the email with the attached scanned document.
By following these steps, you should be able to successfully scan a document and send it by email using Gmail.
How Do You Send Documents From Your iPhone?
To send documents from your iPhone, follow these steps:
1. Touch and hold the file you want to send.
2. From the options that appear, tap Share.
3. If you want to send a smaller version of the file, tap Compress before tapping Share. This will reduce the file size.
4. Now, touch and hold the compressed version of the file (which will be identified as a zip file).
5. From the options that appear, tap Share.
6. Choose an option for sending the file, such as AirDrop, Messages, or Mail.
7. If you select AirDrop, make sure the recipient’s device is nearby and has AirDrop enabled. Then, select their device from the AirDrop list.
8. If you choose Messages or Mail, enter the recipient’s contact information and any additional details required.
9. tap Send to transmit the file to the chosen recipient.
Please note that the specific steps may vary slightly depending on your iPhone model and the apps you have installed.
Conclusion
The iPhone is a highly advanced and innovative smartphone that has revolutionized the way we communicate, work, and entertain ourselves. With its sleek design, powerful performance, and user-friendly interface, it has become a global icon in the world of technology.
The iPhone offers a wide range of features and capabilities that cater to various needs and preferences of users. From its high-quality camera that captures stunning photos and videos, to its seamless integration with various apps and services, the iPhone provides a seamless and immersive experience.
One of the standout features of the iPhone is its operating system, iOS, which is known for its stability, security, and regular updates. With each new version, Apple introduces new features and enhancements that further improve the overall user experience.
Furthermore, the iPhone ecosystem is vast and diverse, with a wide range of accessories and peripherals available to enhance its functionality. From wireless charging pads to smartwatches, the iPhone seamlessly integrates with these accessories to offer a more comprehensive and personalized user experience.
Another key advantage of the iPhone is its strong commitment to privacy and security. Apple has implemented various measures to protect user data, including end-to-end encryption and biometric authentication methods such as Face ID and Touch ID. This gives users peace of mind knowing that their personal information is safe and secure.
In terms of performance, the iPhone consistently delivers impressive results. Its powerful processors and ample RAM ensure smooth multitasking and lag-free performance, even when running demanding apps or games. The iPhone also boasts excellent battery life, allowing users to stay connected and productive throughout the day.
The iPhone remains a top choice for smartphone users worldwide, thanks to its combination of cutting-edge technology, sleek design, and user-friendly interface. Whether you’re a professional, a student, or a casual user, the iPhone offers a comprehensive and seamless experience that is hard to beat.


