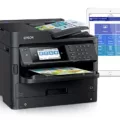
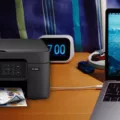
Are you looking for a dependable, reliable and affordable HP printer that can easily scan documents from your Mac? If so, then you’re in the right place. Today, we’re going to show you how to use an HP printer to scan documents from your Mac.
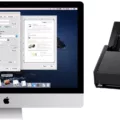
The first step is to connect your HP printer to your Mac. This usualy involves connecting your printer via USB or Wi-Fi. Once it’s connected, you can open up the Preview app on your Mac and choose “File > Import from Scanner > [Your Printer].” This will open up the Import dialog showing the overview scan being prepared.
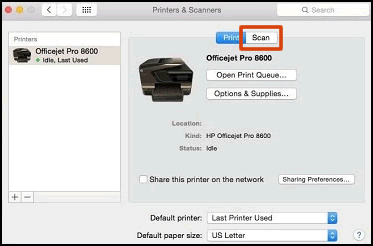
Once that’s done, you can go ahead and set up scanning options such as resolution and file type. When you’re ready, click “Scan.” You can also click on the “Scan tab” whee you can click on “Scan to E-mail Setup.” From here, you will be prompted to enter in your e-mail address as well as a name that will be displayed on the printer’s control panel for identification purposes.
After all of this is done, you are now ready to use your HP Printer to scan documents from your Mac! All that’s left is for you to physically place the document (or documents) on the scanner glass or in the document feeder and then press “Start Scanning.” Your scanned document will automatically be sent via email or saed onto a folder of your choice depending on what settings were chosen before pressing “Start Scanning.”
We hope this tutorial has been helpful in showing how easy it is to use an HP Printer with a Mac computer in order to scan documents quickly and easily!
Scanning and Uploading Documents to a Mac
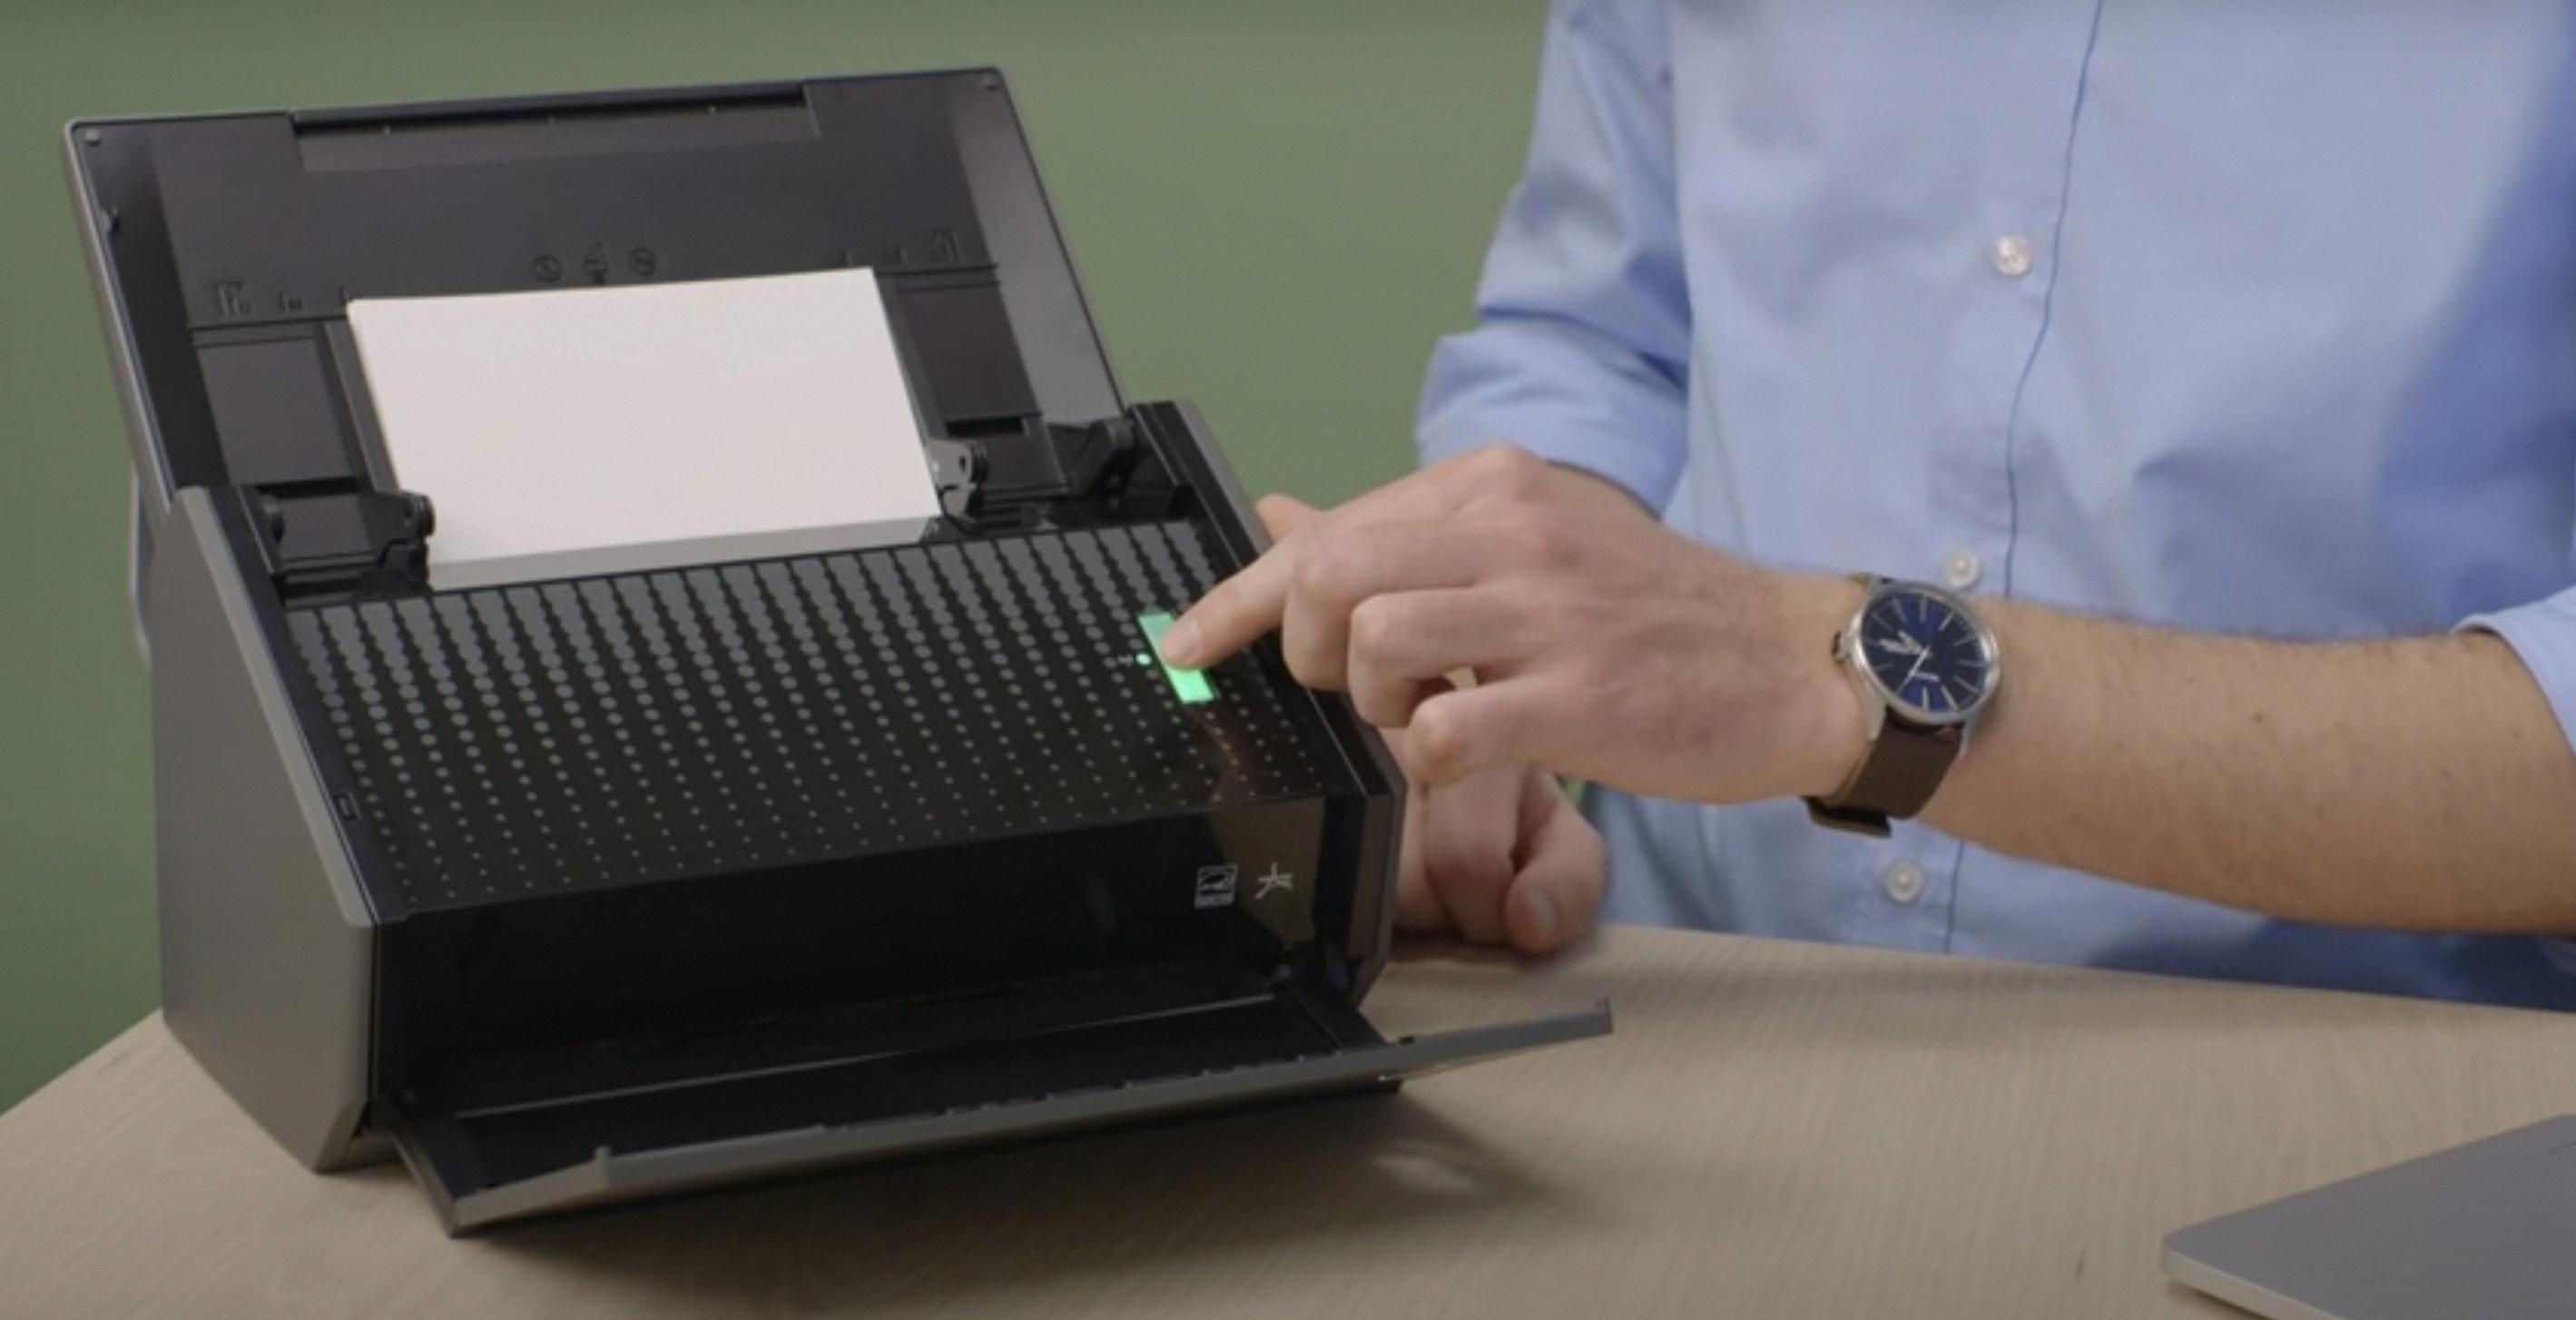
To scan a document and upload it to your Mac, you need to first prepare the pages. If you are using a document-feeding scanner, place the pages in the scanner’s document feeder. Next, open Preview on your Mac and choose File > Import from Scanner > [scanner]. This will open the Import dialog showing the overview scan being prepared. Once this is done, you can set any scanning options you’d like to use before clicking ‘Scan’. The scanned document will now be uploaded to your Mac and ready for you to use.
Scanning from an HP Printer to Email on Mac
To scan from your HP printer to email on Mac, you will need to fist set up an outgoing email profile in the printer’s control panel. To do this:
1. Click the Scan tab, and then click Scan to E-mail Setup.
2. Click Outgoing E-mail Profile.
3. Click New, and then enter your email address.
4. Enter a name to display on the printer’s control panel to identify this email profile.
Once you have done this, you can use the printer’s scan button or software to scan documents and send them to your email address as an attachment.
Troubleshooting Scanning Issues From Printer to Mac
It’s posible that the scanner isn’t properly connected to the Mac. Make sure the scanner is plugged into an electrical outlet and turned on, and that its cables are securely connected to your Mac. If you’ve previously seen a scanning option, but don’t see one anymore, try deleting the scanner (or multifunction printer) from your Mac and adding it again. Additionally, make sure you have the latest updates for your printer, as well as any necessary software or drivers installed on your Mac.
Scanning and Emailing a Scanned Document
To scan and email a document that you scanned, you will need to have a scanner and an email account. First, place the paper document face down on the scanner and open the scanning software that came with your scanner. Follow the instructions for your particular scanner to complete the scanning process. When finished, a window should pop up with your scanned document. Right-click on it and select “Send to” which will open up sending options. Select the option for “Mail recipient” to open a new email draft that includes your scanned document as an attachment. Make sure to check that the attachment is successfully added befoe sending off your email.
Scanning a Document as a PDF on a Mac
To scan a document as a PDF on a Mac, you can use the Create from Scanner feature. To begin, click the File menu at the top of your screen, then select Create and choose PDF from Scanner. This will launch the scanner tool, allowing you to select your scanner and adjust settings such as resolution and file format. When you are ready to scan, hit the Scan button and your document will be scanned into a PDF file. You can then save or print your document.
Source: help.evernote.com
Scanning a Document from an HP Printer to Email
To scan a document from your HP printer to your email, start by placing the document eiter face-down on the scanner glass or face-up in the document feeder. Make sure to adjust the paper guides to fit the size of the document. Then, from the Home screen on your printer control panel, select Scan, and then select Scan to Email. If prompted, enter your user name and password. Once you have done this, you should be able to send the scanned document as an email attachment.
Troubleshooting Scanning Issues From HP Printer to Email
It is pssible that you are having an issue scanning from your HP printer to your email due to a few different reasons. The first issue could be that the IP address and Gateway IP for the printer are not configured properly. This can be easily fixed by going into your printer’s settings and making sure that both of these values are correct. Another possible issue could be that there is no DNS address entered for the printer, as this is necessary for it to send emails over the internet. To fix this, try entering a DNS address such as Google’s 8.8.8.8. Finally, it is also possible that you have an issue with the software on your computer or with the settings of your email account, so make sure those are all up-to-date and configured correctly.
Scanning and Emailing from an HP Printer
To scan and email from your HP printer, you can use the HP Printer Assistant. Here are the steps to set up and use the Scan to Email feature:
1. Open the HP Printer Assistant on your computer.
2. Click Scan, then click Scan to E-mail Wizard.
3. In the Outgoing Email Profiles dialog, click New to set up a new email profile.
4. Enter your email address in the From field, then click Next.
5. Enter your email account’s SMTP server name or IP address into the SMTP Server field, then click Next.
6. Enter your email address and password for authentication purposes in the User Name and Password fields respectively, then click Next.
7. Select any additional preferences (if applicable), then click Finish to complete setup of the profile.
8. When you are ready to scan and email something, select your profile from the dropdown menu next to Profile in Scan Settings, then click Scan Now or Scan & Send to Email depending on which option is avaiable in your printer model’s software interface.
Conclusion
The HP Printer is an excellent choice for any home or office. It offers a wide range of features and functions that make it easy to use, reliable, and cost-effective. Its intuitive interface makes it simple to set up and use, as well as its compatibility with a variety of other devices. Additionally, its print quality is superior to many other printers on the market, making it a great investment for both home and office users alike. With its fast printing speeds and high-quality output, the HP Printer is a great option for any user loking for an efficient and reliable printer.

