Are you a Mac user who is trying to save a Zoom recording? Don’t worry, it’s not as difficult as it might seem! In this blog post, we’ll show you how to save a Zoom recording on your Mac.
First, make sure that you have the latest version of Zoom installed on your computer. You can check if there are any updates available by opening the app and selecting “Check for Updates.”
Now that you have the latest version of Zoom installed and running, it’s time to start recording your meeting. To do this, open up the meeting window and select the “Record” button at the bottom of your screen. This will start the recording process, and all participants in the meeting will be notified that they are being recorded.
Once you have finished your meeting and want to save the recording for future use, go back to your main Zoom window and select “Cloud Recordings” from the left-hand menu. Here you will find all of your recordings listed by date and time. Select the one you want to download and click “Download” at the bottom of its card.
Your file will begin downloading immediately. Once it has completed downloading, it will be saved in your Downloads folder or wherever else you designate when prompted during the download process. You can then access this folder whenever necessary to view or share your recordings with others outside of Zoom meetings.
We hope this guide has been helpful in showing you how to save a Zoom recording on Mac! With just a few simple steps, anyone can successfully record their meetings using Zoom on their Mac devices without any hassle or issues whatsoever.
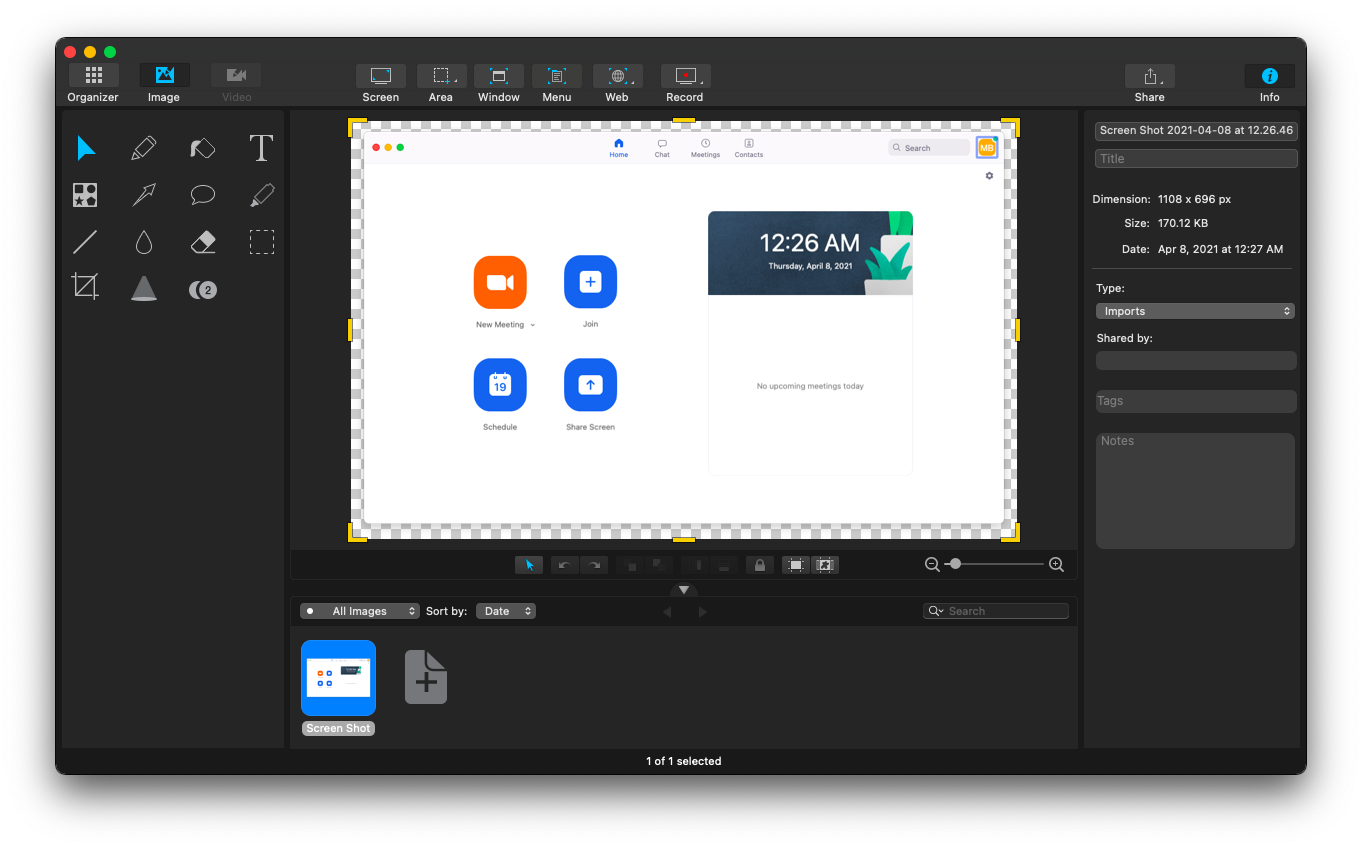
Downloading Zoom Recordings on Mac
To download a Zoom recording from your Mac, first select Zoom from the course navigation menu. Then select the Cloud Recordings tab. Next, click on the title of the recording you want to download. Finally, click the Download link just below your cloud recording. This will begin the downloading process and you should find it in your downloads folder when it is complete.
Where Mac Zoom Recordings Are Saved
If you’re using Zoom on a Mac computer, recordings can be stored either locally on your machine or in the Zoom Cloud if you’re a licensed user. When you use the local recording feature, your recordings will be saved to a folder called “Zoom” which is located in the Documents folder of your computer. To access them, simply open the Zoom folder and your recorded files will be there. You can also change the default save location for all future recordings in the Settings option of Zoom.
Downloading a Zoom Recording to a Computer
To download a Zoom recording to your computer, simply go to the recording’s page and click the Download button. You can then save the recording to your computer. Depending on the size of the recording, it may take some time for the download to complete. Once the download is finished, you’ll be able to access your downloaded recording from your computer.
Opening Zoom Recordings on Mac
To open a Zoom recording on Mac, you will need to first open the Finder application. Then, navigate to the following folder: /Users/[Username]/Documents/Zoom. Here, you should find all of your recorded Zoom meetings stored as .mp4 files. You can double-click on one of the files to open it in QuickTime Player or another media player of your choice. From there, you can watch the recording or adjust its settings as needed.
Troubleshooting Zoom Recording Issues
It is possible that the recording wasn’t saved, or that it was deleted from your account. To check if the recording was saved, first log in to your account at Zoom.us. Then click on the My Account link at the top right of the screen and select the Recordings tab at the left of the screen. If you see any recordings listed, then your recording was saved. If not, then it may have been accidentally deleted. To recover a deleted recording, contact Zoom Support for assistance.
Recording a Zoom Meeting and Saving the Recording
To record a meeting in Zoom, you’ll need to have host or co-host privileges. Once you’ve joined the meeting, click the “Record” button at the bottom of your Zoom window. Your recording will be saved to your computer’s default recording location. You can find this location by signing into the Zoom desktop client and clicking on your profile picture, then Settings, then Recording. From there, click one of the options beside Local Recording and click Open to open the folder where your recordings are stored.


