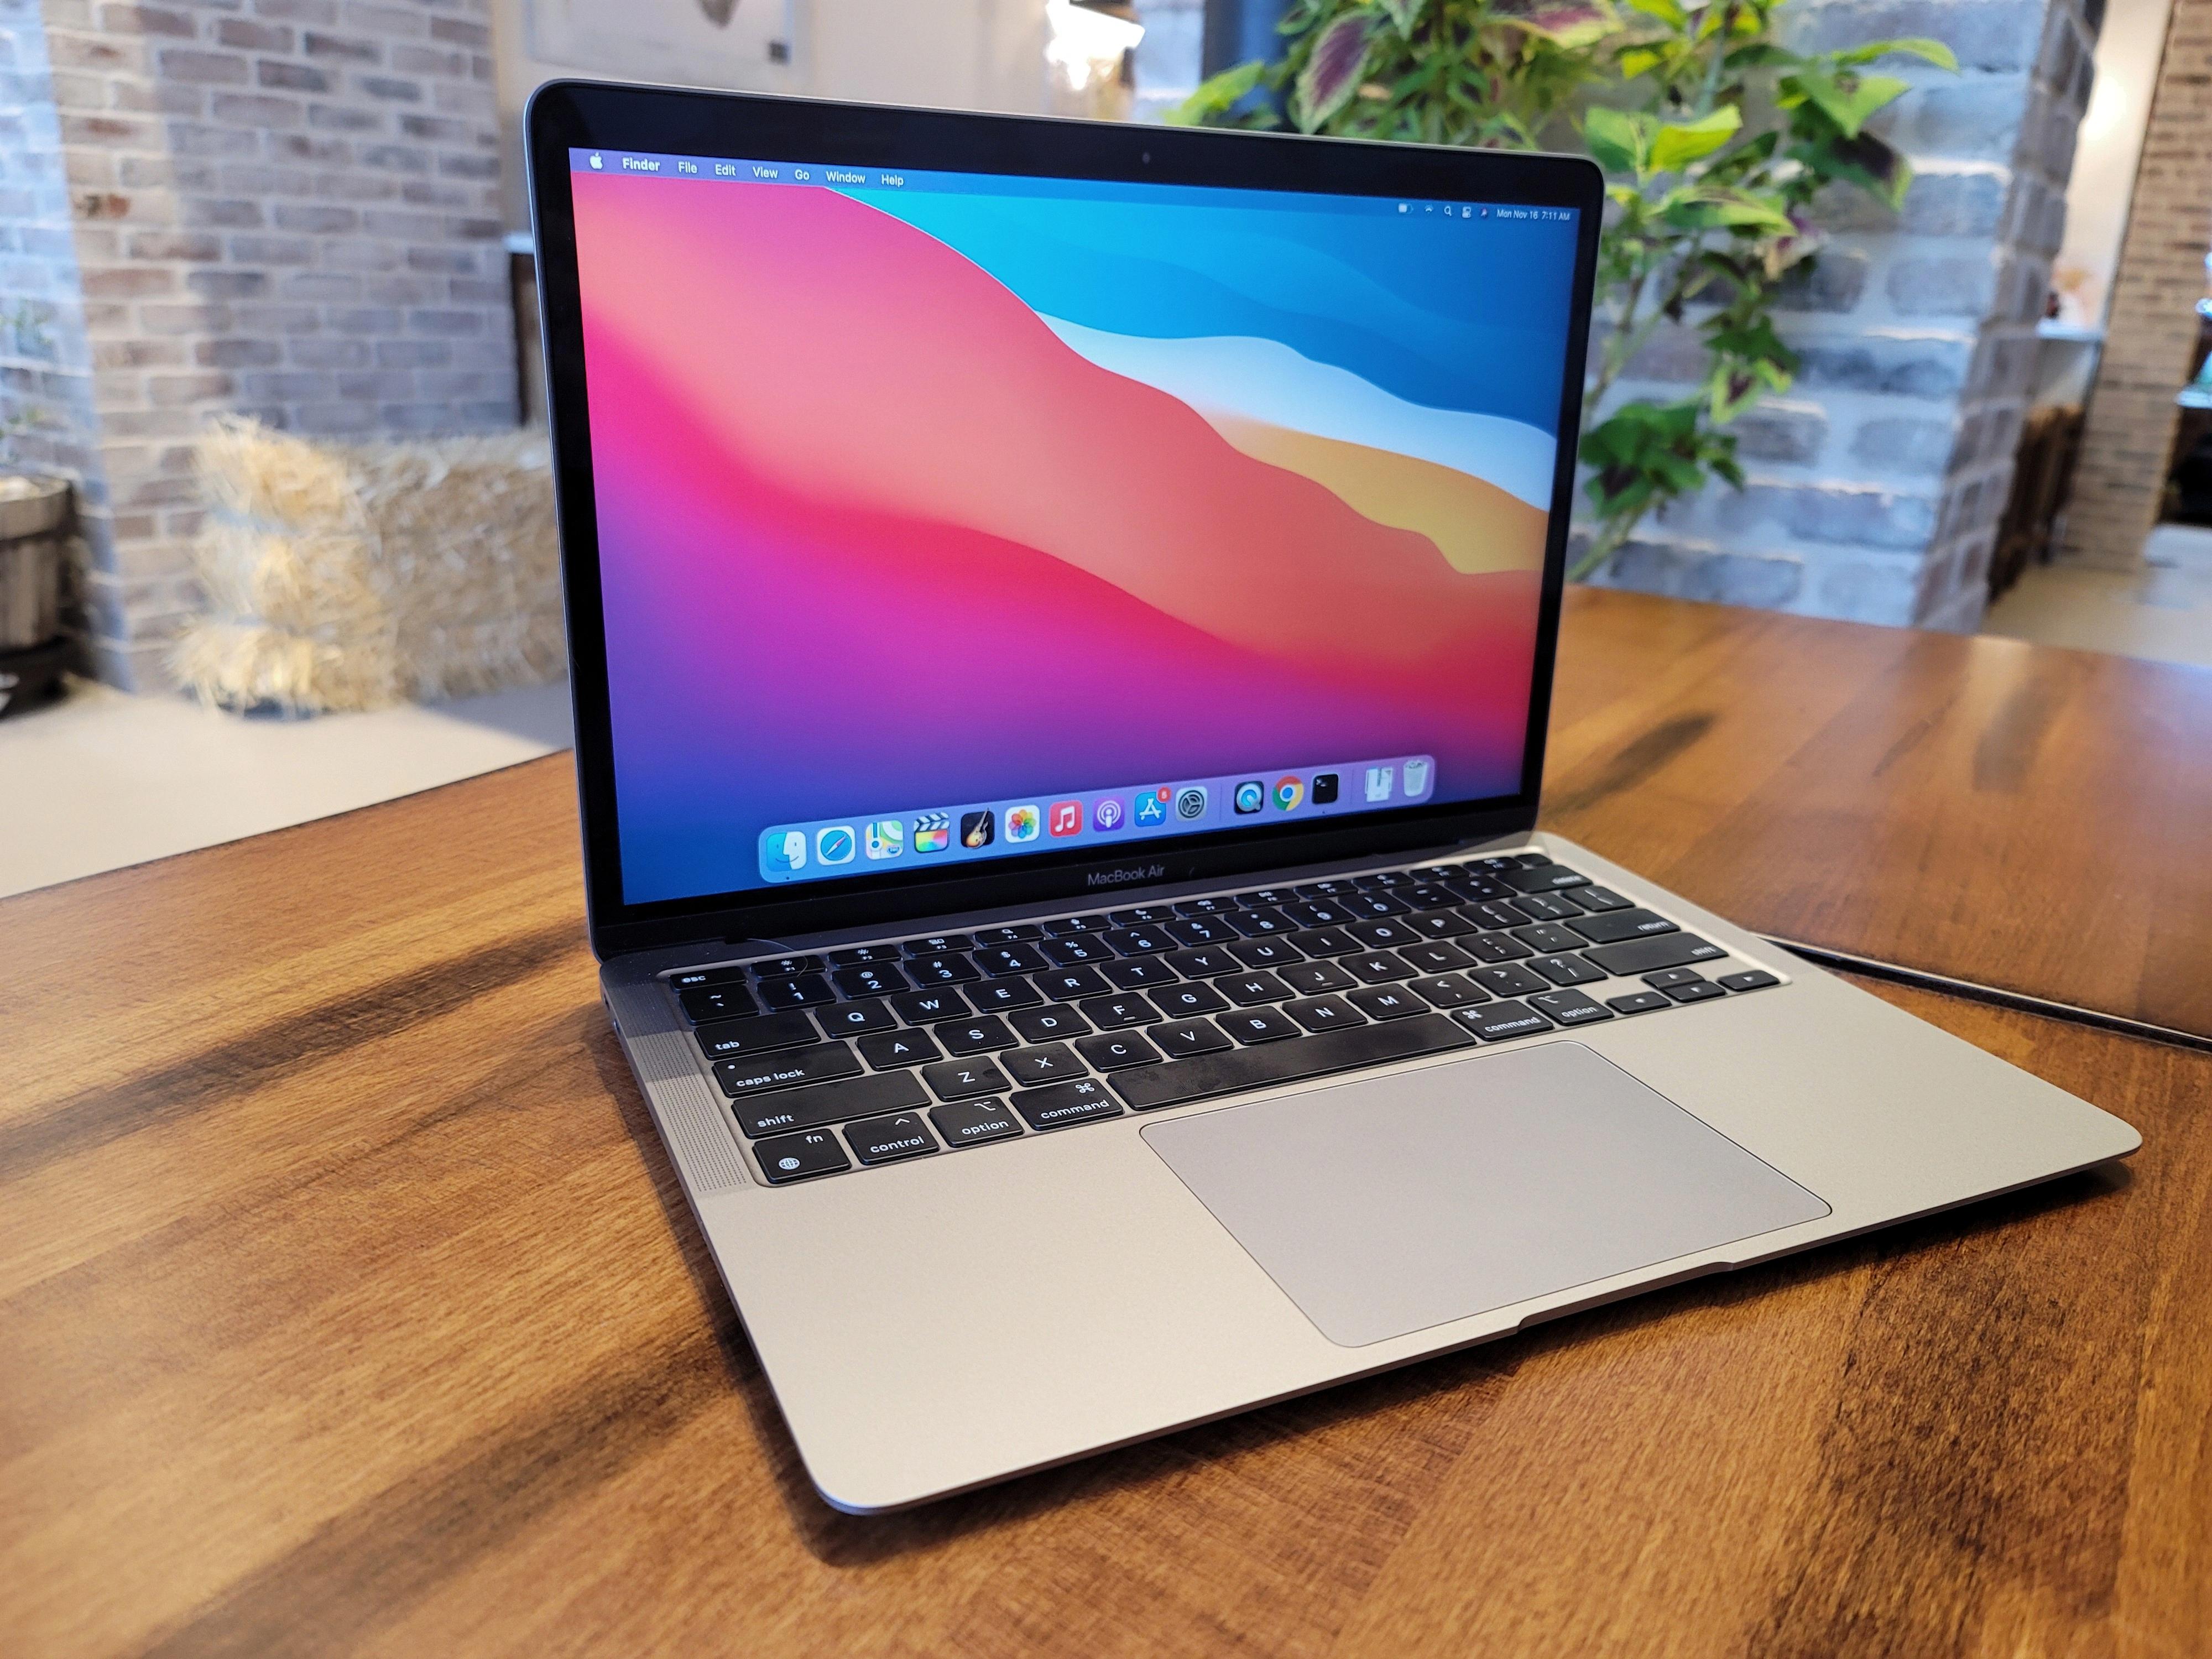
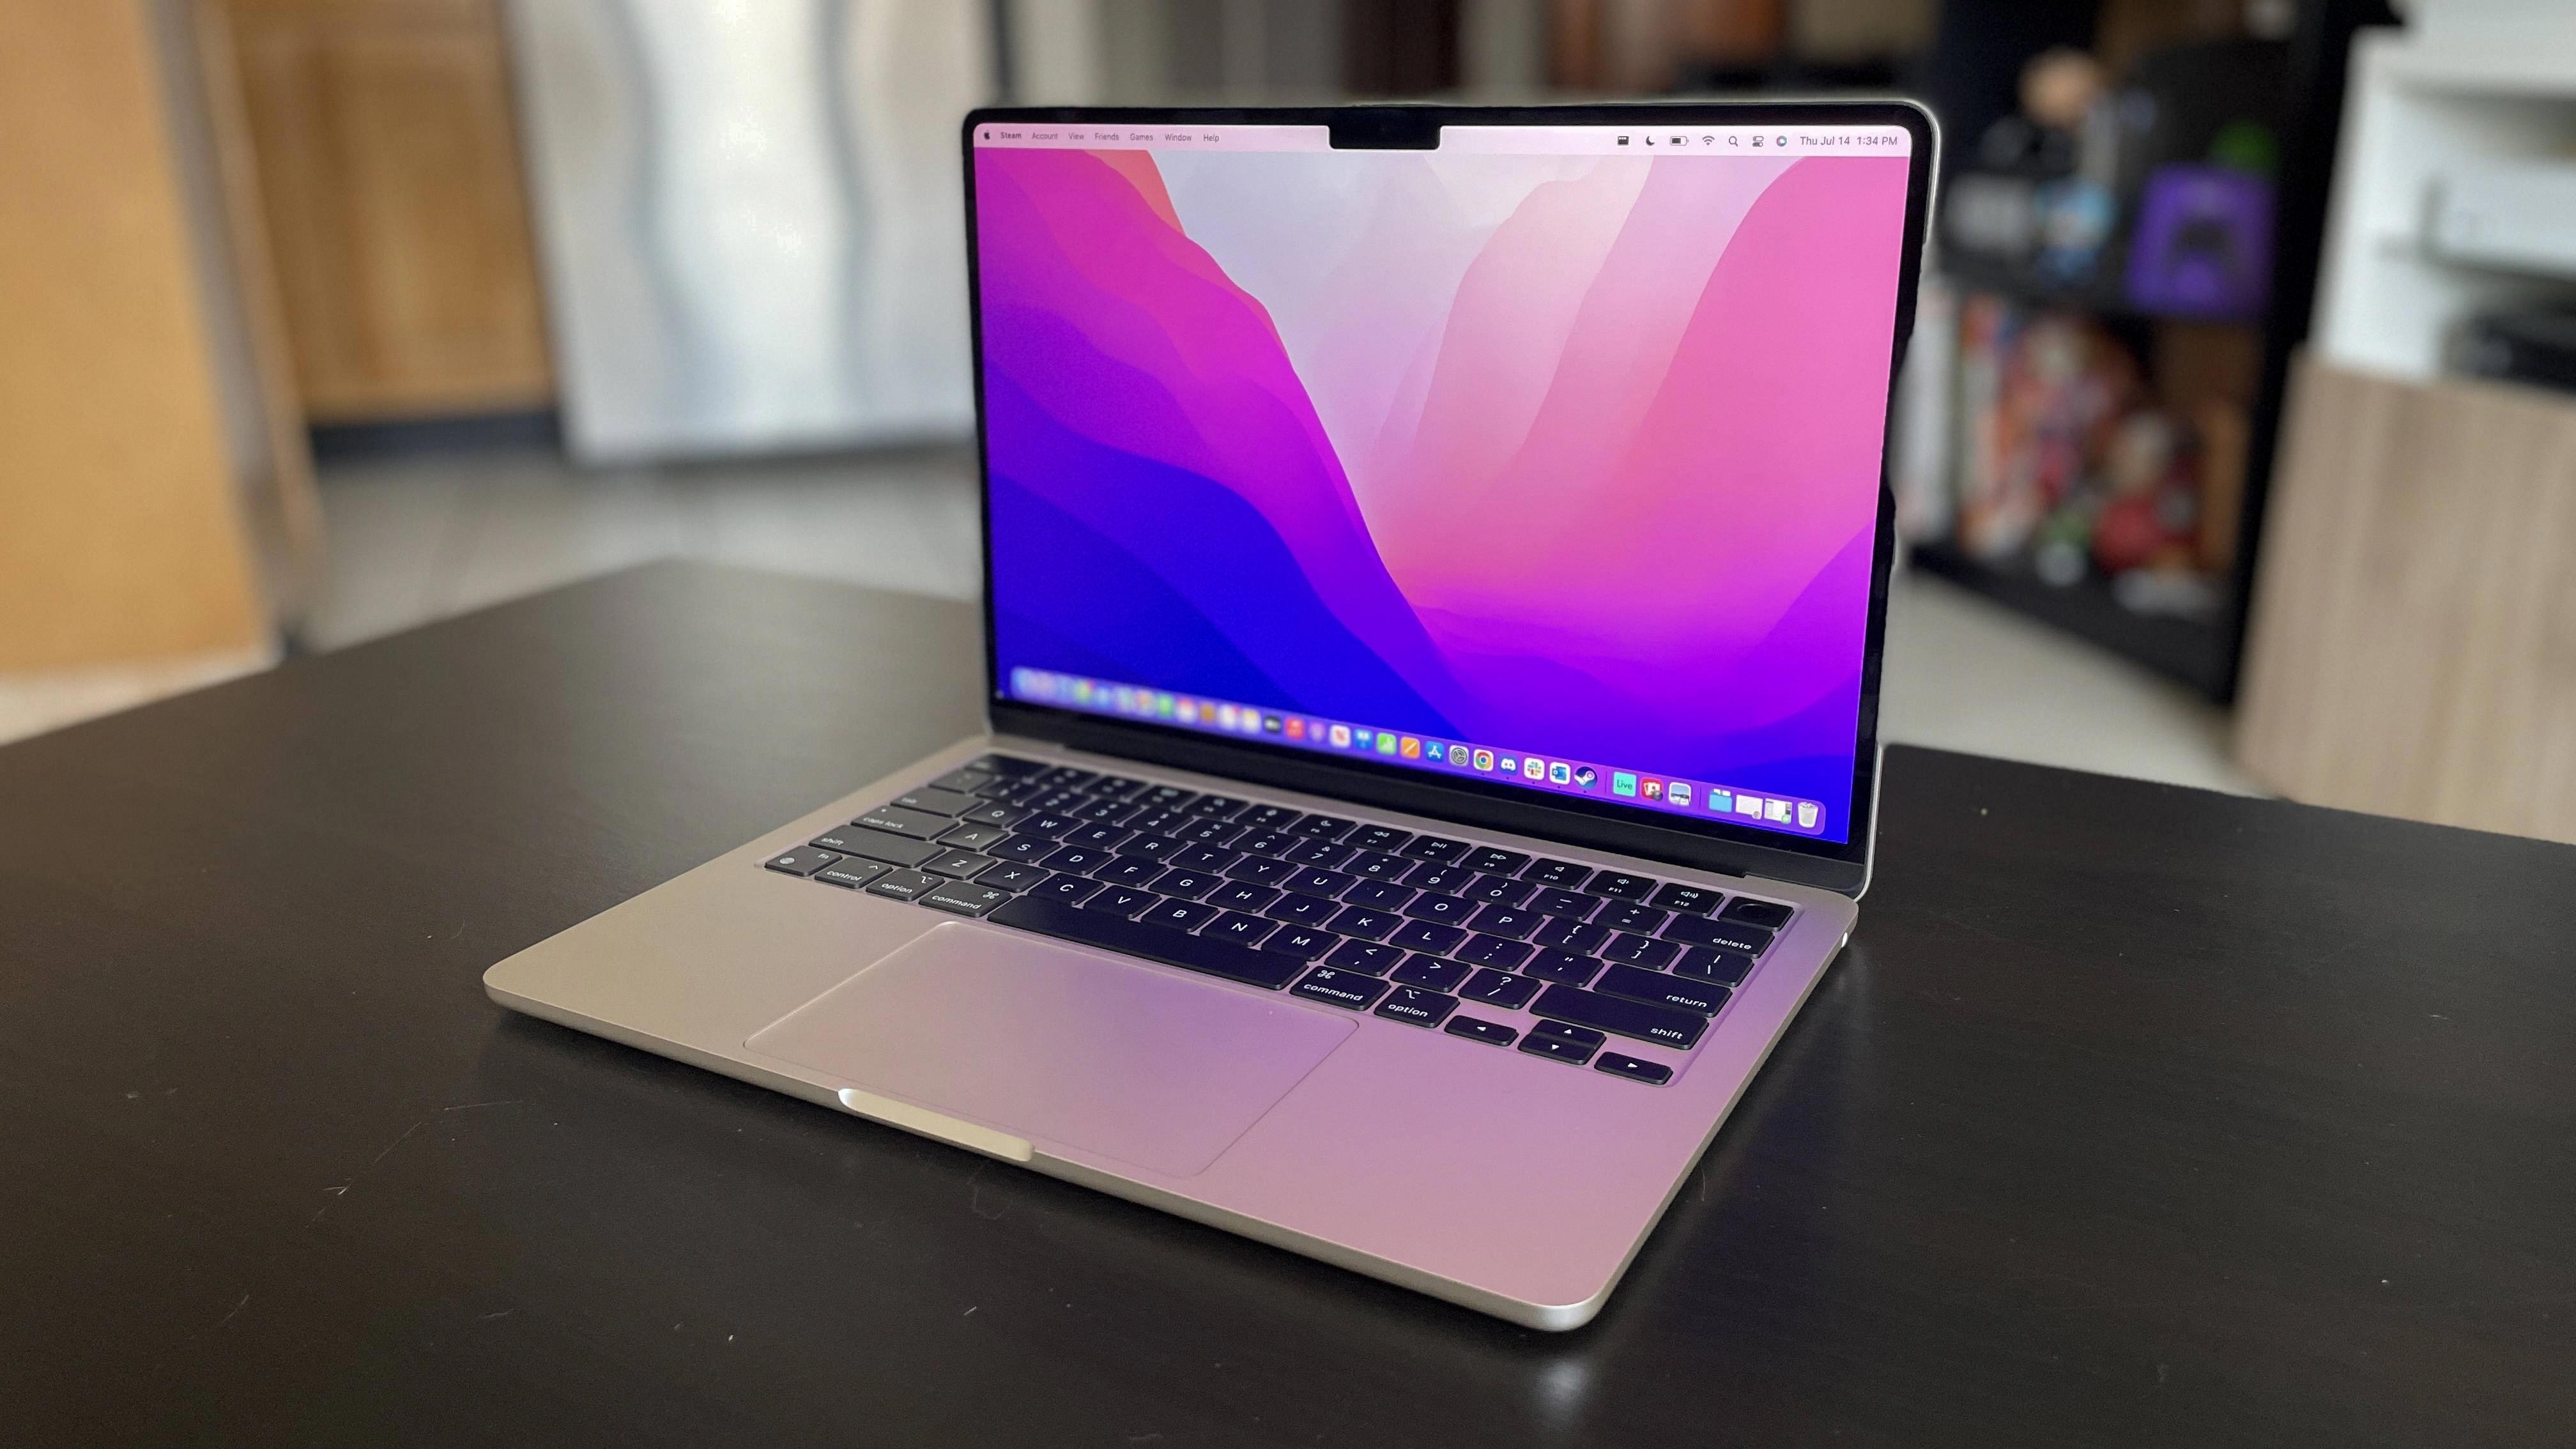
If you’re the proud owner of a Macbook Air, you know how reliable these machines can be. But even the best machines can experience issues from time to time. Fortunately, Apple offers a diagnostic tool that can help identify potential hardware problems with your laptop.
The Apple Diagnostics tool is compatible with all Macbook Air models and can be used to detect and diagnose hardware issues like logic board failure, memory issues, and wireless component problems. The diagnostic tool is easy to use and can help save you time and money by identifying potential hardware problems before they require expensive repairs.
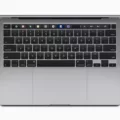
To run Apple Diagnostics on your Macbook Air, first power off the machine completely and disconnect any secondary devices like external drives or peripherals. Then press the power button and immediately press and hold the D key until the Apple Diagnostics check begins. This will include a progress bar that will eventually produce a report.
Once Apple Diagnostics has completed its testing it will provide a detailed report of any potential issues that were detected during the test. In many cases, this report may provide enough information for you to fix any minor problems yourself or at least determine where the problem lies so that you can take steps to remedy it. If however there are more serious underlying issues detected then it may be necessary to take your laptop in for repair by an authorized service provider such as an Apple Store Genius Bar technician or an independent repair shop.
Apple diagnostics is available free of charge, so if your Macbook Air isn’t running as smoothly as it should then running a diagnostic check may be just what’s needed in order to get it back up and running like new again!
Performing a Health Check on a Mac
To do a health check on your Mac, you can use the Apple Diagnostics utility. This is a built-in tool that assesses your Mac’s hardware and software to identify any possible issues. To use Apple Diagnostics, press and hold the Option-D keys while starting up your Mac. This will launch Apple Diagnostics over the internet. The utility will run a series of tests and display any potential problems it finds onscreen. If any issues are identified, you may need to take additional steps to address them.
Source: cnn.com
Troubleshooting a Macbook Air
To troubleshoot your MacBook Air, start by running Apple Diagnostics: Fully shut down the Mac and disconnect all secondary devices, like external drives. Next, press the Power button and then immediately press and hold the D key. Do this until the Apple Diagnostics check begins. This will include a progress bar and eventually produce a report. This report can help you identify any hardware or software issues with your Mac.
From there, you can use other built-in tools to troubleshoot your laptop further. You can run disk utility to repair disk permissions or verify and repair disks, as well as check for viruses using Activity Monitor or Console application logs. Additionally, you can reset your NVRAM and SMC settings to ensure they are set correctly and resolve certain issues.
If these steps do not get you the desired results, you may need to take further action such as reinstalling macOS or resetting your device completely by erasing all data and settings from it. If none of these approaches seem to be helping, contact Apple Support for more assistance with troubleshooting your MacBook Air.
Does Mac Have a Diagnostic Tool?
Yes, Mac does have a diagnostic tool. It’s called Apple Diagnostics and it can be used to diagnose problems with your computer’s internal hardware. It can help you identify issues with the logic board, memory, and wireless components. You may even be able to start your Mac with Apple Diagnostics if it doesn’t start using macOS. To use this tool, simply restart your Mac and press and hold the D key while it boots up.
Does Apple Offer Free Diagnostics?
Yes, Apple does offer free diagnostic tests for its devices at the Genius Bar of an Apple Store. These tests are conducted by Apple-certified technicians and can help to identify any potential hardware or software issues. In some cases, Apple may need to replace a part or repair a device in order to fix the issue, but no charge is applied for the initial diagnostic test.
Opening Apple Diagnostics
To open Apple Diagnostics on your Mac, first press the power button to turn it on. Immediately after pressing the power button, press and hold the D key on your keyboard until you see a progress bar or are asked to choose a language. Once the progress bar completes or you’re asked to choose a language, Apple Diagnostics will open and you can follow the instructions provided on the screen to complete any necessary tests.
Source: apple.com
What is Apple Diagnostics?
Apple Diagnostics is a built-in hardware diagnostic tool that helps identify and troubleshoot problems with your Mac’s hardware components. It runs a comprehensive suite of tests on the system to check for issues with the RAM, power controller, logic board, battery, and other wireless modules. This helps to quickly pinpoint any potential hardware issues and minimize the time it takes to get your Mac back up and running. Apple Diagnostics also provides detailed information about detected issues so you can take the appropriate steps to resolve them.
Source: cnet.com
Accuracy of Apple Diagnostics
Apple Diagnostics can be a useful tool in identifying potential hardware issues, but it is not as comprehensive or reliable as other tests that Apple itself can run. While it may accurately identify a problem if one exists, it won’t necessarily detect all issues, so it’s important to be aware that the results of a test with Apple Diagnostics may not always be accurate. It’s best to consult with an Apple specialist if you think your device has a hardware issue.
How Long Does an Apple Diagnostic Test Take?
An Apple Diagnostics test typically takes less than 5 minutes to run. The test will check your Mac’s hardware to identify any issues and display a report of any findings. You can also choose to run a deeper diagnostic, which may take up to 15 minutes depending on your Mac’s hardware and configuration.


