Windows is a popular operating system used by millions of people worldwide. However, if you have a Mac computer and have installed Windows on it, you may want to remove it for various reasons. Removing Windows from your Mac is a simple process that can be done in a few steps. In this article, we will discuss how to remove Windows from your Mac computer.
Firstly, it is important to note that there are two ways of installing Windows on a Mac computer – Boot Camp and Virtualization. If you have installed Windows using Boot Camp, you will need to follow a different process to remove it than if you have installed it using Virtualization. In this article, we will focus on the process of removing Windows installed using Boot Camp.
To remove Windows from your Mac computer, you will need to follow the steps outlined below:
Step 1: Check the Boot Configuration
The first step is to check the Boot Configuration to ensure that the Windows you want to keep is set as default. To do this, go to System Configuration and click on the Boot tab. Select the Windows you want to keep and press “Set as default.” Next, select the Windows you want to uninstall, click Delete, and then Apply or OK.
Step 2: Restore the Mac OS
The next step is to restore the Mac OS. To do this, navigate to Applications > Utilities and launch Boot Camp Assistant. Click Continue and then press Restore. Type in your admin username and password and press OK.
Step 3: Erase the Windows Partition
Once you have restored the Mac OS, the next step is to erase the Windows Partition. To do this, open the Disk Utility on your Mac. Press command+spacebar to launch Spotlight search and open Disk Utility App. On the left sidebar, select the Windows Partition and click the Erase button on the toolbar.
Step 4: Delete the Windows OS
The final step is to delete the Windows OS from your Mac. To do this, log in to the Mac OS by pressing alt as your computer boots up. Open Disk Utility and you will see and delete the Windows OS, which will be in a partition on your drive. It will be called BOOTCAMP if downloaded using Boot Camp Assistant.
Removing Windows from your Mac computer is a simple process that can be done in a few steps. By following these steps, you can free up space on your Mac and enjoy a streamlined computing experience.
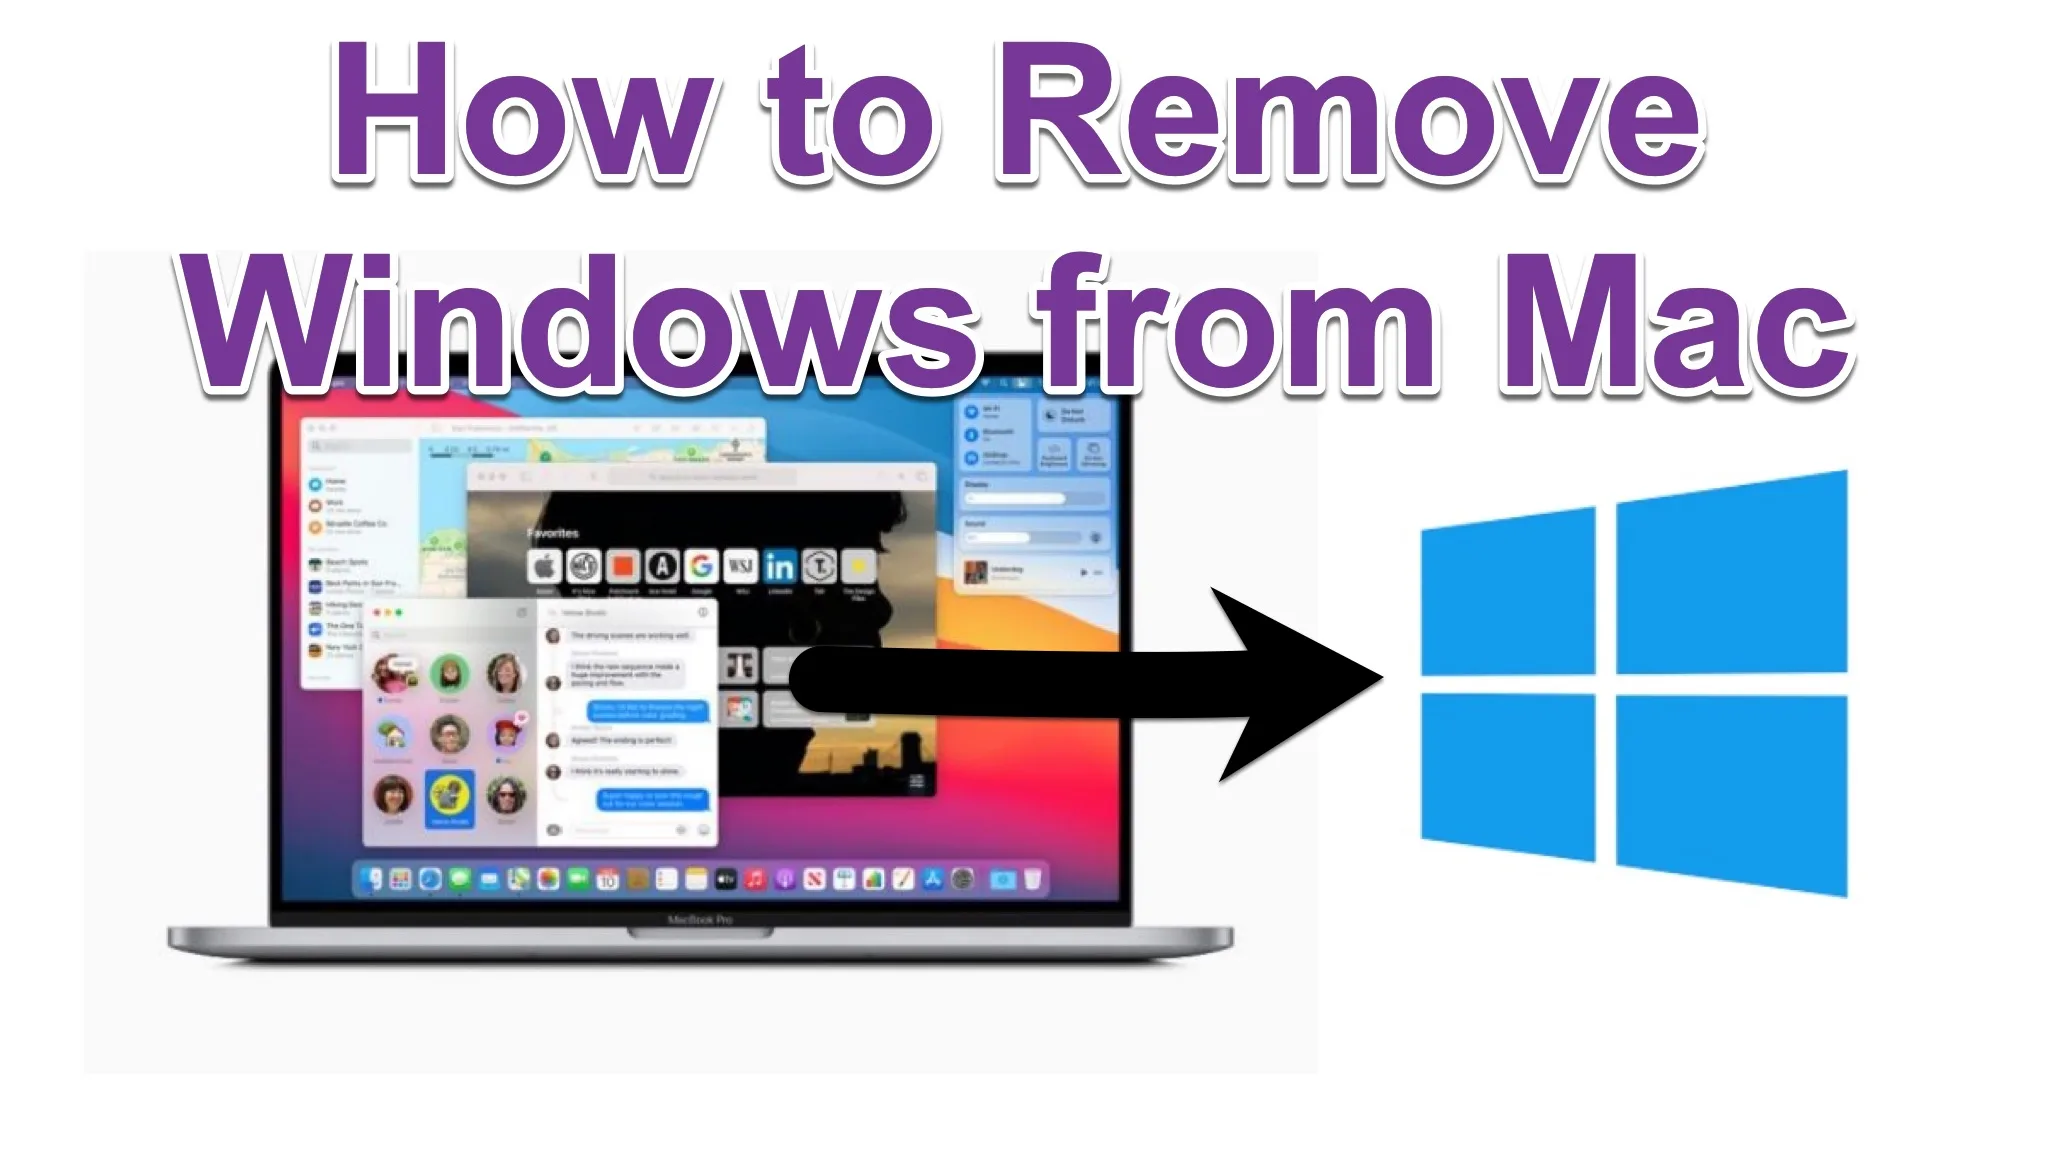
Uninstalling Windows
Uninstalling Windows can be done by following a few simple steps. First, you need to back up any important files that you may have on the computer. Once you have done that, you can proceed with the uninstallation process.
To begin, you need to access the System Configuration tool. This can be done by searching for it in the Start menu, or by typing “msconfig” in the Run dialog box. Once you have opened System Configuration, go to the Boot tab, and check whether Windows you want to keep is set as default. If it is not, select it and then press “Set as default.”
Next, select the Windows you want to uninstall, click Delete, and then Apply or OK. This will remove the operating system from your computer. Keep in mind that the process may take some time, and you may need to restart your computer several times during the uninstallation process.
Once you have uninstalled Windows, you may want to consider installing a new operating system, such as Linux or macOS. Alternatively, you may want to reinstall Windows and start fresh. Regardless of what you choose to do, be sure to back up your important files before making any changes to your computer’s operating system.
Removing Bootcamp from a Mac
To remove Boot Camp from your Mac, you need to follow a few simple steps. Here they are:
1. Open Boot Camp Assistant. You can find it in the Applications > Utilities folder.
2. Click on the “Continue” button.
3. Click on the “Restore” button.
4. Enter your admin username and password and click on the “OK” button.
5. Wait for the process to complete. This may take a few minutes.
6. Once the process is complete, you will see a message confirming that Boot Camp has been removed from your Mac.
It’s important to note that removing Boot Camp will also remove any Windows installations you have on your Mac. So, if you have any important data on your Windows partition, make sure to back it up before proceeding.
Removing a Windows Partition from a Mac
To remove a Windows partition from your Mac, you can follow these steps:
1. Open the Disk Utility application on your Mac. You can do this by pressing Command+Spacebar to launch Spotlight search and then typing “Disk Utility” into the search bar.
2. In the Disk Utility window, select the Windows partition that you want to remove from the left sidebar.
3. Click the Erase button on the toolbar at the top of the window.
4. In the Erase dialog box, choose a new name for the partition (if desired) and select a file format for the partition. If you don’t need to save any data from the partition, you can choose to format it as Mac OS Extended (Journaled) or APFS. If you do need to save data from the partition, be sure to choose a file format that is compatible with both Mac and Windows.
5. Click the Erase button to remove the partition from your Mac.
Note that removing a partition will permanently delete all data on that partition, so be sure to back up any important files before proceeding. Also, if you’re using Boot Camp to run Windows on your Mac, removing the Windows partition will prevent you from using Boot Camp to run Windows in the future.
Uninstalling Windows Without Bootcamp
To uninstall Windows from your Mac without using Boot Camp Assistant, follow these steps:
1. Start by logging in to your Mac OS. As your computer boots up, press the alt key to access the boot menu.
2. From the boot menu, select Mac OS to log in to your Mac.
3. Once you have logged in to your Mac, open Disk Utility. You can find it by using the search bar in the top right corner of your screen.
4. In Disk Utility, you will see a list of all the partitions on your hard drive. Look for the partition that contains your Windows installation. If you installed Windows using Boot Camp Assistant, it will be named BOOTCAMP.
5. Select the Windows partition and click on the minus (-) button in the toolbar at the top of the screen.
6. A warning message will appear, asking you to confirm that you want to delete the partition. Click on the Delete button to proceed.
7. Once the partition has been deleted, you can close Disk Utility and restart your Mac. Your Windows installation will be completely removed from your Mac.
Note: Make sure to back up any important files or data from your Windows installation before deleting the partition. Deleting the partition will permanently erase all data stored on it.
Conclusion
Windows is a widely-used operating system that provides users with a range of features and applications. It is known for its user-friendly interface and compatibility with a variety of devices. Windows offers different versions of its operating system to cater to different needs, from home users to businesses. However, it is important to note that uninstalling Windows can be a challenging task, especially if it was installed using Boot Camp Assistant. By following the steps outlined in this article, users can successfully uninstall Windows from their Mac and free up space on their hard drives. With its constant updates and improvements, Windows remains a popular and reliable operating system for millions of users around the world.


