Do you have a Mac computer? If so, you may have realized that removing messages from your Mac can be surprisingly difficult. After all, the Messages app is one of the most popular applications on macOS and it stores a lot of data. But what if you want to get rid of them? Whether it’s to free up space or for security reasons, there are a few ways to delete messages from your Mac.
One way is through the Messages app itself. To do this, open the Messages app and select all the conversations that you want to delete by clicking on them and pressing “Delete”. This will remove them from your list of conversations but they will still be stored in your iCloud account. If you don’t want them there either, sign into iCloud and delete them from there as well.
Another way to remove messages from your Mac is by using an external storage device such as an external hard drive or flash drive. Simply copy all the message files onto the device, then delete them from your Mac. This method is great if you need to free up some space on your Mac but don’t want to lose all your messages permanently.
Finally, if you really want to make sure that no trace of those messages remain on your Mac then you can use a third-party app like CleanMyMac X. This application will scan your entire system for any files related to those conversations and delete them for good. It even has an option for securely deleting files so that they can never be recovered again!
No matter whch option you choose, removing messages from your Mac doesn’t have to be difficult or time consuming. With these tips, anyone can easily manage their message history without having to worry about security or storage issues!
Disconnecting iPhone Messages from Mac
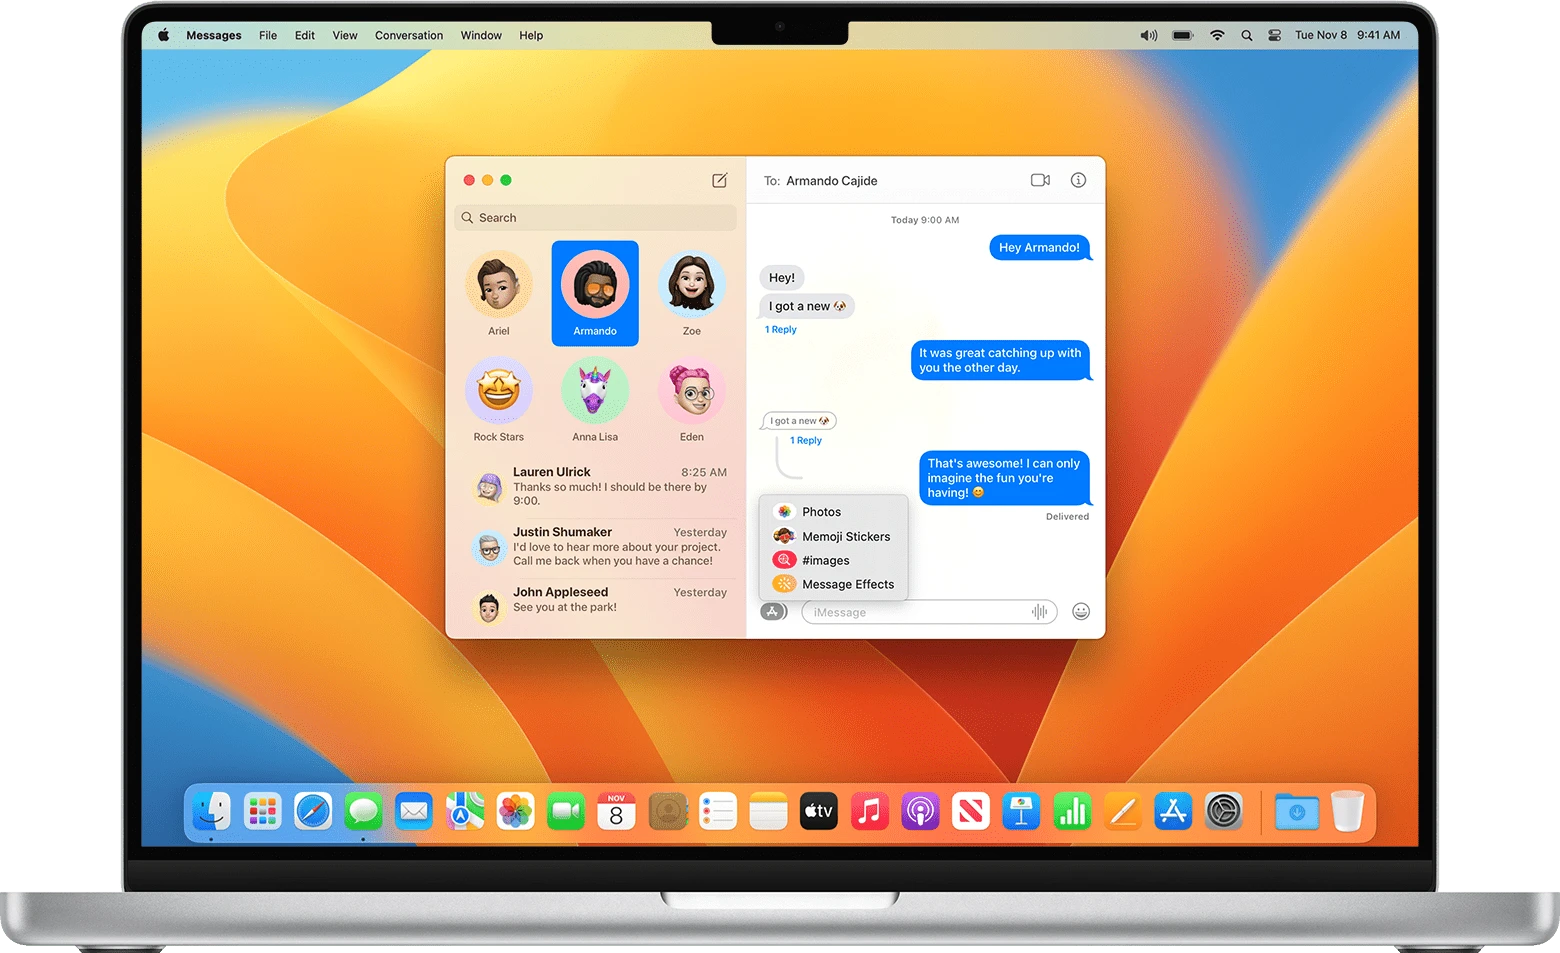
To disconnect your iPhone Messages from your Mac, you firt need to open the Messages app on your Mac. Then, select Preferences and then iMessage from the drop-down menu. On that screen, uncheck the box next to your phone number. This will prevent any texts sent to your phone from showing up on your Mac. You can also go into the settings of your iPhone and disable iMessage entirely if you want to completely disconnect it from all of your Apple devices.
Deleting Messages on Mac but Not on iPhone
To delete all messages on Mac but not iPhone, open the Messages app on your Mac and select Preferences from the menu. Under the General tab, uncheck the box that says “Save history when conversations are closed.” This will ensure that any messages you delete on your Mac will not be deleted on your iPhone. Additionally, make sure to sign out of iCloud if you are signed in with the same account on both devices. This will ensure that any messages deleted on one device will not be synced to another.
Effect of Deleting Messages on Mac and iPhone
Yes, if you are using Messages in iCloud and have the same Apple ID across your Mac and iPhone devices, deleting Messages on one device will cause them to be deleted on all of your devices. This is becase any Messages or texts sent or received with that Apple ID will be synced across all of your devices. So, if you delete a Message on your Mac, it will also be deleted from your iPhone.
Does Deleting iMessage on Mac Delete it from All Devices?
Yes, if you are using Messages in iCloud, deleting a conversation on your Mac will delete it from all of your devices were Messages in iCloud is turned on. When you delete a message or conversation, it is removed from all of your devices signed into the same iMessage account.
Bulk Deleting Messages on Mac
To bulk delete Mac Messages, open the Messages app, then select the Storage tab and click Manage. In the sidebar, select Messages. This will bring up a list of all the attachments on your Mac in the main window. To delete them all at once, select the first attachment, press and hold Shift, then select the last attachment. Once all attachments are highlighted, you can hit Delete (or right-click and choose Delete) to remove them.
Source: macrumors.com
Deleting IMessages From a Single Device
To delete iMessages from one device, open Messages, then go to Messages > Preferences > iMessage. If you are signed into your account, any deletions will be synced across all devices. To stop this from happening, simply sign out of your account. Once you are signed out, any messages you delete will only be deleted from that device.
Where Are Mac Messages Stored?
Messages are stored on Mac in a hidden folder named Library, which can be found in your username folder. To access this folder, open the Finder app and look for your username in the sidebar. The Messages database file is stored within the Library folder and includes all of your iMessage conversations. Depending on your settings, it may also include other conversations from apps such as WhatsApp or Skype. Be sure to take extra caution when handling this file as deleting it could erase all of your messages.
Deleting iMessages from the Cloud
To delete iMessages from the cloud, you’ll need to use the same device that you used when you sent the message. Open the Messages app and select the conversation that contains the iMessage(s) you want to delete. Touch and hold a message bubble or attachment, then tap More. Tap Delete, then tap Delete Message. To delete all messages in a thread, tap Delete All in the upper-left corner. Once deleted, your iMessages will no longer be available in iCloud or on any synced devices.
Do Messages Use Storage Space on Mac?
Yes, Messages takes up space on Mac. When you send and receive attachments via iMessage or SMS, they are stored in the app, which can take up storage space over time. Additionally, Messages keeps a running history of attachments that you’ve sent and received unless they are deleted manually. To free up space on your Mac, it is recommended to regularly delete messages and attachments from the app.
Selecting All Messages on Mac
To select all messages on Mac, open the Mail application by clicking the Mail icon in the Dock. Then, press and hold the Shift key and click the first message in the list. While still holding down the Shift key, click the last message in the list to select all messages between those two points. All of the messages will now be selected.
Selecting Multiple Messages on iMessage on Mac
To select multiple messages on iMessage on Mac, you can use the usual key modifiers. To manually select multiple messages, simply cmd-click on each message you’d like to select. Alternatively, you can select a message, and then shift-click on aother down below or up to select a contiguous range of messages.
Disabling Messages in iCloud: What to Expect
When you disable Messages in iCloud, any messages that were previously stored in iCloud will be downloaded to each device you are using. You will still be able to send and receive new messages, but the old messages will not sync across devices. This means that conversations on one device won’t appear on another. Additionally, if you delete a conversation from one device, it won’t be deleted from the other devices. Finally, any changes you make to your messages (such as editing them or adding new ones) won’t be synced across devices either.
Troubleshooting Imessage Deletion Across Multiple Devices
If your iMessages are not deleting on other devices, it could be because Messages in iCloud is not enabled. Messages in iCloud is a feature that alows messages to sync across all of your devices that are signed into the same iCloud account. To enable this feature, go to the Settings app on each device and select your name at the top of the page. Then select “iCloud” and make sure that “Messages” is turned on. Once this is enabled, any messages sent or deleted from one device should be reflected across all of your devices.

