Are you looking to record audio on your Macbook Pro? If so, you’re in luck! Not only is it easy to record audio with a Macbook Pro, but there are also plenty of tools and options out there to help.
The most popular option for recording audio on a Macbook Pro is QuickTime Player. With this program, you can easily record audio from the built-in microphone or an external microphone. To get started, open QuickTime Player and select File > New Movie Recording. This will open up a window that allows you to select your recording settings.
Once you’ve made your selections, click the red Record button at the bottom of the window. You can adjust the volume control to hear what you’re recording and press Stop when you’re done. Your recorded audio will be saved in .mov format by default, but you can choose from several other formats if desired.
Another handy tool for recording audio on a Macbook Pro is Apple’s Voice Memos app. This free app is available for download from the App Store and makes it super easy to record voice memos with just a few taps. To start recording, launch the Voice Memos app and tap on the red Record button at the bottom of the screen. When you’re done, tap Stop and your memo will be saved automatically in .m4a format.
If you want more control over your recordings, then consider using GarageBand as your go-to audio recording app. This powerful tool enables users to create professional-sounding recordings with ease using its many features such as multi-track editing, loops, EQ and effects processing, virtual instruments, and more!
Finally, if all else fails then consider using ScreenFlow or Camtasia Studio for screen capture recordings with both video and sound included. These apps allow users to easily capture their computer’s screen activity along with their voice narration or other sound sources — ideal for making tutorial videos or webinars!
Whether you’re looking to record voice memos quickly with Voice Memos or create professional-sounding recordings with GarageBand— there are plenty of ways for Macbook Pro owners to capture their best audio performances!
Recording Video with Sound on a Macbook Pro
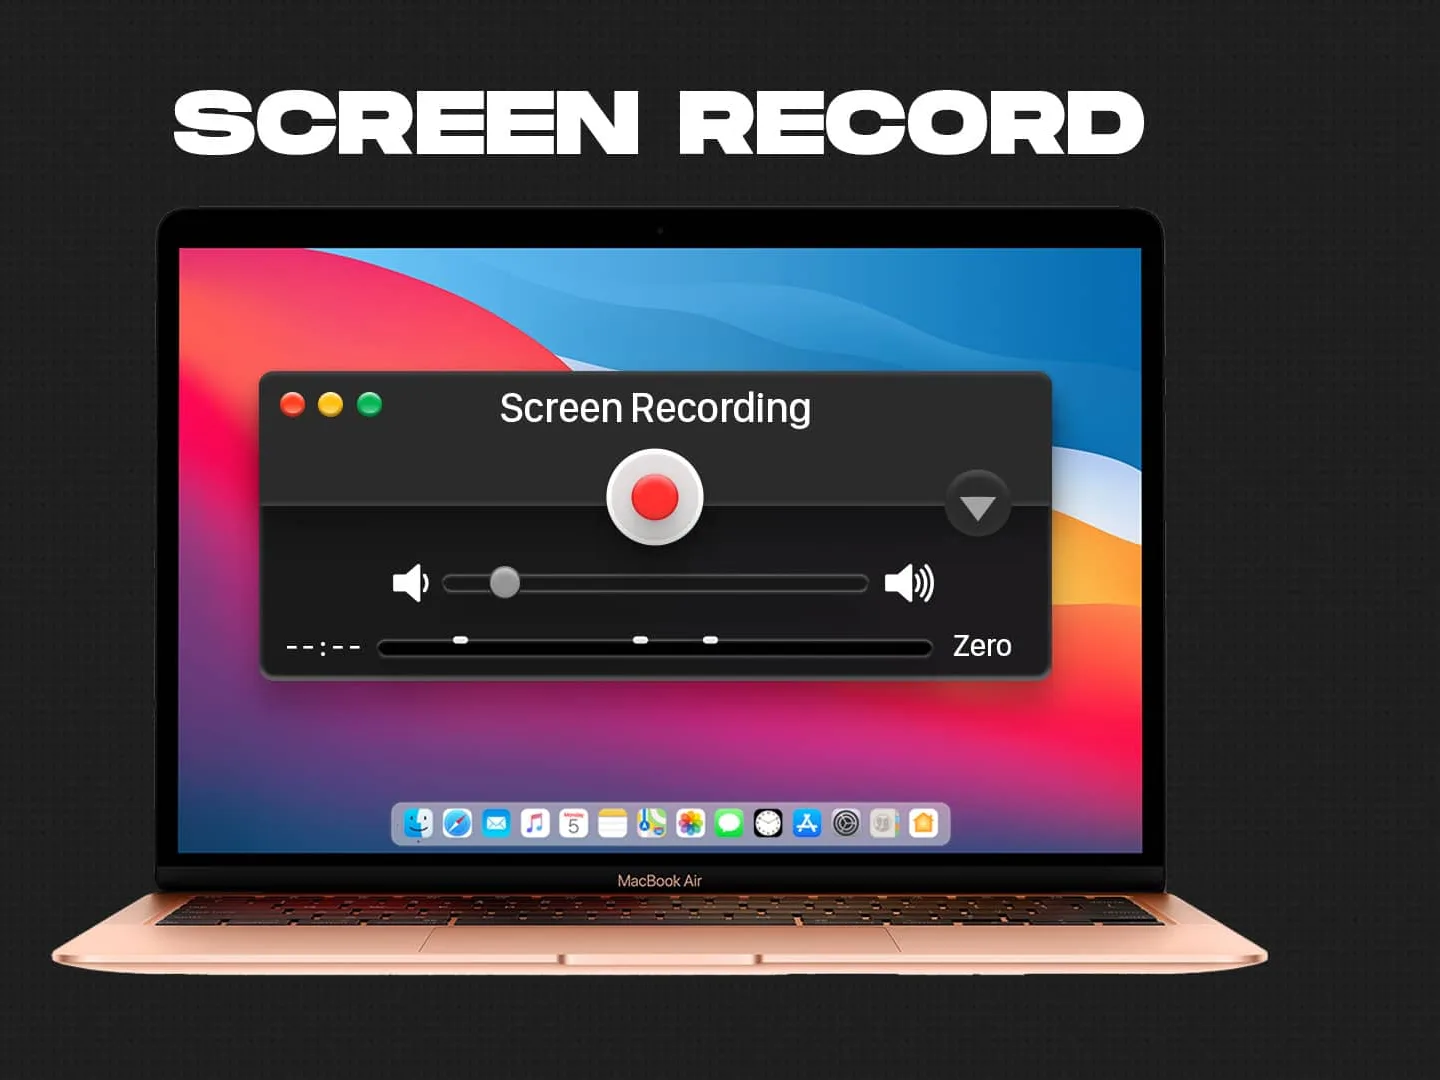
To record video with sound on your Macbook Pro, you will need to use the QuickTime Player app. To start, open the QuickTime Player app and then select File > New Movie Recording. This will open a window where you can select your camera and microphone for recording. If you want to adjust any settings for the camera or microphone, click on the Options pop-up menu and choose from the available options. Once you have made all of your selections, click on the Record button to start recording and adjust the volume control to hear any audio that is being recorded. When you are finished recording, click on the Stop button and save your video file so that it can be accessed later.
Recording Screen and Audio on a Mac
To record both screen and audio on a Mac, you will need to install Loopback Audio (a free extension). Once installed, open the media you want to screen capture in your application (e.g. Firefox or Chrome for web browsers). Then, open System Preferences and choose Sound. You should see Loopback Audio listed as an input device. Finally, open the QuickTime player and choose File > New Screen Recording. This will allow you to capture both audio and video from your Mac’s screen.
Recording Audio from YouTube on a Macbook Pro
Recording audio from YouTube on your Macbook Pro is a simple process. First, open the YouTube video that you would like to record and then press Shift+Cmd+2 to start recording. Once you’re finished, press Opt+Cmd+2 to end the process. The application will then take you to the editor where you can export the audio in either a video format or an audio format. You can also edit your audio within this editor if desired. Once you are happy with your recording, simply click “Export” and select the format that best suits your needs.
Does Macbook Pro Screen Recording Include Audio?
Yes, Macbook Pro screen recording does record audio. To do this, you’ll need to choose a microphone and adjust the volume slider. This will allow you to monitor the audio during recording. If you experience any audio feedback, lower the volume or use headphones with a microphone to avoid it.
Does the Macbook Pro Have Audio Recording Capabilities?
Yes, Macbook Pro does have audio recording capabilities. You can use the built-in microphone, a supported headset, or an external microphone to record audio with Voice Memos, which is a built-in app on Mac. Your recordings can be accessed and listened to on any Apple device where you’re signed in with the same Apple ID.
Troubleshooting Lack of Sound When Screen Recording on Mac
When screen recording on Mac using QuickTime Player, you may find there is no sound. This is because the built-in microphone may not be selected. To capture your voice and sound during your recording, you must select a microphone before starting the recording. To do this, open QuickTime Player and click the drop-down arrow next to the record button. Then select your microphone from the list of available inputs. Once selected, you can start your recording and have audio included in your video.
Recording Your Screen on a Mac with Audio Using a Shortcut
The shortcut to recording your screen on a Mac with audio is Shift-Command-5. This will open the Screenshot utility, from which you can select what you want to capture or record. To record audio, select ‘Options’ and then check the box next to ‘Include Audio’. You can then start the screen recording by clicking on the Record button.
Recording Screen and Audio on Mac Using QuickTime
To record your screen and audio on Mac QuickTime, open the QuickTime Player app on your Mac and choose File > New Screen Recording. This will open the Screenshot tool and display the recording tools. To record audio as well as video, click the down arrow next to the Record button, then select your microphone from the list of available audio inputs. When you’re ready to begin recording, click Record. When you’re finished, click Stop in the menu bar. Your recording will be saved to your computer.


