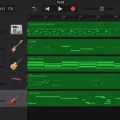
Are you looking for a way to record drums on your iPhone? Well, you’re in luck! With options such as GarageBand, you can now record drums with ease. Whether you’re a professional musician or are just starting out, this guide will show you the steps needed to record drums on your iPhone.
Step 1: Tune Your Drum Kit
Before you begin recording, it is important that your drum kit is properly tuned. This will ensure that the sound quality is at its best and will also help to minimize any unwanted noises from the kit. To tune your kit, start by loosening all of the lugs and then tightening them one by one in small increments until the drum head is evenly tensioned. You may also want to adjust any other settings such as muffling or dampening depending on the type of sound you’re looking for.
Step 2: Mic the Kick Drum
Once your drum kit has been tuned, it’s time to mic up the kick drum. A kick mic is designed specifically for this purpose and should be placed inside the drum close to where the beater hits it. It’s also important to make sure that there isn’t too much bleeding from other drums in order to achieve a clear sound.
Step 3: Mic the Snare Drum
The snare drum should also be mixed up in order to get a full-bodied sound when recording drums on an iPhone. The snare mic should be placed about 1-2 inches away from the top of the snare and angled towards it slightly in order to get a good balance between attack and resonance from this drum.
Step 4: Set Up Overhead Mics
In addition to mixing up individual drums, it can be helpful to use overhead microphones when recording drums on an iPhone. These microphones capture ambient sound from all of your drums and cymbals which helps create a more natural-sounding mix when listening back after recording. When setting up overhead mics, it is important that they are positioned at least 12-18 inches above each drum in order for them to capture their full range without any interference from other elements of your kit.
Step 5: Mic More Individual Drums (Optional)
If desired, you can also choose to mic up other individual elements of your kit such as cymbals or tom-toms for more control over their sound when mixing later on down the line. This step can help add depth and clarity when listening back after recording drums on an iPhone.
Step 6: Set a Preamp and Compression Sound
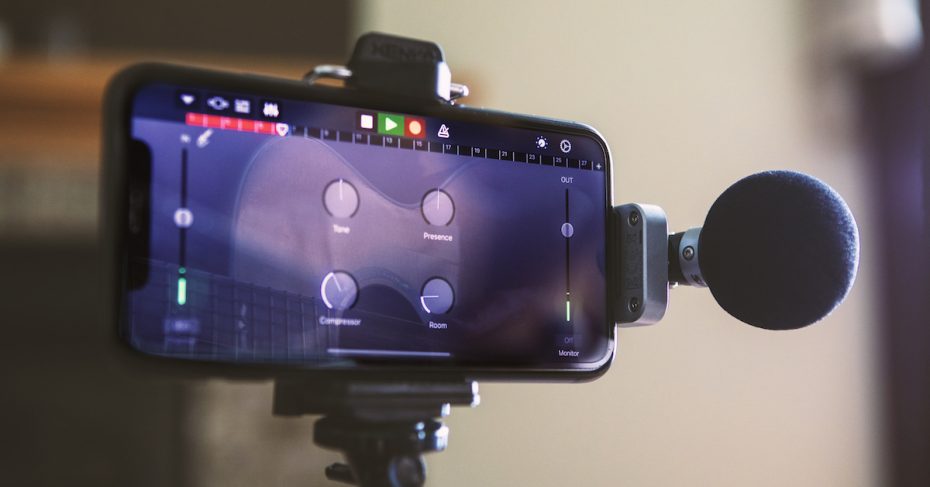
Finally, before beginning any actual recording sessions, it can be helpful to set up some preamp and compression sounds with your audio interface or software mixer in order to give your recordings more power and presence when listening back later on down the line. This step will help bring out all of these subtle nuances within each instrument so they stand out clearly in your mix once everything is recorded onto an iPhone device.
And there you have it! Now that you know how easy it is to record drums on an iPhone with programs like GarageBand, why not give it a try today? We hope this guide has been helpful – happy recording!
Recording Yourself Drumming
Recording yourself drumming requires careful preparation and some basic knowledge of audio engineering. Here are the six steps you need to take:
1. Get the right equipment – You’ll need a good quality drum kit, mics, a preamp, and a recording device (such as a computer or audio interface).
2. Tune your drums – Ensure that your drums are in tune before you start recording. This will help ensure that your recordings sound great.
3. Position and mic the kick drum – Place the mic at the center of the kick drum head, and point it towards the beater. Set up additional mics around the kick drum if necessary.
4. Mic and position the snare drum – Place one mic at an angle near the top edge of the snare head, and another pointing down into the bottom of the snare. This will capture both tones of your snare drum in one recording.
5. Set up overhead microphones – These will capture all the other sounds from your kit in one go, so they should be placed directly above your kit at ear level for best results.
6 Set a preamp and compression sound – Preamps boost weak signals from mics to make them louder and easier to record, while compressors balance out levels for more consistent recordings. Both should be set before you start recording for the best results!
Connecting a MIDI Drum to an iPhone
To connect your MIDI drum to your iPhone, you will first need to make sure it is compatible with Bluetooth MIDI devices. Once you have confirmed this, open the GarageBand app on your iPhone and tap the Settings button in the control bar. From there, tap Advanced, then tap Bluetooth MIDI Devices. Tap the name of the device you want to connect, then tap the Connect switch on. After a few seconds, your MIDI device should be connected and ready to use.
Using GarageBand as a MIDI on iPhone
To use GarageBand as a MIDI on iPhone, you’ll need to first tap the Settings button in the control bar. Then tap Advanced, followed by Bluetooth MIDI Devices. Next, tap the name of the device you’d like to connect and then tap the Connect switch on. When you’re finished using your device, just tap the Connect switch off to disconnect. That’s all there is to it!

